Phoebe from Feed me Phoebe and I have had the opportunity to work together in varying capacities from blogging with the Food Network to her fantastic Israeli Chickpea Salad shared in the 2012 Healthy Lunchbox series. From cooking classes to being able to hire Phoebe as your own personal chef, should you ever have the chance…this is a […]
Salted Chili Lime Watermelon Popsicles
July 1, 2014 By Leave a Comment
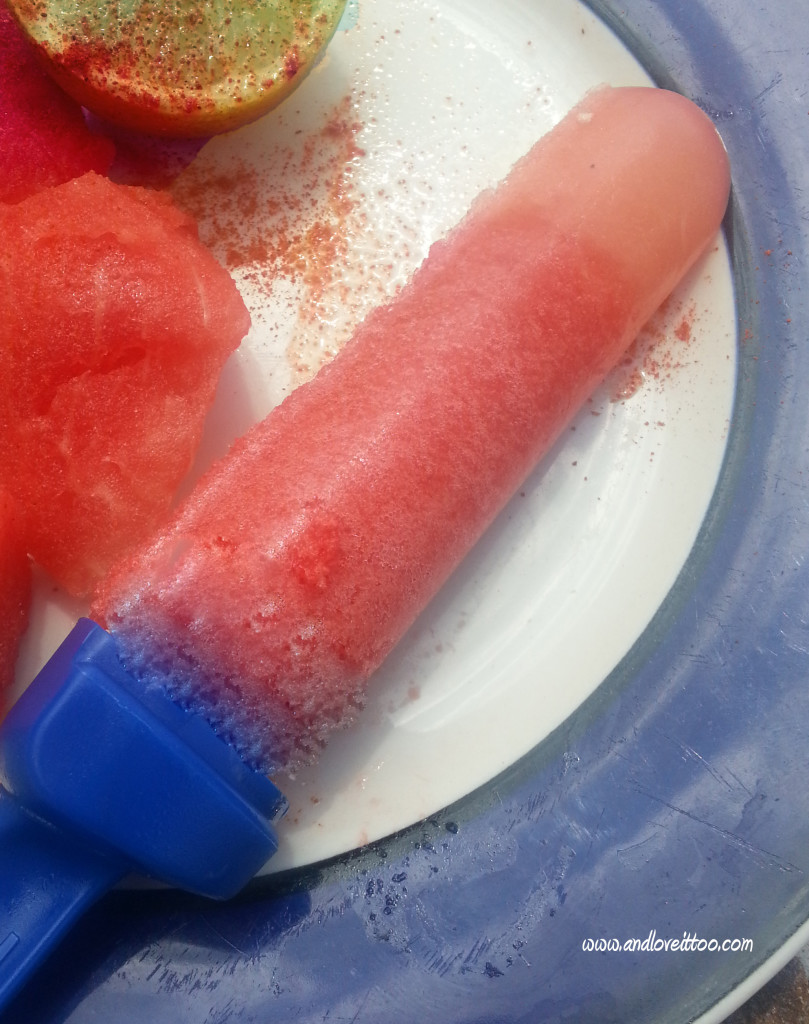
Having spent a vast majority of my life split between Southern California and Texas, there is no doubt that my food is heavily influenced by the Mexican culture. When I was pregnant with my oldest biological son, I craved Mexican candy and chili spiced fruits most. These popsicles are a healthy throw back to those […]
Cilantro and Lime Ranch Vegetable Dip (Dairy-free, Paleo, Vegan alternatives noted)
June 26, 2014 By 1 Comment
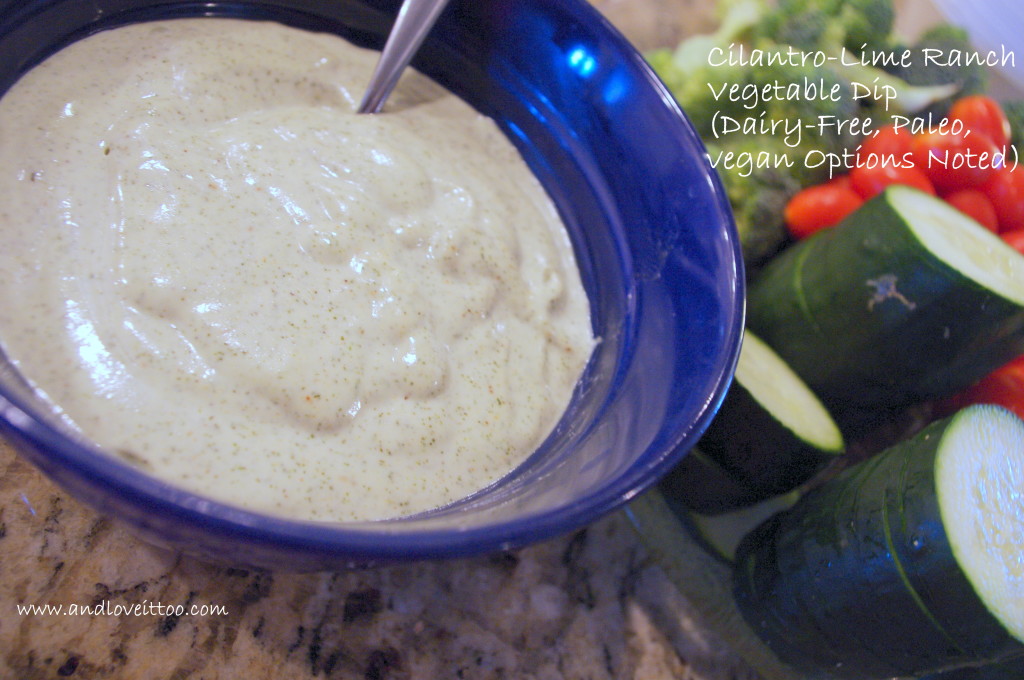
This dip is a twist on my Easy Vegan Ranch Dressing. A little less coconut cream and a few drops of essential oil make a world of difference in flavor and texture. This mix goes together quickly and has fast become our favorite dipping sauce for veggies, topping for taco salads and more. To keep […]
Spiced Fruit Dip (Vegan, Paleo, Refined Sugar-Free)
June 17, 2014 By 3 Comments

Just a few days ago, I talked about how my family has honed in on one essential oil brand that we trust. With this, I promised to share some of my favorite oils and different ways that we use them. This recipe is made with our protective blend. Filled with essential oils of: cinnamon, […]
Sugar-Free Avocado Fudgesicles
August 14, 2013 By 12 Comments
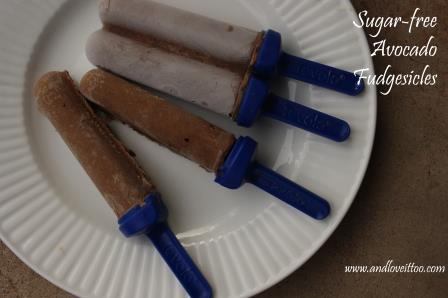
I believe the best way to sabotage something like an elimination diet, especially one that you must be on for health reasons, is to forbid yourself the ability to enjoy a treat every now and then. Especially when you are 9. The process of eliminating Candida has not only brought my daughter and I to a […]
Coconut Butter Cacao Nib Bars (Candida-Fighting, Paleo, Vegan, Sugar-Free, Whole30, ACD, GFCF and more!)
July 26, 2013 By 8 Comments

When I started this website, I set out to show the world that no matter how challenging the food restriction, there is a way to still enjoy what you have to eat. Heck, I don’t want you to enjoy your food; I want you to love your food! My second youngest daughter, at just 9 […]
Candida Friendly Cucumber Salsa
July 10, 2013 By 15 Comments
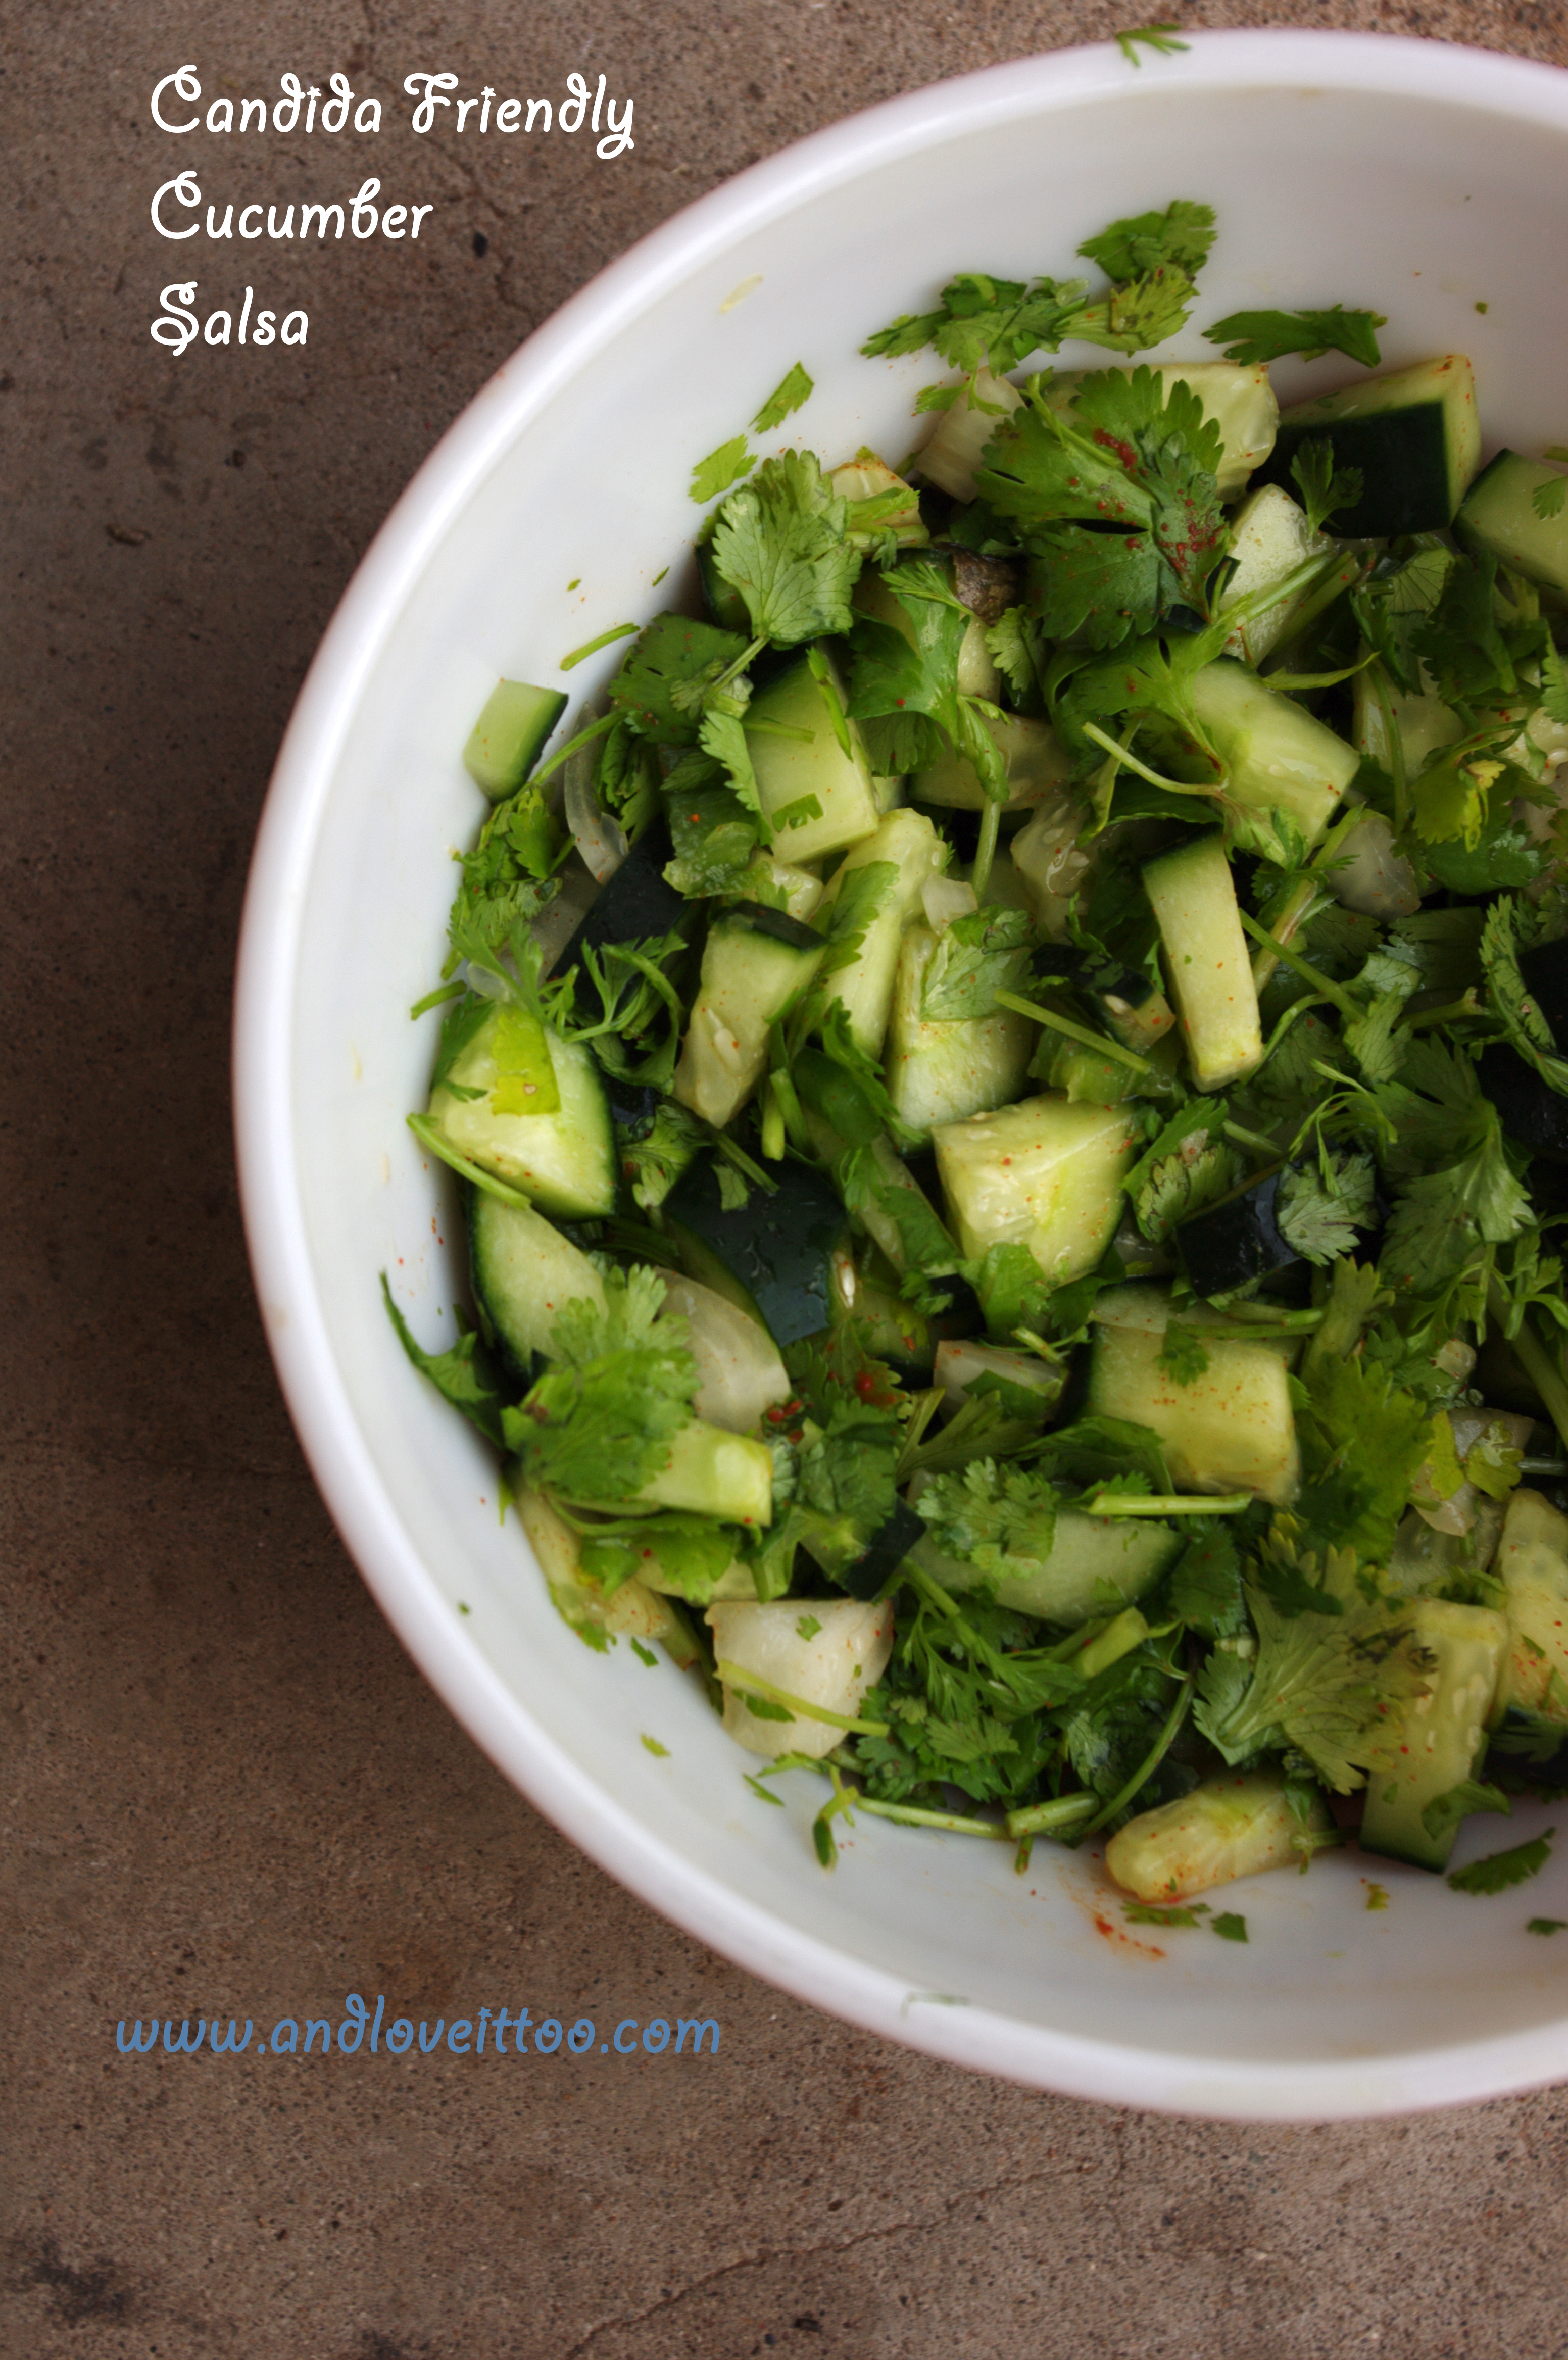
My long-time readers have seen me, and thereby this website, through a number of new eating adventures…new diagnosis and many trial and errors. As you know, I have celiac. Two of my 5 children show signs of gluten-intolerance but have not tested positive for celiac. Still, maintaining a gluten-free lifestyle has benefited them greatly. Even […]
June 2013 Go Ahead Honey, It’s Gluten-Free Event Roundup!
July 1, 2013 By 8 Comments

For many of us, the month of June brings about final school days, warmer weather, the need and desire to travel abroad. When faced with dietary restrictions, chosen or otherwise, challenges can be averted with a little planning and innovation. Throughout June, several of my favorite bloggers shared their tips and delicious recipes to help […]
Orange Cranberry Almond Power Bars
June 27, 2013 By 3 Comments
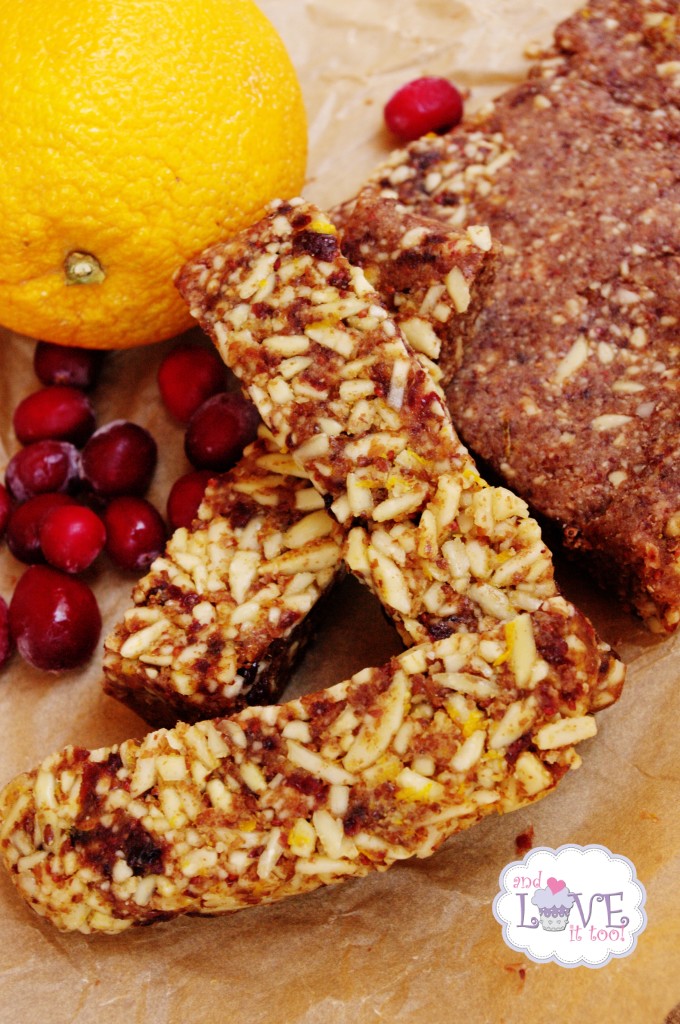
If you have never enjoyed Elana Pantry’s Cherry Vanilla Power Bars, you are missing out. These Power Bars have just enough protein to tide you over and just enough sweet fruit to give you the energy you need to make it to the next meal. Elana’s bars got me through my first long-term out of […]
Rainbow Salad
October 17, 2012 By 9 Comments
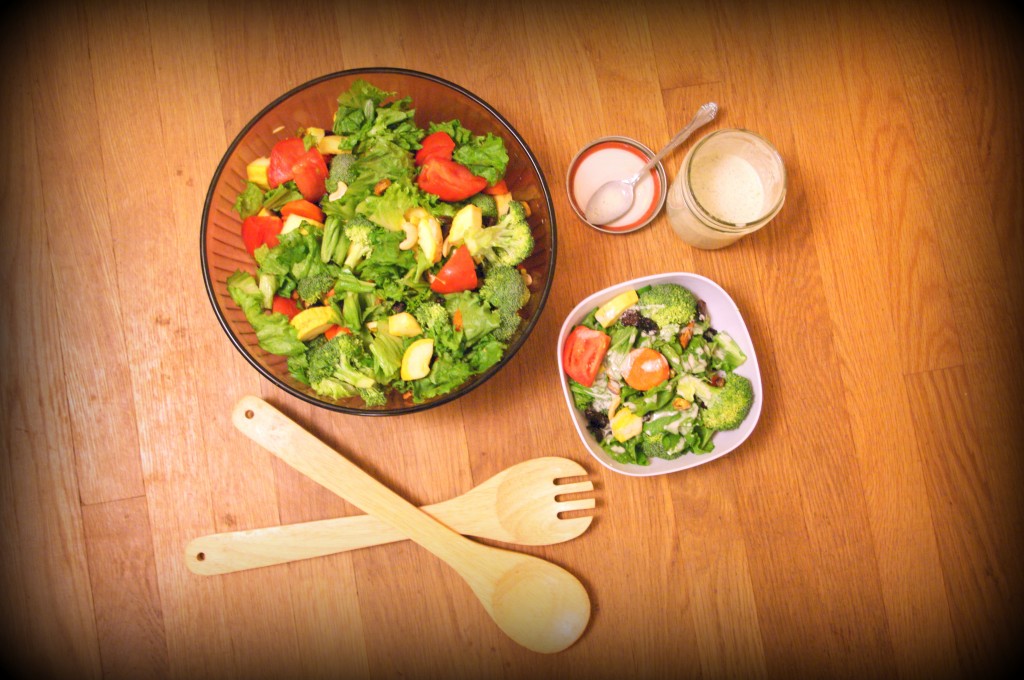
One day, my husband looked at me lovingly and said those five little words many of us never expect to hear: “Honey, I miss your salad.” Yes, my salad. I guess it had been a few weeks since I had made one of my nutrient-packed salads and my husband had a craving. Now if only […]


