Can you believe tomorrow is the second Monday of April? Do you know what that means? That means tomorrow is Ingredient Challenge Monday (ICM)!! 🙂 Yay! Last month we featured healthy Kale, such a diverse and delicious vegetable, it was difficult to select a winner from the entries we received. And while every entry was […]
Search Results for: kale
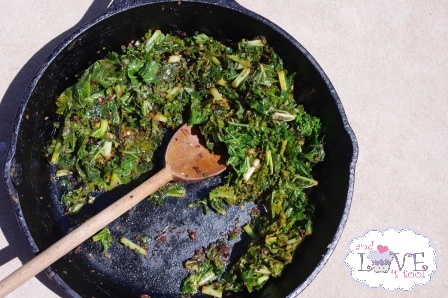
ICM Challenge Winner: Tessa the Domestic Diva Sauteed Kale w/Carmelized Onions; Well Fed Winner and April ICM Ingredient Announcement (in otherwords: a must-read post)
April 8, 2012 By 2 Comments
Spinach, Kale and Dandelion Green Salad with Blood Oranges, Candied Pecans and Blood Orange Vinaigrette
April 5, 2012 By 2 Comments
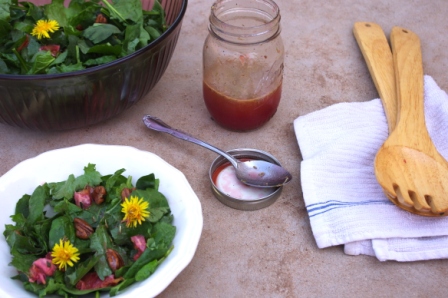
Spring is beautifully upon us. Flowers are blooming, birds are singing. Children are ready to shed their winter gloom to get outside and play. Then there is the yard. Lawns need to be mowed, weeds need to be pulled. Or do they? One advantage to living in a drought ridden area is the fact that […]
Vegan Basil Pesto with Kale
January 14, 2011 By 5 Comments
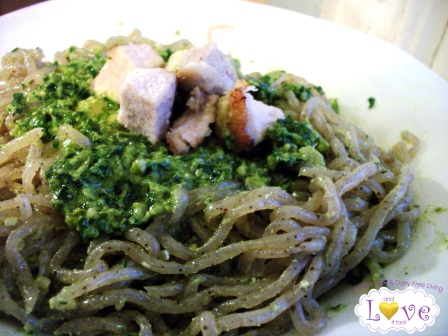
There are few things in life better than a fresh bowl of pasta swirled with rich, creamy pesto. The beautiful green hue, tender chunks of ground pine nuts, hints of basil and garlic blended with creamy parmesan; simply blissful. Recently, when faced with exquisite bundles of basil permeating my kitchen, I knew there must be […]
Ingredient-Challenge Monday, Vegan Garlic Kale Chips
January 3, 2011 By 5 Comments
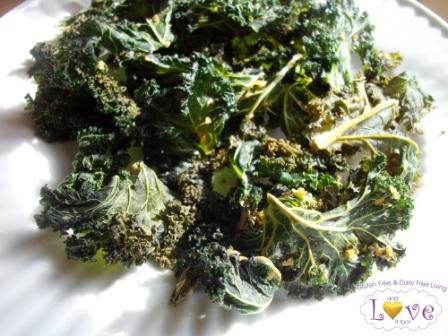
I love leafy greens. Seriously. Spinach, Mustard, Turnip, Kale…love love love! My garden was loaded with greens this year and my only wish is that we had more to enjoy! It surprises and somewhat saddens me that many people look at greens and freeze up; clueless as to how to add these striking gems to […]
Healthy Lunchbox 2016, Week 1: Healthy Snacks
August 20, 2016 By 6 Comments
Is it just me or does every summer seem to go a little faster? Maybe it’s the fact that my family effectively made 3 moves this year…two of those MAJOR moves. Maybe it’s the fact that my two oldest only have two more years before they are off on missions or college, meaning we […]
AIP Basil Pesto (Gluten-Free, Dairy-Free, Nut-Free)
August 4, 2015 By 3 Comments

There are few things more delectable than a rich, savory, creamy sauce like pesto. That is, unless you are allergic to some of the most vital ingredients normally found in this simple sauce. While my family often enjoys my Vegan Pesto with Kale, recently a friend asked me if I had ever attempted to make […]
What We Eat: Teriyaki Beef Kabobs (Paleo, Whole30)
June 20, 2015 By 3 Comments
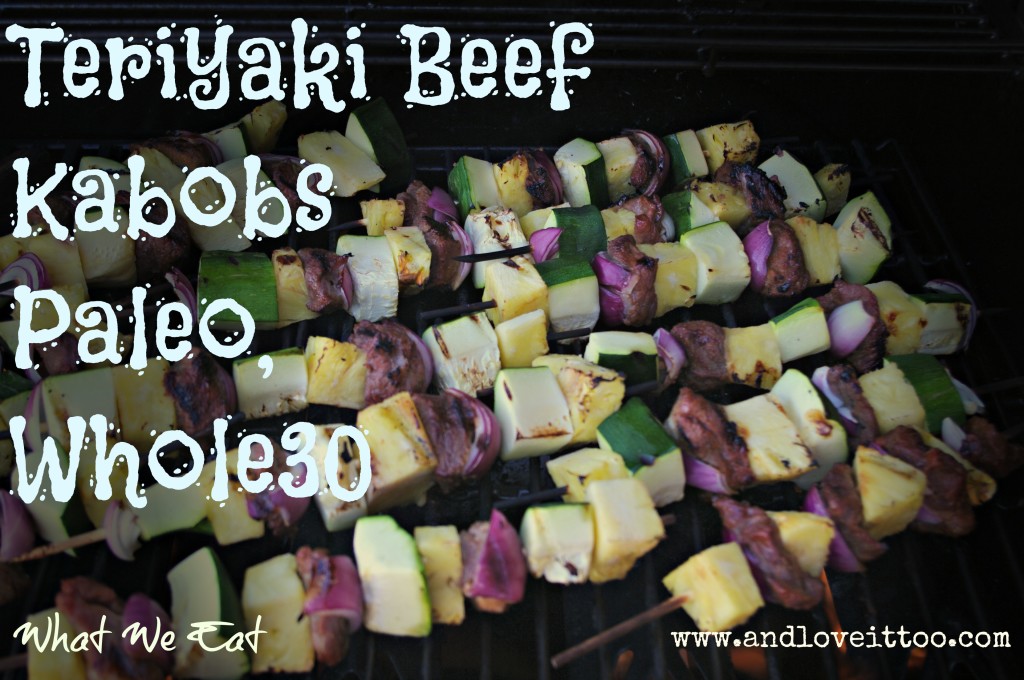
Last week I shared how I managed to stretch a meal originally planned for 4 to be enough for 8 people…this week, the concept is similar. Fruits and vegetables can make a meal stretch. Use these instead of grains and you’ve got a paleo plan you can afford to stick with. Because we purchase our […]
Healthy Lunchbox 2014: Aubree Cherie from Living Free
September 5, 2014 By 3 Comments
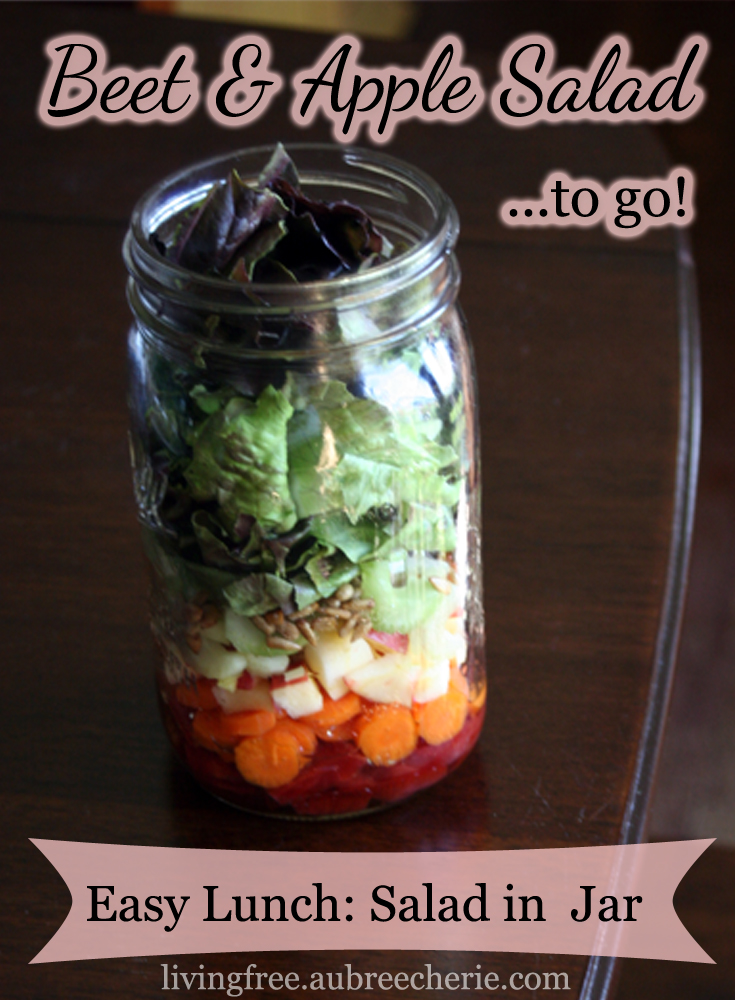
Aubree Cherie’s Living Free of Gluten, Dairy & Refined Sugar is a site focused on everything from frugal living to motherhood, gardening to crafts and Christian living to cooking. In other words, Aubree’s site is a site after my own heart! Today Aubree brings us one of my all-time favorite things…a salad in a jar! These […]
Healthy Lunchbox 2014: Phoebe from Feed me Phoebe
August 21, 2014 By 2 Comments
Phoebe from Feed me Phoebe and I have had the opportunity to work together in varying capacities from blogging with the Food Network to her fantastic Israeli Chickpea Salad shared in the 2012 Healthy Lunchbox series. From cooking classes to being able to hire Phoebe as your own personal chef, should you ever have the chance…this is a […]
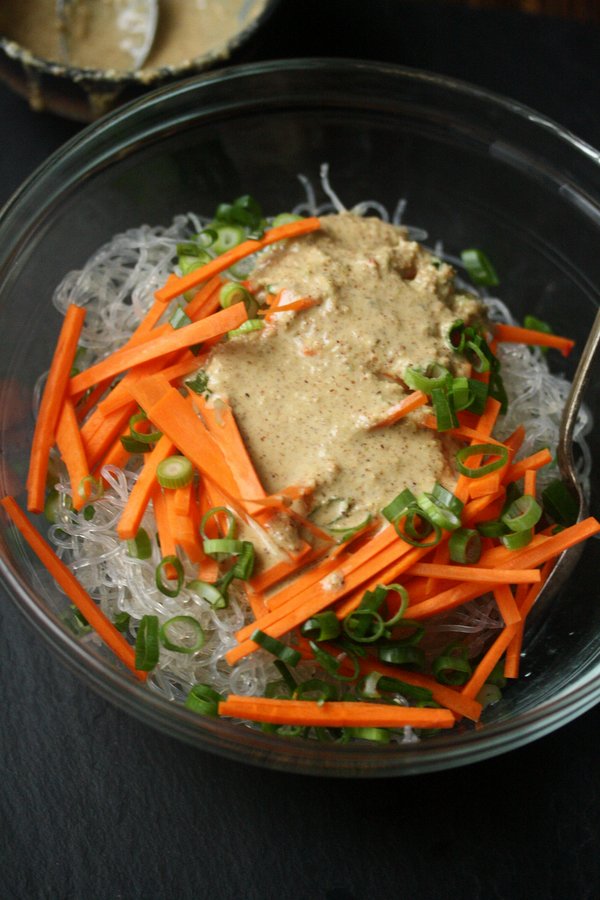
Healthy Lunchbox 2014: Janet from The Taste Space
August 16, 2014 By 2 Comments
Last year, Janet from The Taste Space shared with us a luscious Salad in a Jar. Her Topaz Dragon Ginger Dressing is one of my all-time favorite salad dressing solutions. As an opening recipe to this year’s Healthy Lunchbox series, this Quinoa Protein Bowl is an excellent choice for those who is meat-free or simply enjoys an […]


