About a week ago, I shared a very, very simple recipe on Facebook with the promise of getting it up quickly! Thank you so very much to the many positive responses I got on there, and please forgive me for the delay! I don’t know about you, but summertime days just fly by […]
Homemade Yerba Mate Kombucha
July 15, 2016 By 4 Comments
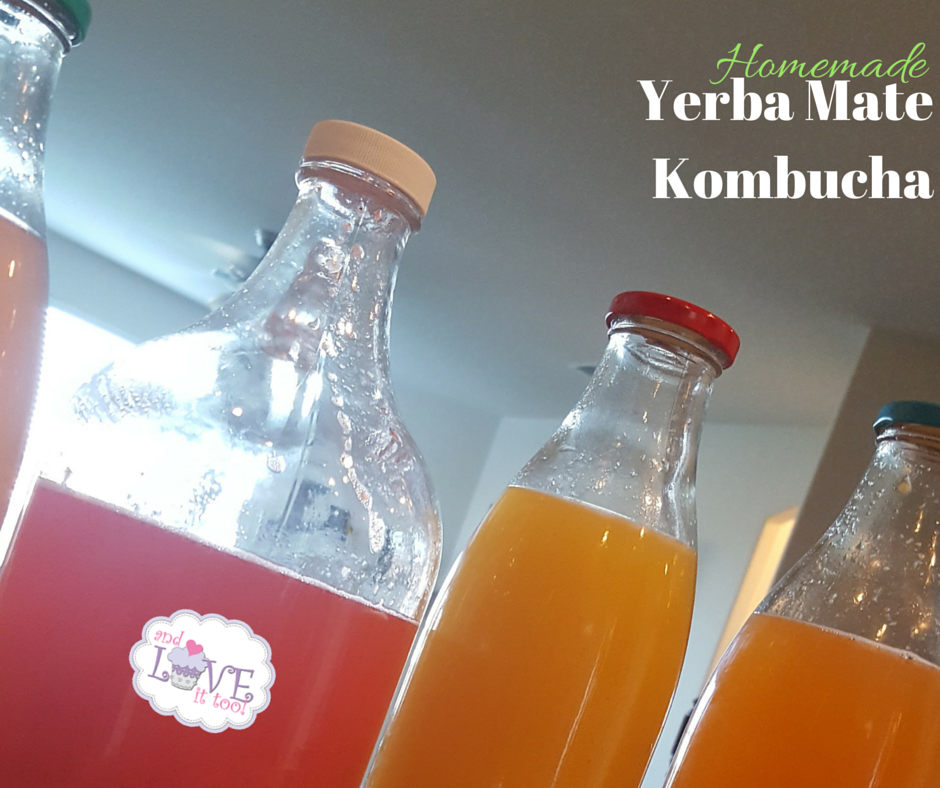
There are many claims about the benefits of drinking kombucha tea. From supporting liver detoxification to pancreas function, improved energy, digestive support, improved mood, supporting positive gut balance, aiding in nutrient assimilation and even metabolic support; kombucha is touted as the ‘miracle drink’ in many corners of the world. So as someone who has spent […]
Pan Roasted Peaches
May 25, 2016 By 6 Comments

Maybe you’re avoiding potatoes. Maybe you’re a peach fanatic. Or maybe you’re just looking for something a little different to go with dinner tonight. Whatever it is, you’ll love these pan roasted peaches! Perfectly paired with your favorite roast, steak or chicken dinner, these sweet with just a little savory peaches are an easy […]
Fresh Watermelon, Cucumber and Tomato Salad
May 13, 2016 By 2 Comments
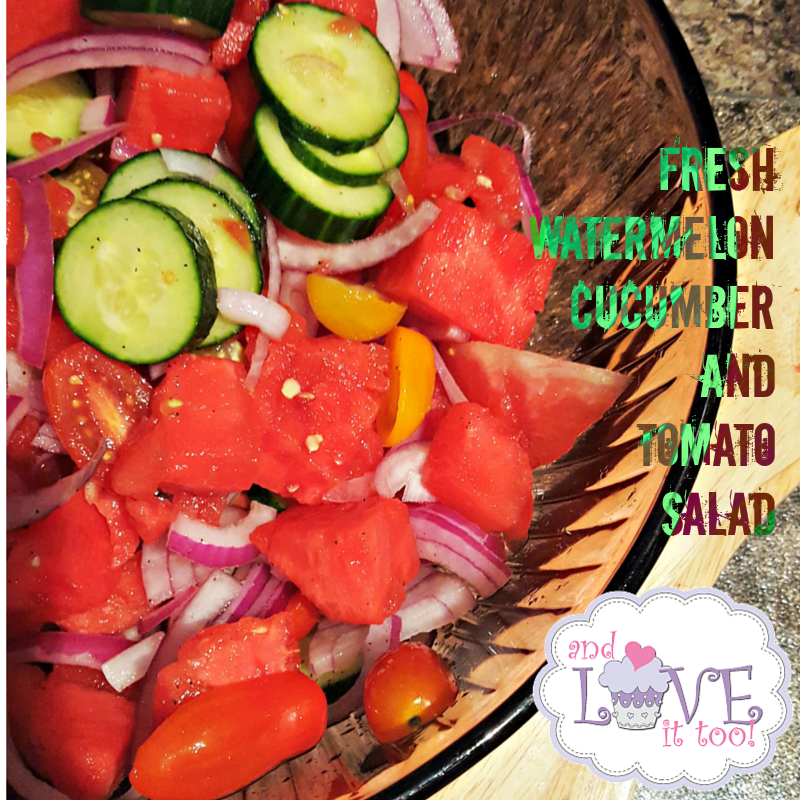
The last couple of months have been crazy…between listing our house for sale, thereby restricting my time in the kitchen because everything has to be perfect for showings; to up and moving my family across the state, it’s been difficult to sit down and recipe develop/write the way I wish to do! My husband […]
Lightly Salted, Cinnamon Broiled Grapefruit
March 2, 2016 By 5 Comments
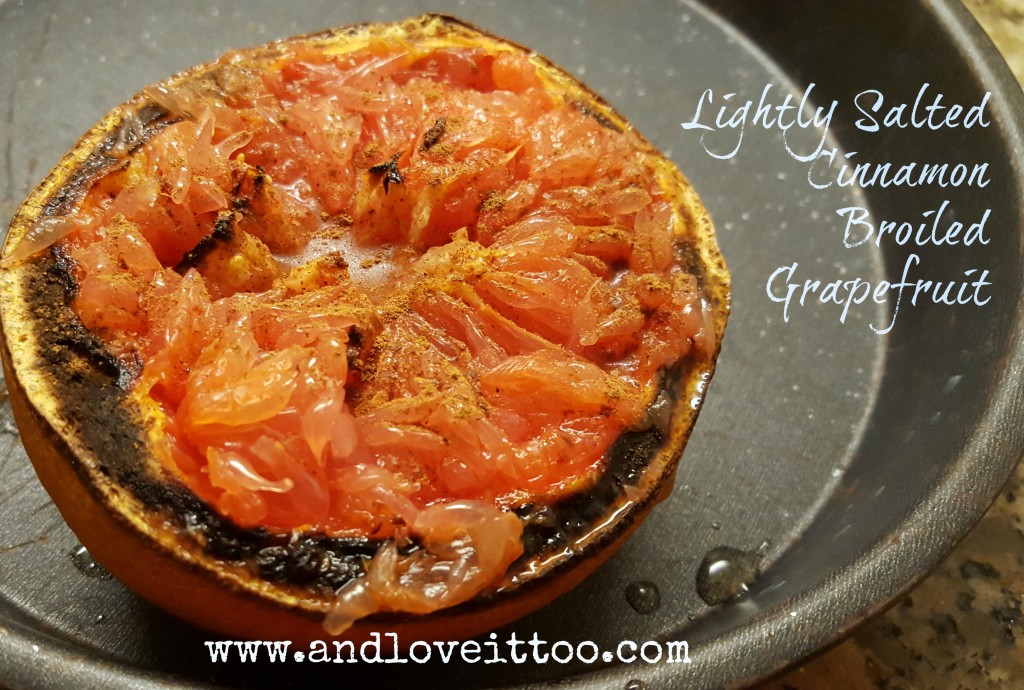
Sometimes my most difficult struggle with keeping this page up to date with fresh ideas isn’t in what I am eating, it’s realizing the value behind the simple things we do eat. Over the last couple of months I have been running a Facebook group dedicated to healthy, whole-food eating. Over there I am sharing […]
AIP Basil Pesto (Gluten-Free, Dairy-Free, Nut-Free)
August 4, 2015 By 3 Comments

There are few things more delectable than a rich, savory, creamy sauce like pesto. That is, unless you are allergic to some of the most vital ingredients normally found in this simple sauce. While my family often enjoys my Vegan Pesto with Kale, recently a friend asked me if I had ever attempted to make […]
What We Eat: Mexican Coleslaw with Cilantro-Lime Vinaigrette
July 27, 2015 By 9 Comments
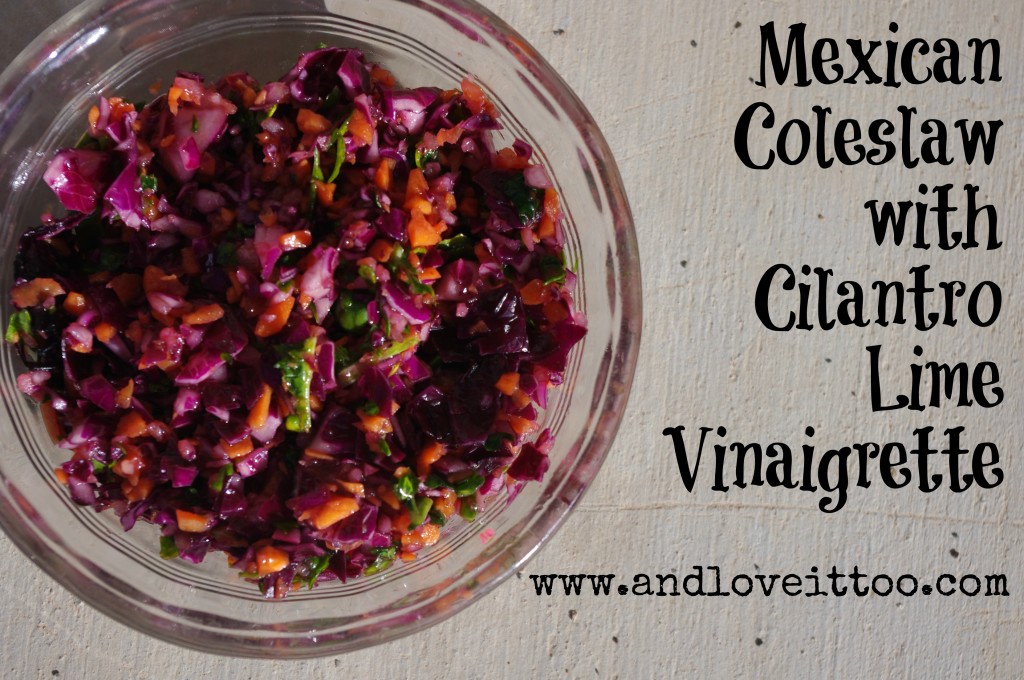
There is just something about the combination of cilantro and lime that makes me happy. My cilantro-lime ranch vegetable dip is made and enjoyed weekly in our home. I love the combination of cilantro and lime in cauliflower rice, on my paleo tacos and more… So when I had several heads of cabbage needing to […]
Confessions of a busy mom (and one really great dairy-free buttercream frosting recipe)
April 3, 2015 By 4 Comments

I have a confession. Something that has sat on my shoulders for some time. No matter how much I want to, no matter how hard I try… I cannot always make things from scratch. I mean, I really want to be that mom that has her business, writes her blog (or two), is at […]
Nutbutter Bars (Paleo Friendly, Nut-Free Option Listed)
March 26, 2015 By Leave a Comment
With Easter around the corner, my family is preparing for the biggest celebration yet. With that comes the desire to provide somewhat ‘normal’ treats without having to break the bank to provide safe treats for everyone and without having to unnecessarily risk harmful exposure to allergens. Recently, I came across a picture of some tantalizing […]
Healthy Lunchbox 2014: Janet from The Taste Space
August 16, 2014 By 2 Comments
Last year, Janet from The Taste Space shared with us a luscious Salad in a Jar. Her Topaz Dragon Ginger Dressing is one of my all-time favorite salad dressing solutions. As an opening recipe to this year’s Healthy Lunchbox series, this Quinoa Protein Bowl is an excellent choice for those who is meat-free or simply enjoys an […]


