Susan from Real Kids Eat Spinach has been participating in the Healthy Lunchbox Series since it began, back in 2011. I am thrilled to be working with her once again. Susan is always filled with great advice and delicious recipes, and her Paleo Zucchini-Banana Bread looks to be no exception. Enjoy! ____________________________________________________________________________________________________ My kids “get” it when […]
Search Results for: spinach
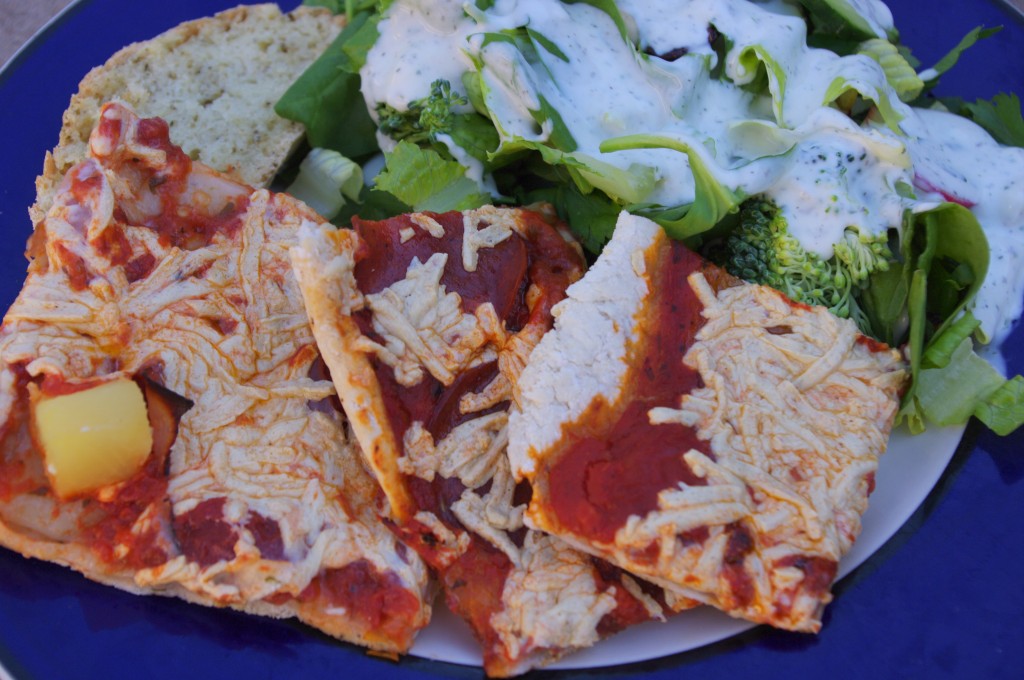
Grain-Free Spinach Pie
October 3, 2012 By 5 Comments
I have mentioned previously about my visit to the Dallas Gluten & Allergen Free Expo in early September and how I had the opportunity to meet some amazing people and learn about some fantastic products. Among all of the new and exciting items, there were some familiar brands and some familiar faces along with them. One individual […]
Healthy Lunchbox 2012: Susan from Real Kids Eat Spinach
August 12, 2012 By 3 Comments

Today on Healthy Lunchbox 2012, Susan from Real Kids Eat Spinach is sharing some of her favorite school lunchbox tips and three, count ‘em, three, delicious recipes! A single mother of two children, Susan spends much of her time preparing healthy meals that her children love. As a certified holistic health coach, Susan offers insight […]
Spinach, Kale and Dandelion Green Salad with Blood Oranges, Candied Pecans and Blood Orange Vinaigrette
April 5, 2012 By 2 Comments
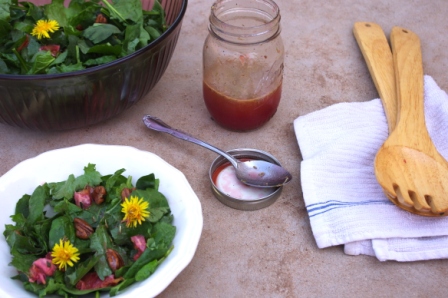
Spring is beautifully upon us. Flowers are blooming, birds are singing. Children are ready to shed their winter gloom to get outside and play. Then there is the yard. Lawns need to be mowed, weeds need to be pulled. Or do they? One advantage to living in a drought ridden area is the fact that […]
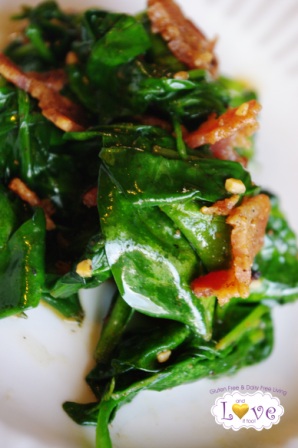
Bacon-Infused Wilted Spinach (Vegan Alternative Noted)
October 12, 2011 By 7 Comments
Do you ever find yourself competing against people who have no idea that you are competing against them? I do. Take my brother for example…the man always had better grades than I did in school. He is two years older than me, and every school year began with the words “Oh, you’re Jared’s sister? I’m […]
Healthy Lunchbox Guest Post — Susan @ Real Kids Eat Spinach
September 7, 2011 By 2 Comments

Tonight’s guest post comes from a mommy after my own heart. Susan, the author of Real Kids Eat Spinach (how could you not love a site with that kind of title). While Susan is not gluten-free or dairy-free, she is focused on providing her family with the healthiest food in kid-friendly ways, which is what […]
Healthy Lunchbox 2014: The Ultimate Collection and Giveaway Extravaganza!
September 16, 2014 By Leave a Comment
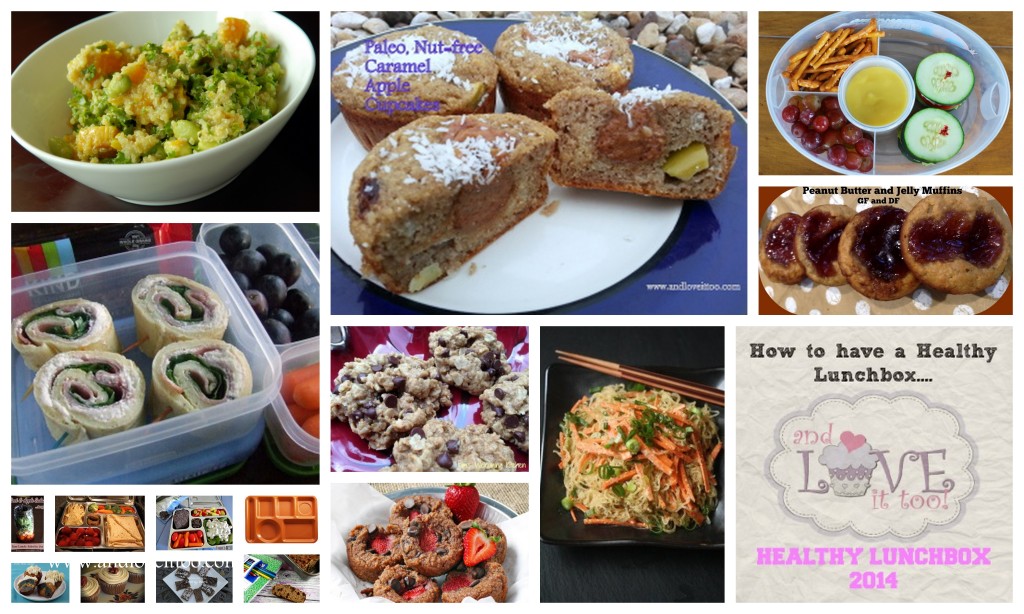
This year’s 2014 Healthy Lunchbox series has brought us many new faces and several new ideas. With each passing year, while our time may seem short and the craziness magnified, the more ideas and the more information we have, the easier we can make each and every day. This is why the Healthy Lunchbox series […]
Healthy Lunchbox 2014: Aubree Cherie from Living Free
September 5, 2014 By 3 Comments
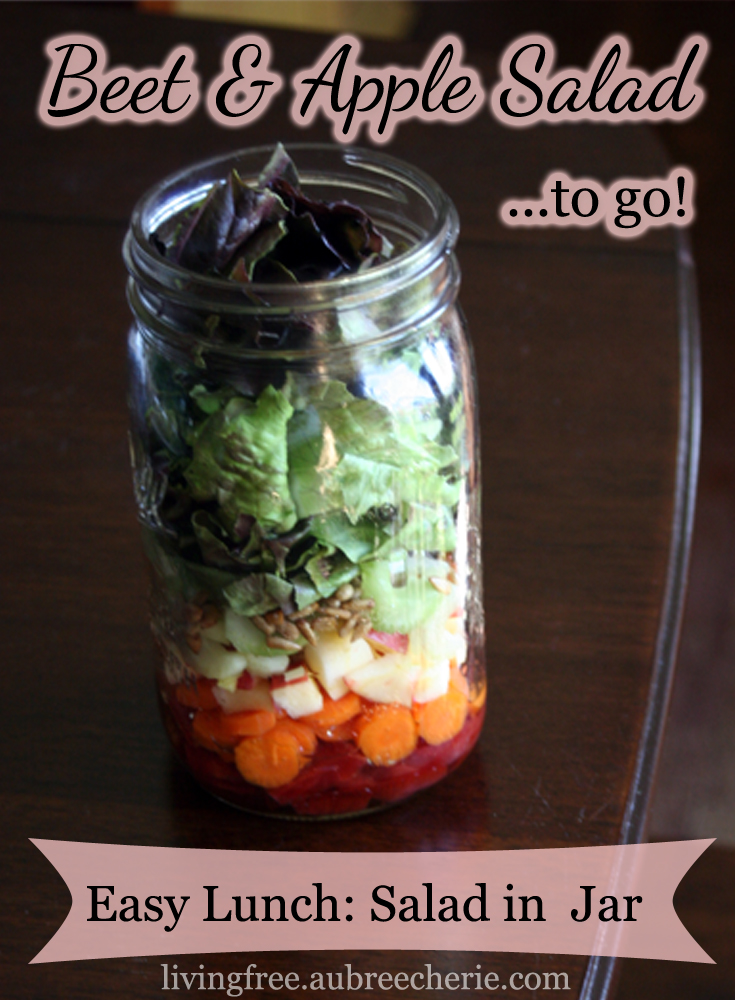
Aubree Cherie’s Living Free of Gluten, Dairy & Refined Sugar is a site focused on everything from frugal living to motherhood, gardening to crafts and Christian living to cooking. In other words, Aubree’s site is a site after my own heart! Today Aubree brings us one of my all-time favorite things…a salad in a jar! These […]
Healthy Lunchbox 2014: Brianna Hobbs from Flippin’ Delicious
August 29, 2014 By 4 Comments
Today on Healthy Lunchbox 2014, Brianna from Flippin’ Delicious is sharing a easy to make, easy to carry meal her daughter loves! While she doesn’t have anyone in her home who is school aged just yet, here she shows how easy (and how important) Healthy Lunchboxes are for children of all ages! Enjoy! _______________________________________________________________________________________ Hi! I’m […]
Healthy Lunchbox 2014: Kim from Thriving Gluten-Free
August 17, 2014 By 3 Comments
Kim from Thriving Gluten-Free is a certified health coach who specializes in gluten-free living. Today she is not only sharing her special story and many, many tips to keep your child’s lunch allergy friendly and kid friendly at the same time, she has also given us 3 recipes to add to our repertoire! This is […]


