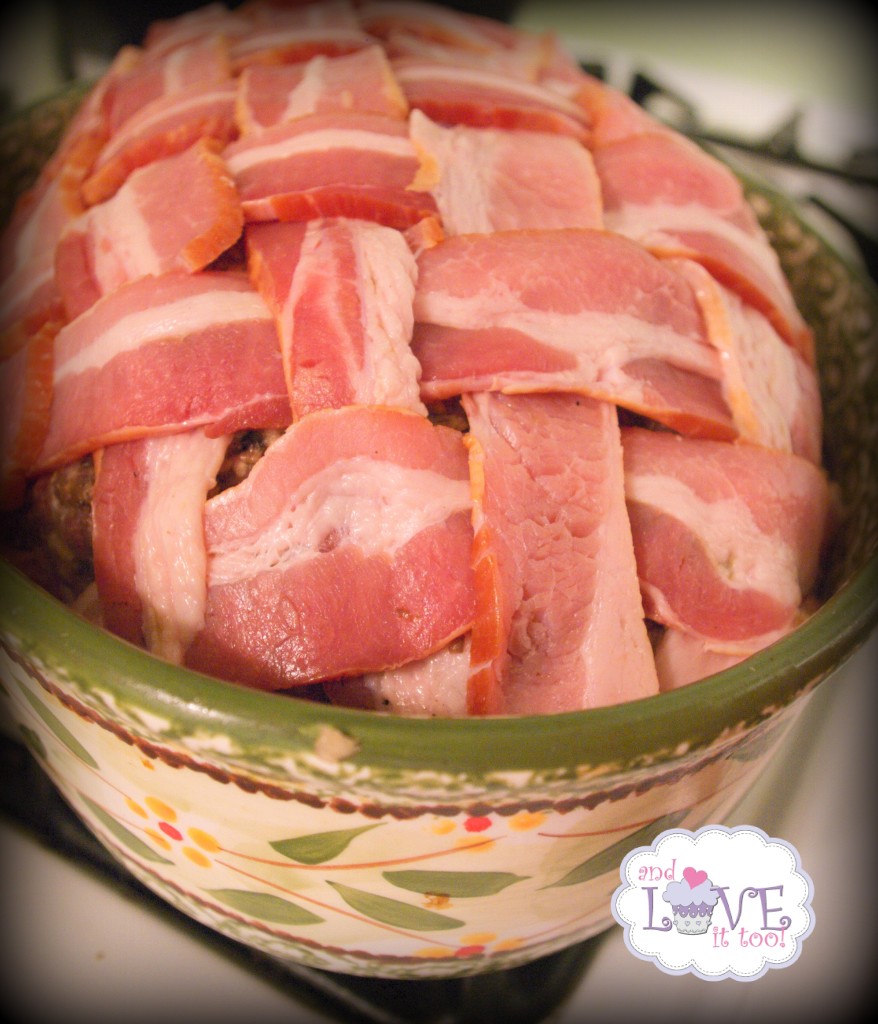
Meatloaf. Love it or leave it, undoubtedly your mom had some version of meatloaf that would occasionally grace your table growing up. I’ve had many guests through the years raise an eyebrow when I offer them a dinner of this traditionally dry, often unpleasing hunk of meat…these same guests seem surprisingly pleased when they take […]
Search Results for: spinach
Lemon Infused Brussels
December 19, 2012 By 2 Comments
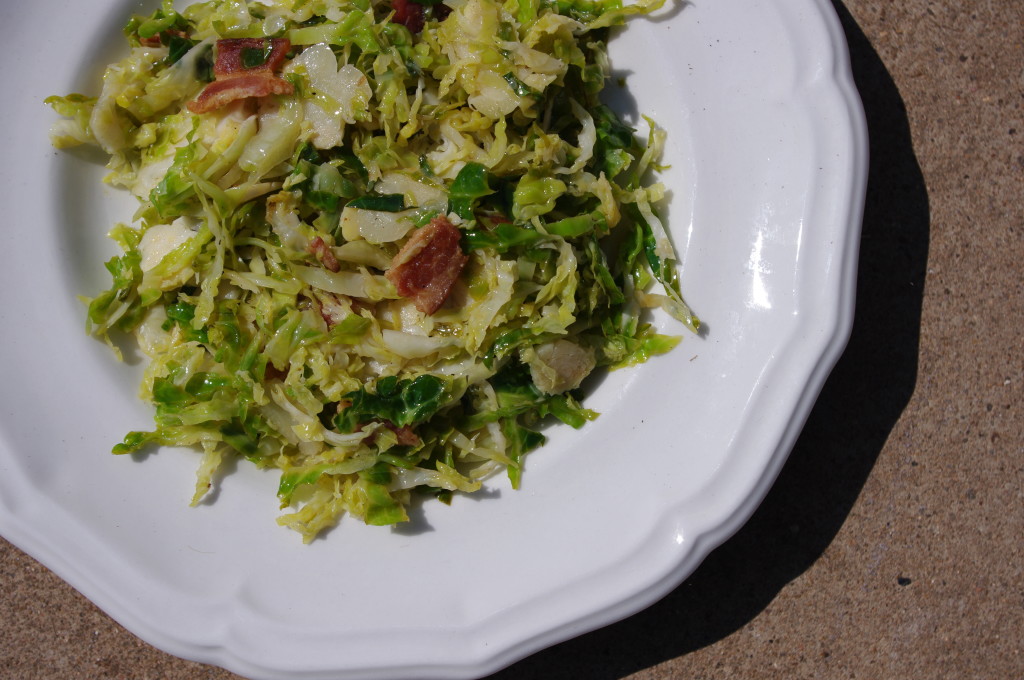
There is no doubt that I love my greens. Kale, spinach, arugula and more! There is scarcely a green that my family won’t eat. That is, unless you are a brussel sprout. It wasn’t until going gluten-free that I learned to love brussel sprouts. Before then I gagged at the thought. No matter how they […]
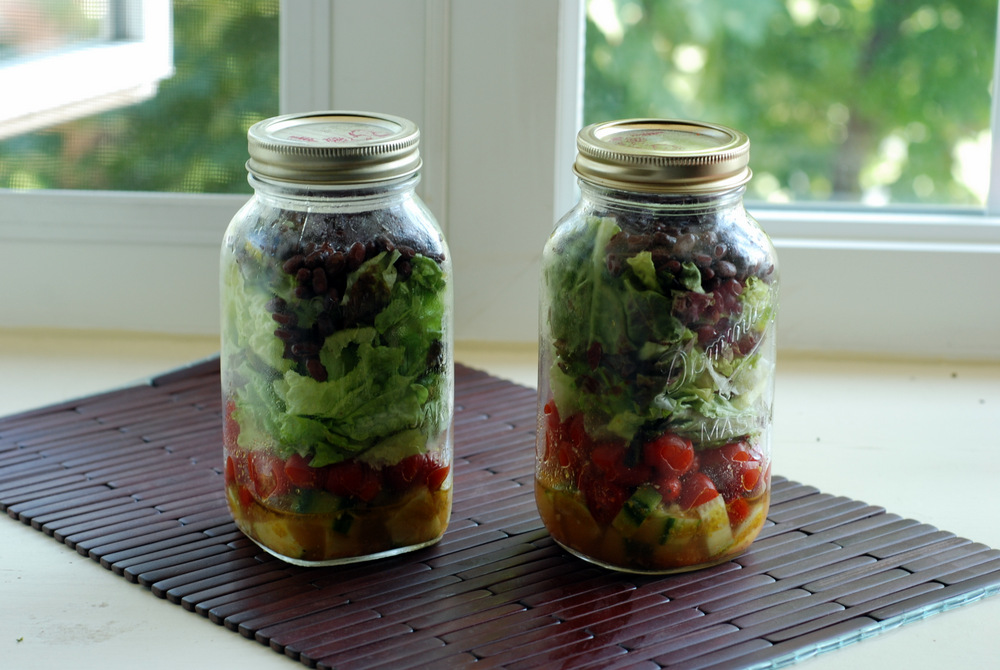
Rainbow Salad
October 17, 2012 By 9 Comments
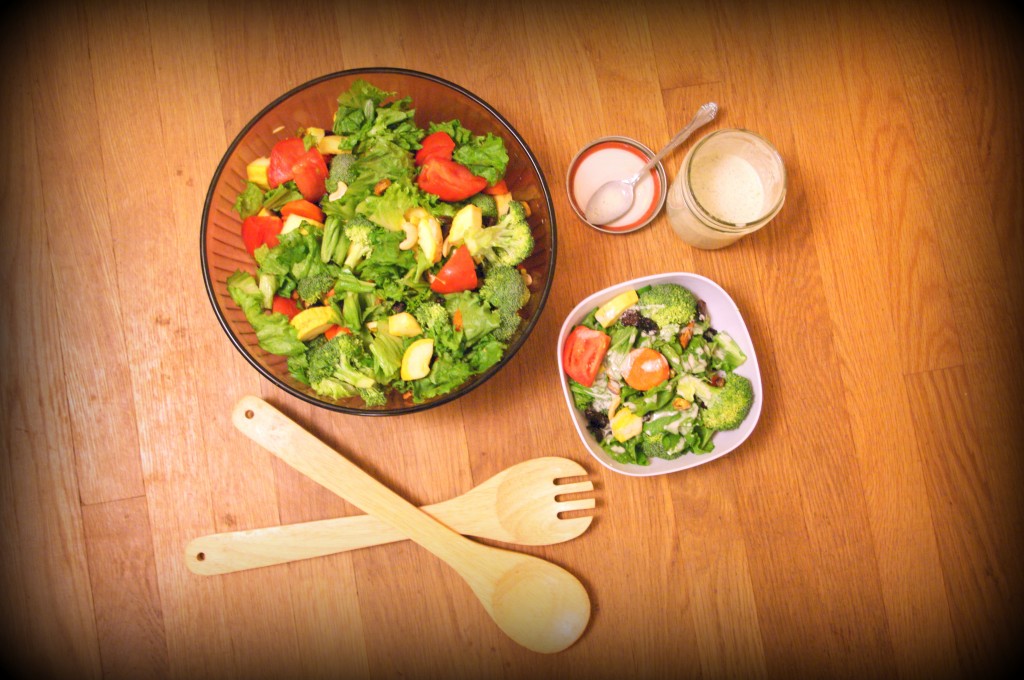
One day, my husband looked at me lovingly and said those five little words many of us never expect to hear: “Honey, I miss your salad.” Yes, my salad. I guess it had been a few weeks since I had made one of my nutrient-packed salads and my husband had a craving. Now if only […]
ICM July Winning Recipe: Berry Almond Crunch by Heather, the Gluten-Free Cat and Challenge-Ingredient Announcement!
October 7, 2012 By 4 Comments
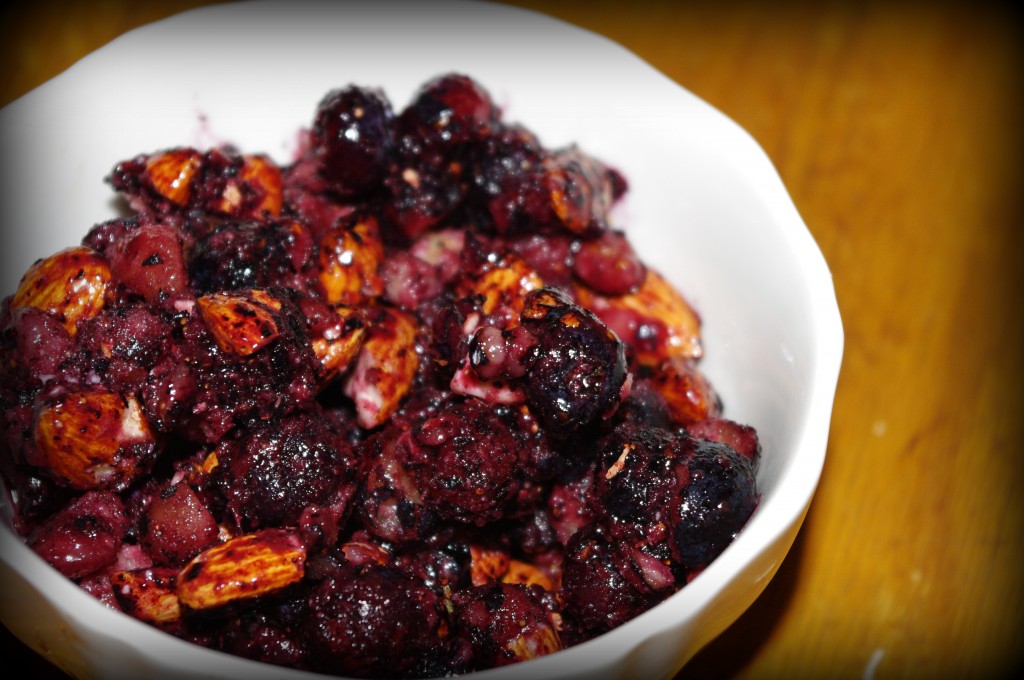
I can’t believe we haven’t had an Ingredient Challenge Monday since July, but with the Healthy Lunchbox Series overlapping the 2nd Monday in both August and September, missing those months just couldn’t be helped! That being said, with Bountiful Baskets offering blueberries in bulk this summer, I enjoyed the extra time to review and re-review […]
Healthy Lunchbox 2012: Lexie from Lexie’s Kitchen
September 6, 2012 By 14 Comments
Before I became a blogger, Lexie’s Kitchen was one of the sites I visited most often. Not only are her recipes family friendly, her story, the fact that her family began their journey towards a whole food, helth-centric lifestyle because of her child seemed all too familiar. Frankly, if it weren’t for my daughter being […]
Healthy Lunchbox 2012: Gluten-Free Gigi
August 20, 2012 By 7 Comments

Have you met my friend, Gluten-Free Gigi? Gigi is a scientist turned health specialist and I simply adore and always learn so much from her “A Side of Science” series. Gigi was one of the guest-bloggers for last year’s Healthy Lunchbox series where she shared a delicious chocolate chip mini-muffin recipe. This year she made me […]
Healthy Lunchbox 2012: Janet from The Taste Space-Steam, Bake, Boil, Shake
August 16, 2012 By 6 Comments
Janet from The Taste Space- Steam, Bake, Boil, Shake is a regular contributor to my monthly challenge, otherwise known as Ingredient Challenge Monday and since I try every recipe entered into the challenge, I am very familiar with how delicious her recipes are. Imagine my excitement when Janet volunteered to join in on this year’s […]
BLT Frittata
June 2, 2012 By 4 Comments
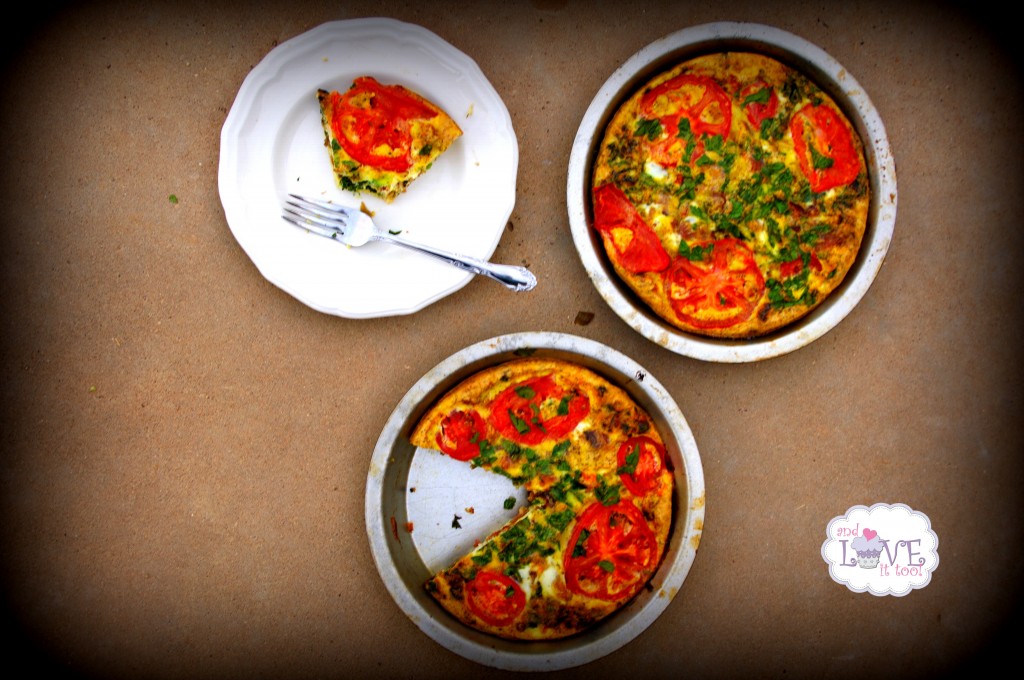
I will be quite literally off-the grid for a few days but couldn’t leave without sharing just one-more recipe with you all. This BLT Frittata or Egg Pie is one of our favorite meals. Perfect for breakfast, lunch or dinner, it goes together quickly, is loaded with healthy greens and delicious ingredients. Make ahead and […]
ICM Challenge Winner: Tessa the Domestic Diva Sauteed Kale w/Carmelized Onions; Well Fed Winner and April ICM Ingredient Announcement (in otherwords: a must-read post)
April 8, 2012 By 2 Comments
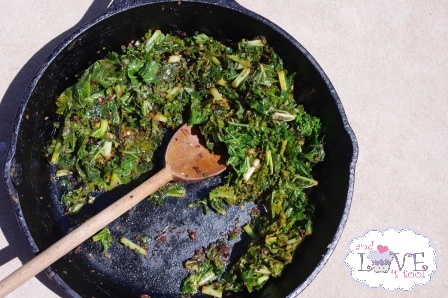
Can you believe tomorrow is the second Monday of April? Do you know what that means? That means tomorrow is Ingredient Challenge Monday (ICM)!! 🙂 Yay! Last month we featured healthy Kale, such a diverse and delicious vegetable, it was difficult to select a winner from the entries we received. And while every entry was […]


