There are many claims about the benefits of drinking kombucha tea.
From supporting liver detoxification to pancreas function, improved energy, digestive support, improved mood, supporting positive gut balance, aiding in nutrient assimilation and even metabolic support; kombucha is touted as the ‘miracle drink’ in many corners of the world.
So as someone who has spent the last two decades trying to find optimal health through natural sources, who loves to make her own fermented foods at home; I knew kombucha was something worth trying to incorporate into my life.
Unfortunately, kombucha is made with tea from the sinensis plant (ie green or black tea); and my family does not drink regular tea.
We do, however, enjoy all things herbal quite often, including herbal tea.
So after discovering kombucha and learning about the process to make it, I began trying to figure out how to create a herbal based product that would actually work.
Unfortunately, you cannot use just any herbal tea for this process.
While I do not fully understand the science behind it, what I do know is that kombucha requires caffeine, something most herbal teas do not contain. Kombucha cultures also react negatively to many of the essential oils naturally found in herbs and spices, which further rules out most herbal options.
Then I discovered Yerba Mate.
Guayaki describes Yerba Mate as having, “the strength of coffee, the health benefits of tea, and the euphoria of chocolate.”
Made from the leaves of the South American holly tree, Yerba Mate contains a caffeine content somewhere between a cup of green tea and coffee (perfect for kombucha).
Yerba Mate contains more nutrients than green tea, although (to me at least) the taste is very similar. Known nutrients include: vitamins A, C, E, B1, B2, Niacin (B3), B5, B Complex, Minerals of calcium, manganese, iron, selenium, potasium, magnesium, phosphorus and zinc…there are also fatty acids, trace minerals, antioxidants and more!
Given the understanding of what it took to make kombucha, I thought that attempting to make some at home with Yerba Mate was certainly worth a shot.
Two years later, I am still brewing strong!
And while there are not many scientific studies to back the benefits of kombucha, I can tell you that my gut seems to like me better when I have had my small glass of kombucha a day.
Please remember though, that too much of a good thing isn’t always a good thing…4-8 oz of kombucha a day is all that is recommended for anyone.
And while not plant related, kombucha does not react well to metal and may have issues with some of the antimicrobial properties of sweeteners like honey. We recommend using only glass jars to store and ferment your kombucha in, and white sugar to help aid in the fermenting process (this literally is the only thing I use white sugar in!).
One of the most critical, but potentially difficult steps to making kombucha at home would be obtaining a SCOBY (Symbiotic Colony of Yeast and Bacteria). The SCOBY eats sugars in your sweetened tea and creates an acidic, vitamin and probiotic rich beverage.
Ways to obtain a SCOBY:
- If you know someone who is already brewing their own kombucha, ask them for an extra SCOBY. SCOBY’s will multiply every batch or two, and most people are grateful to share them with others.
- You can order a SCOBY from a reputable online source, although these can easily run you upwards of $50/piece.
- You can grow your own. This does require purchasing raw, unflavored kombucha from the store (likely made with black tea), but to make the SCOBY, it is totally worth it! The trace of regular tea that will remain in your original batch can be managed by either dumping the first brew and moving on to the second, or simply drinking it knowing that you’ll be consuming an untraceable amount of regular tea. I will leave that part totally up to you.
Follow the directions below and you’re sure to be on the path to delicious, Yerba Mate Kombucha for years to come!!

Ingredients/Supplies:
- 1 gallon sized glass jar (steralized is best)
- 1 gallon distilled water
- 1 c sugar
- 6 TBS looseleaf traditional (not roasted) Yerba Mate
- a SCOBY and 1/2 c of liquid from a previous batch of kombucha
- Clean breathable cloth (kitchen towel) or coffee filter and a strong rubber band
Instructions
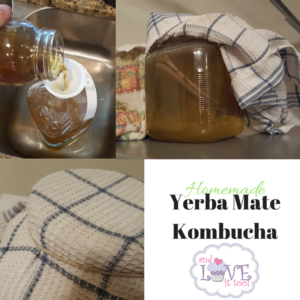
- If you have not pre-purchased a SCOBY (which usually runs about $50), you can make your own by purchasing raw, unflavored kombucha from the store (which usually runs about $4-$5). Pour this kombucha into your sterilized gallon glass jar and allow it to sit, covered with a breathable cloth or layered coffee filers, in a warm room (between 80-89 degrees is ideal). In about 1-2 weeks, you will notice a large thing forming at the top of the kombucha. This is your SCOBY. Once this has formed, you can dump the kombucha that you used to make this, reserving just 1/2 c to make your first batch of Yerba Mate Kombucha!
- Perpare the sweet tea by brewing your Yerba Mate with hot distilled water, letting steep for approximately 10 minutes then filtering into large mason jar with 1c sugar (sweet tea concentrate). Allow sugar to disolve compltely, then transfer sweet tea concentrate into large gallon bottle of water.
- Let cool to room temperature (hot tea can kill your SCOBY).
- Once cool, carefully pour tea into glass jar containing your SCOBY and 1/2 c reserved kombucha. Your SCOBY should float to the top of the jar, although if it doesn’t, that is okay (you’ll see that mine is about half floating in the picture above…you may also notice the SCOBY has made a 2nd one and is ready to be shared with someone else/to start a new jar!).
- Cover the jar with a clean, breathable cloth and secure this with a tight rubber band (flies love this stuff, and we want to keep them out!).
- Put the jar in a warm corner of the kitchen, away from any other fermenting products.
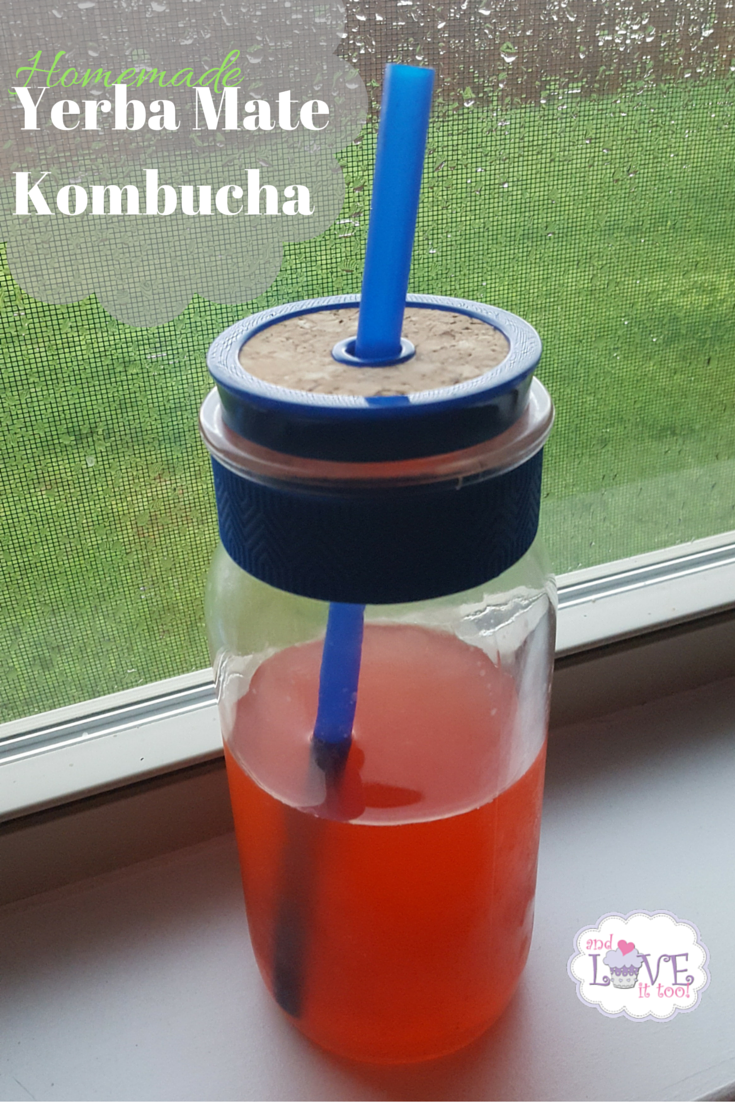
- Allow your kombucha to ferment around 7-10 days. Test your kombucha by placing a straw in the jar carefullly, sliding it under the SCOBY, and sipping. The ideal kombucha is still slightly sweet but distinctly tart.
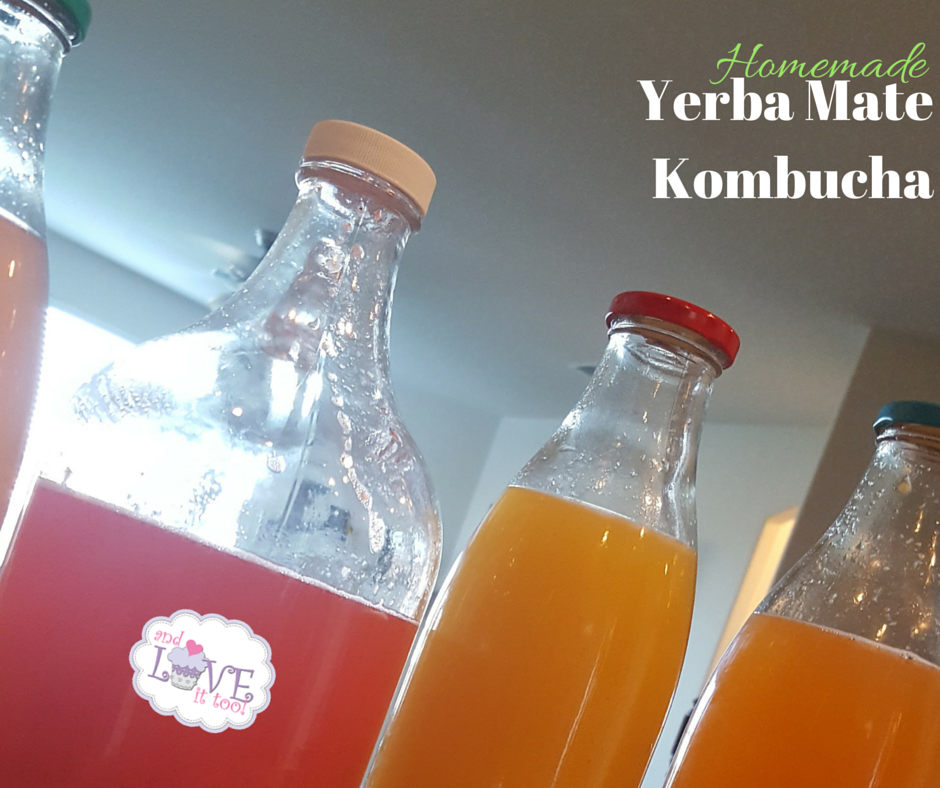
- Once ready, pour your kombucha into seperate but clean glass jars for refrigerated storage.
- For added variety, you can infuse fruit into your kombucha by adding 1-2 cups of your chosen fruit puree into the storage jars (not your fermenting jar). Allow the fruit infusion to sit in the warm corner for another 1-2 days, then carefully strain through a cheese cloth or simply leave as is, refrigerate and shake before serving. Some of my favorite fruit selections are: mango, strawberry, peach, blueberry, cherry or any combination of!
- Kombucha will safely store in your refrigerator for 2-6 weeks (sometimes longer).
- Serve 4-8 ounces in a plastic or glass container, using a plastic straw (remember, kombucha does not like metal!). Enjoy! (Printable instructions below)
- 1 gallon sized glass jar (steralized is best)
- 1 gallon distilled water
- 1 c sugar
- 6 TBS looseleaf traditional (not roasted) Yerba Mate
- a SCOBY and 1/2 c of liquid from a previous batch of kombucha
- Clean breathable cloth (kitchen towel) or coffee filter and a strong rubber band
- If you have not pre-purchased a SCOBY (which usually runs about $50), you can make your own by purchasing raw, unflavored kombucha from the store (which usually runs about $4-$5). Pour this kombucha into your sterilized gallon glass jar and allow it to sit, covered with a breathable cloth or layered coffee filers, in a warm room (between 80-89 degrees is ideal). In about 1-2 weeks, you will notice a large thing forming at the top of the kombucha. This is your SCOBY. Once this has formed, you can dump the kombucha that you used to make this, reserving just 1/2 c to make your first batch of Yerba Mate Kombucha! Homemade Yerba Mate Kombucha (4)
- Perpare the sweet tea by brewing your Yerba Mate with hot distilled water, letting steep for approximately 10 minutes then filtering into large mason jar with 1c sugar (sweet tea concentrate). Allow sugar to disolve compltely, then transfer sweet tea concentrate into large gallon bottle of water.
- Let cool to room temperature (hot tea can kill your SCOBY).
- Once cool, carefully pour tea into glass jar containing your SCOBY and 1/2 c reserved kombucha. Your SCOBY should float to the top of the jar, although if it doesn't, that is okay (you'll see that mine is about half floating in the picture above...you may also notice the SCOBY has made a 2nd one and is ready to be shared with someone else/to start a new jar!).
- Cover the jar with a clean, breathable cloth and secure this with a tight rubber band (flies love this stuff, and we want to keep them out!).
- Put the jar in a warm corner of the kitchen, away from any other fermenting products.
- Allow your kombucha to ferment around 7-10 days. Test your kombucha by placing a straw in the jar carefullly, sliding it under the SCOBY, and sipping. The ideal kombucha is still slightly sweet but distinctly tart.
- Once ready, pour your kombucha into seperate but clean glass jars for refrigerated storage.
- For added variety, you can infuse fruit into your kombucha by adding 1-2 cups of your chosen fruit puree into the storage jars (not your fermenting jar). Allow the fruit infusion to sit in the warm corner for another 1-2 days, then carefully strain through a cheese cloth or simply leave as is, refrigerate and shake before serving. Some of my favorite fruit selections are: mango, strawberry, peach, blueberry, cherry or any combination of!
- Kombucha will safely store in your refrigerator for 2-6 weeks (sometimes longer).
- Serve 4-8 ounces in a plastic or glass container, using a plastic straw (remember, kombucha does not like metal!). Enjoy!
- As it is with any homemade fermented food, if you see mold forming, it is likely best to toss the batch and begin with a fresh SCOBY. In 2 years, I have never had to do this...but I would if the need did arise.


Kombucha does not require caffeine, but not all herbal teas will work. It may take a few batches to fully adapt a culture to an herbal blend, but it can be done.
Everything I have read about Kombucha is that it does require caffeine. I totally agree that not all herbal teas will work. Most will not. Yerba Mate provides the perfect components needed for an herbal based kombucha which is why we love it. I wouldn’t recommend any other herbal tea at this time.
Many people are now using organic herbal teas to brew Kombucha I attempted it with
Hibiscus but it weakened my scoby I’m now starting to use
Yerba mate and my scoby perked right up within a day or two
So while people may argue herbal teas can be used
It’s not healthy for your scoby! I Do however still use flavored
Organic teas but use them in my second ferment
And it makes a delicious flavor not sure if you have
Ever tried that! I’ve also found using diced fruit vs
Purée gives better carbonation!
Great feedback, Jacklynn! Yerba Mate is considered an herbal tea. Fortunately, it has all of the components that the scoby needs to thrive and has proven a successful alternative to black tea for our family! I haven’t tried using hibiscus for the second ferment, but I bet that’s delicious.
I appreciate you letting us know!