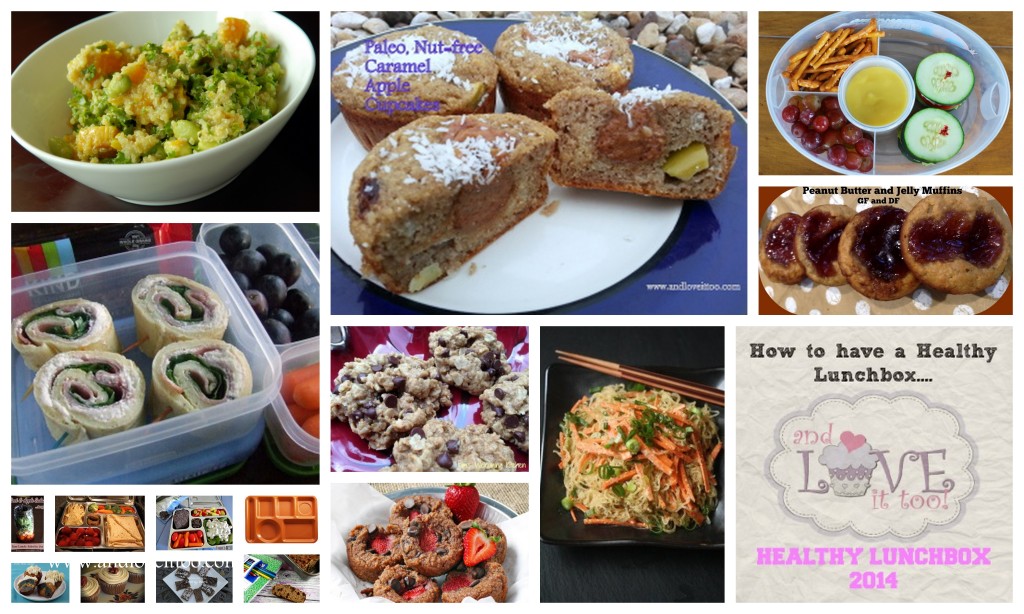
This year’s 2014 Healthy Lunchbox series has brought us many new faces and several new ideas. With each passing year, while our time may seem short and the craziness magnified, the more ideas and the more information we have, the easier we can make each and every day. This is why the Healthy Lunchbox series […]
Healthy Lunchbox 2014: The Ultimate Collection and Giveaway Extravaganza!
September 16, 2014 By Leave a Comment
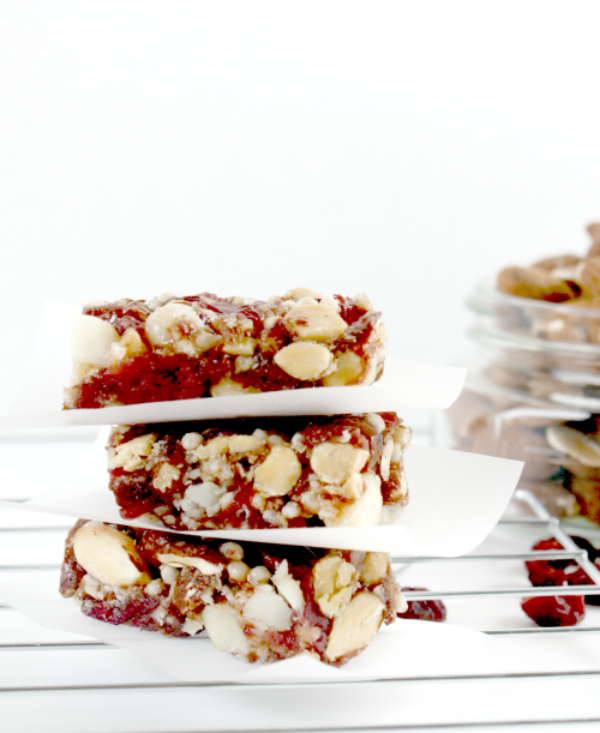
Healthy Lunchbox 2014: Sandi from Sandi’s Allergy Free Recipes
September 10, 2014 By 1 Comment

Like many of us who have been diagnosed with celiac disease or even food allergies, Sandi from Sandi’s Allergy Free Recipes spent much of her life battling symptoms but never really understood what those symptoms meant until she became very, very ill. Today, Sandi shares one of her favorite grab-and-go desserts. Easy to make and many suggestions […]
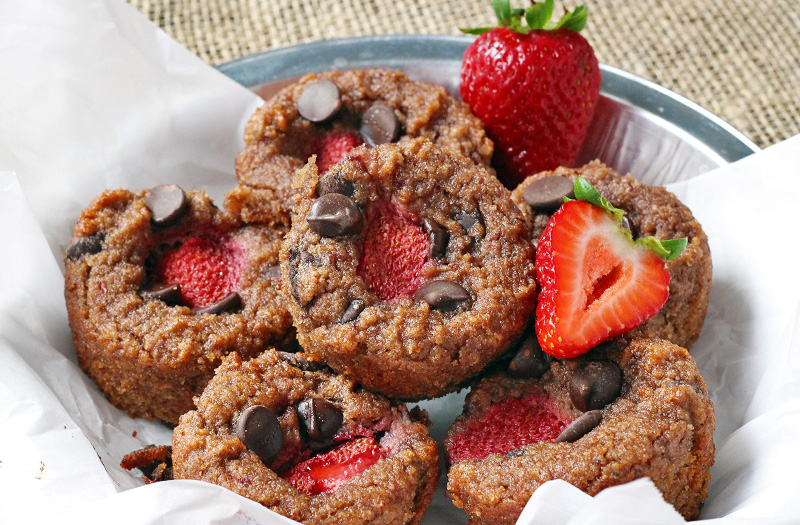
Healthy Lunchbox 2014: Nicole from Rolling Out Dough
September 8, 2014 By 4 Comments
One of the first things most people will tell you about switching to a gluten-free lifestyle is that it is expensive! Fact is, when you stick to the basics, fruits, vegetables and minimally processed meats; eating gluten-free can not only be extremely affordable, it is also extremely healthy! Even so, there are times when we […]
Healthy Lunchbox 2014: Kim from Kim’s Welcoming Kitchen
September 7, 2014 By 4 Comments
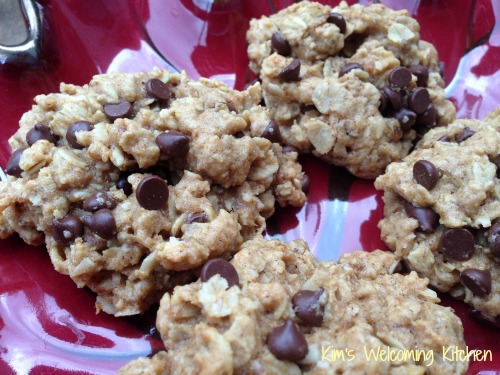
In addition to being the author of four cookbooks, Kim Lutz is the blogger at Kim’s Welcoming Kitchen which focuses on allergy-free, gluten-free and vegan recipes. I was introduced to Kim by our mutual friend, Shirley Braden over at Gluten-Free Easily and I couldn’t be more thankful. The more tools we have, the better we can provide for […]
Healthy Lunchbox 2014: Tia from Tia’s Kitchen
August 28, 2014 By 5 Comments
Beyond the fact that the Healthy Lunchbox series has brought dozens of bloggers together over three years time to join forces and bring to you their best ideas and most cherished lunchbox recipes, I appreciate the fact that this series continues to introduce me to new bloggers and like-minded mommies. Today’s post comes from the lovely Tia over at […]
Healthy Lunchbox 2014: Phoebe from Feed me Phoebe
August 21, 2014 By 2 Comments
Phoebe from Feed me Phoebe and I have had the opportunity to work together in varying capacities from blogging with the Food Network to her fantastic Israeli Chickpea Salad shared in the 2012 Healthy Lunchbox series. From cooking classes to being able to hire Phoebe as your own personal chef, should you ever have the chance…this is a […]
Healthy Lunchbox 2014: Janet from The Taste Space
August 16, 2014 By 2 Comments
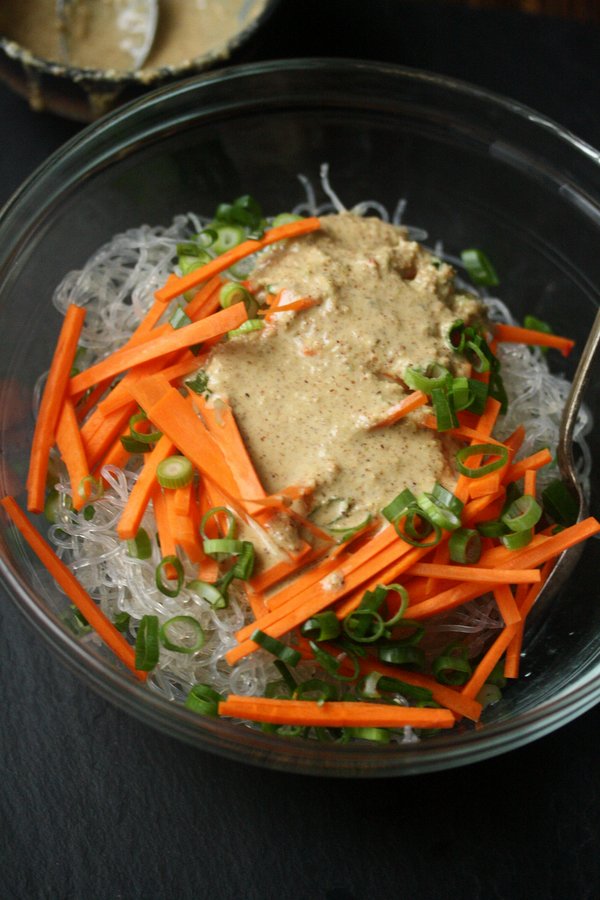
Last year, Janet from The Taste Space shared with us a luscious Salad in a Jar. Her Topaz Dragon Ginger Dressing is one of my all-time favorite salad dressing solutions. As an opening recipe to this year’s Healthy Lunchbox series, this Quinoa Protein Bowl is an excellent choice for those who is meat-free or simply enjoys an […]
Salted Chili Lime Watermelon Popsicles
July 1, 2014 By Leave a Comment
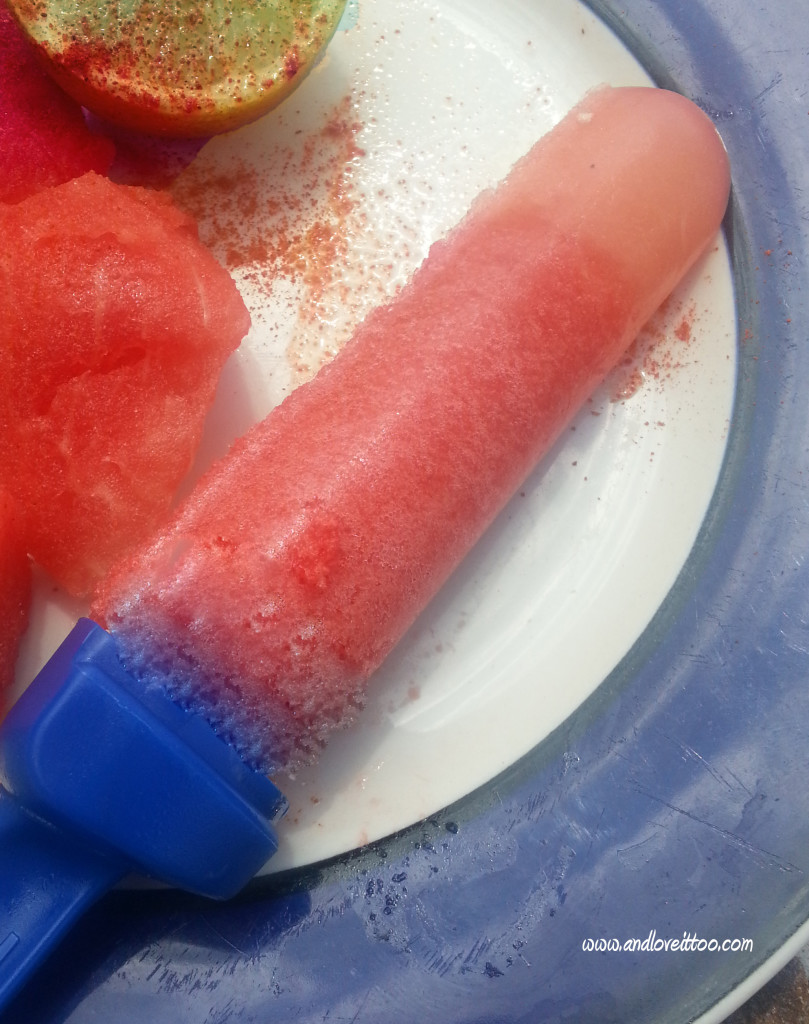
Having spent a vast majority of my life split between Southern California and Texas, there is no doubt that my food is heavily influenced by the Mexican culture. When I was pregnant with my oldest biological son, I craved Mexican candy and chili spiced fruits most. These popsicles are a healthy throw back to those […]
Cilantro and Lime Ranch Vegetable Dip (Dairy-free, Paleo, Vegan alternatives noted)
June 26, 2014 By 1 Comment
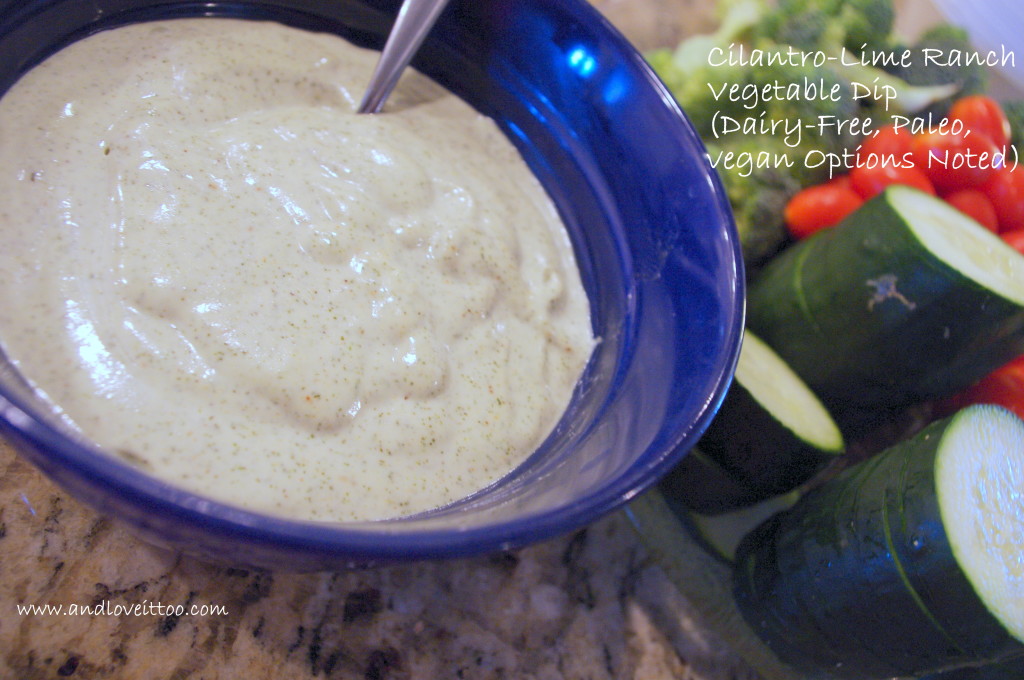
This dip is a twist on my Easy Vegan Ranch Dressing. A little less coconut cream and a few drops of essential oil make a world of difference in flavor and texture. This mix goes together quickly and has fast become our favorite dipping sauce for veggies, topping for taco salads and more. To keep […]
Spiced Fruit Dip (Vegan, Paleo, Refined Sugar-Free)
June 17, 2014 By 3 Comments

Just a few days ago, I talked about how my family has honed in on one essential oil brand that we trust. With this, I promised to share some of my favorite oils and different ways that we use them. This recipe is made with our protective blend. Filled with essential oils of: cinnamon, […]


