🙂 When I created the Healthy Lunchbox Series many, many years ago, my original intent and purpose was to help myself and others discover new and exciting ways to feed our children (and ourselves) that are not only healthy, but also delicious. Over the years, one of the key principles I have kept is to plan […]
Healthy Lunchbox 2016, Week 2: Creative Main Courses
August 26, 2016 By Leave a Comment
In Week 1 of our 2016 Healthy Lunchbox series, we started with healthy snack ideas which will make a great addition to your lunch or as an extra pick-me up for you or your children throughout the day. In Week 2, we are going to focus on Creative Main Courses! I don’t know about […]
Healthy Lunchbox 2016, Week 1: Healthy Snacks
August 20, 2016 By 6 Comments
Is it just me or does every summer seem to go a little faster? Maybe it’s the fact that my family effectively made 3 moves this year…two of those MAJOR moves. Maybe it’s the fact that my two oldest only have two more years before they are off on missions or college, meaning we […]
Homemade Sauerkraut
August 9, 2016 By 6 Comments
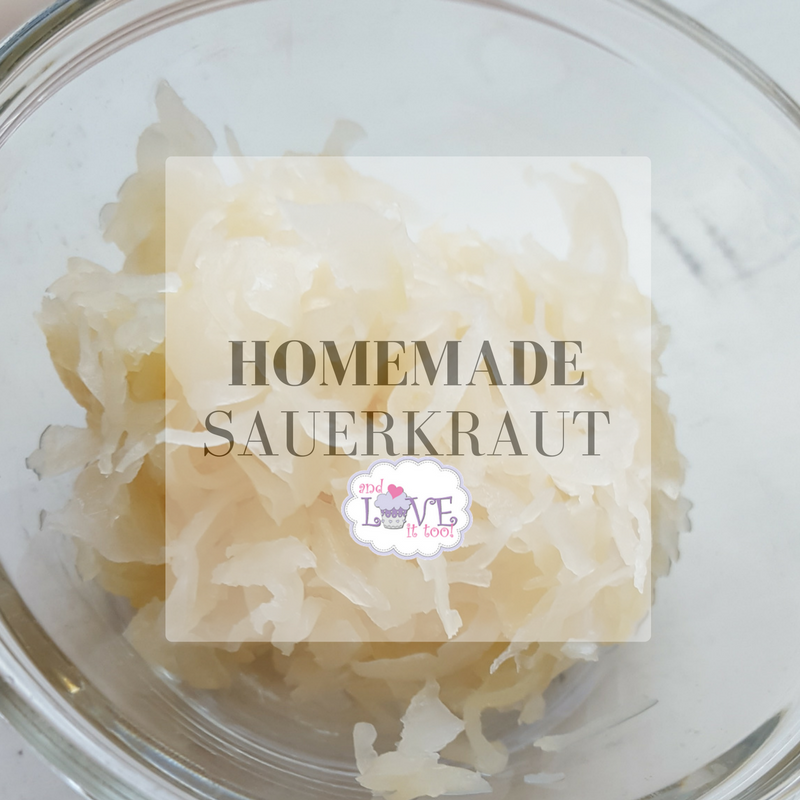
About a week ago, I shared a very, very simple recipe on Facebook with the promise of getting it up quickly! Thank you so very much to the many positive responses I got on there, and please forgive me for the delay! I don’t know about you, but summertime days just fly by […]
Homemade Yerba Mate Kombucha
July 15, 2016 By 4 Comments
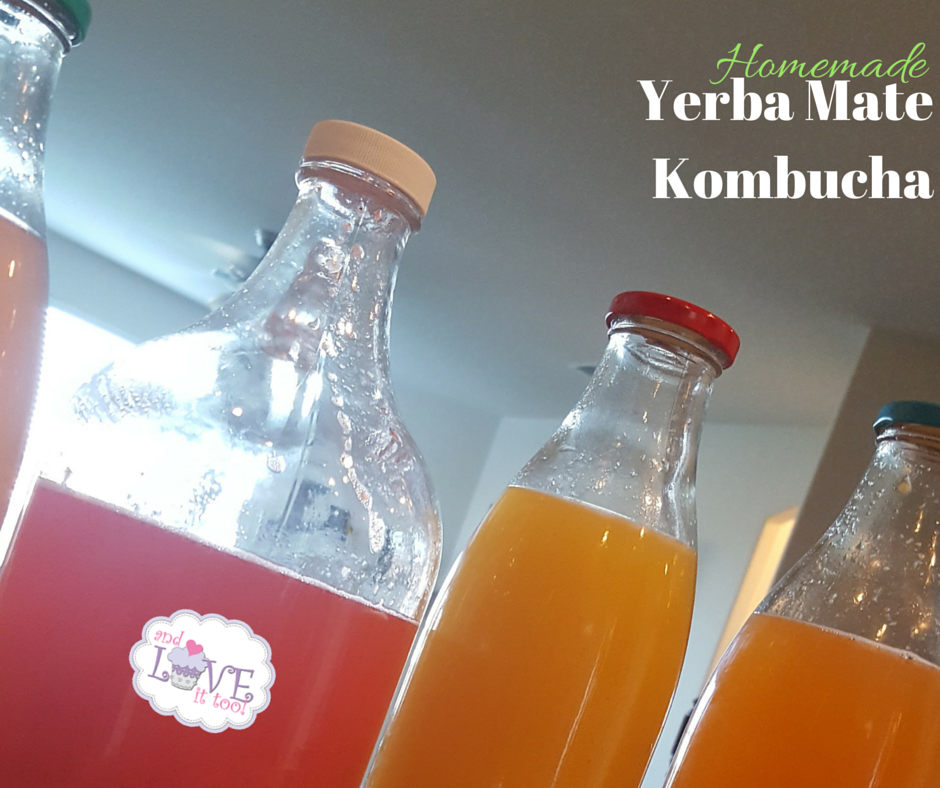
There are many claims about the benefits of drinking kombucha tea. From supporting liver detoxification to pancreas function, improved energy, digestive support, improved mood, supporting positive gut balance, aiding in nutrient assimilation and even metabolic support; kombucha is touted as the ‘miracle drink’ in many corners of the world. So as someone who has spent […]
Non-Alcoholic Mint Mojito
June 15, 2016 By 2 Comments
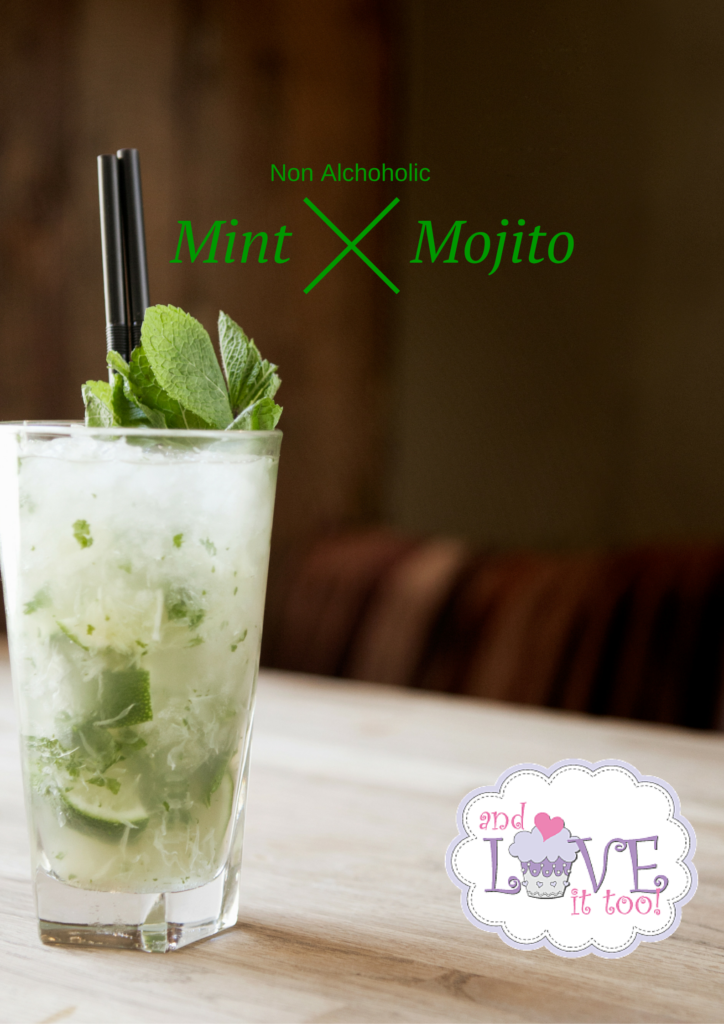
For those of you who have followed me for any period of time, it probably comes as no surprise that I don’t drink alcohol. But that doesn’t mean I don’t enjoy adult type non-alcoholic cocktails. There is something really refreshing about the combination of lime and mint that makes these Non-Alcoholic Mint Mojito’s ideal. […]
Oven Roasted, Herbed Prime Rib of Pork
June 1, 2016 By 2 Comments
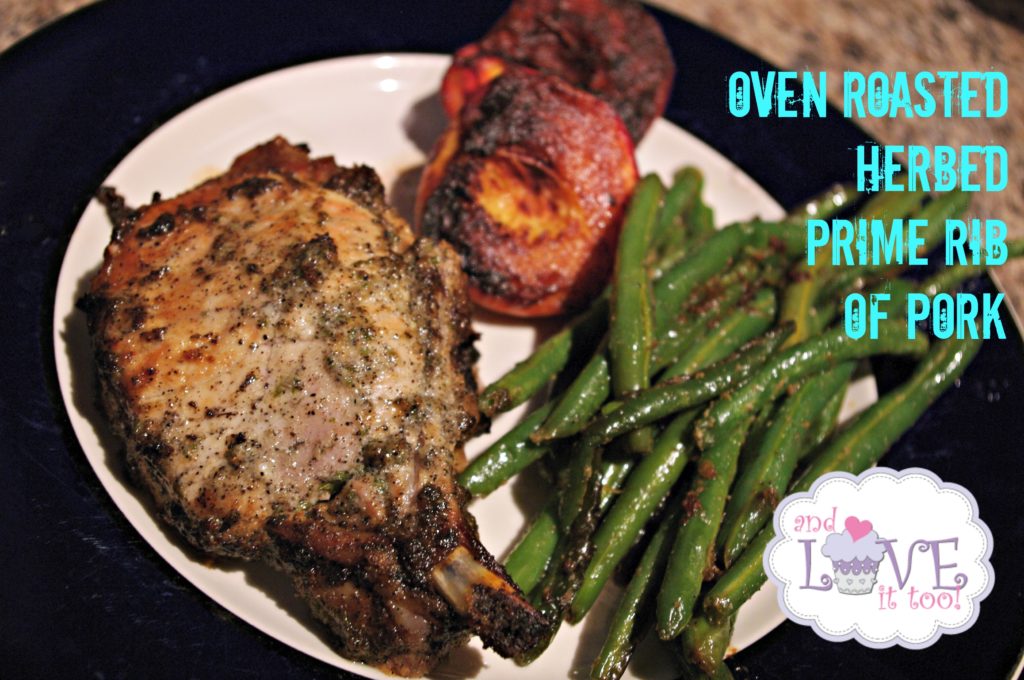
It is fairly rare that I come across something I feel I should have known about (food wise) and yet have never tried… Recently I was gifted a nice rack of Prime Rib of Pork. While I have enjoyed and roasted many Prime Ribs in my day, Prime Rib of Pork was something I […]
Pan Roasted Peaches
May 25, 2016 By 6 Comments

Maybe you’re avoiding potatoes. Maybe you’re a peach fanatic. Or maybe you’re just looking for something a little different to go with dinner tonight. Whatever it is, you’ll love these pan roasted peaches! Perfectly paired with your favorite roast, steak or chicken dinner, these sweet with just a little savory peaches are an easy […]
Elimination Diets…What Are They, and Why Should You Care?
May 18, 2016 By Leave a Comment
As a full-time wellness advocate who is certified in personal and children’s nutrition, works regularly with essential oils and various holistic means to wellness, I am often asked all kinds of questions about every health goal you could imagine. I love this because it helps me stay on top of vital information and […]
Fresh Watermelon, Cucumber and Tomato Salad
May 13, 2016 By 2 Comments
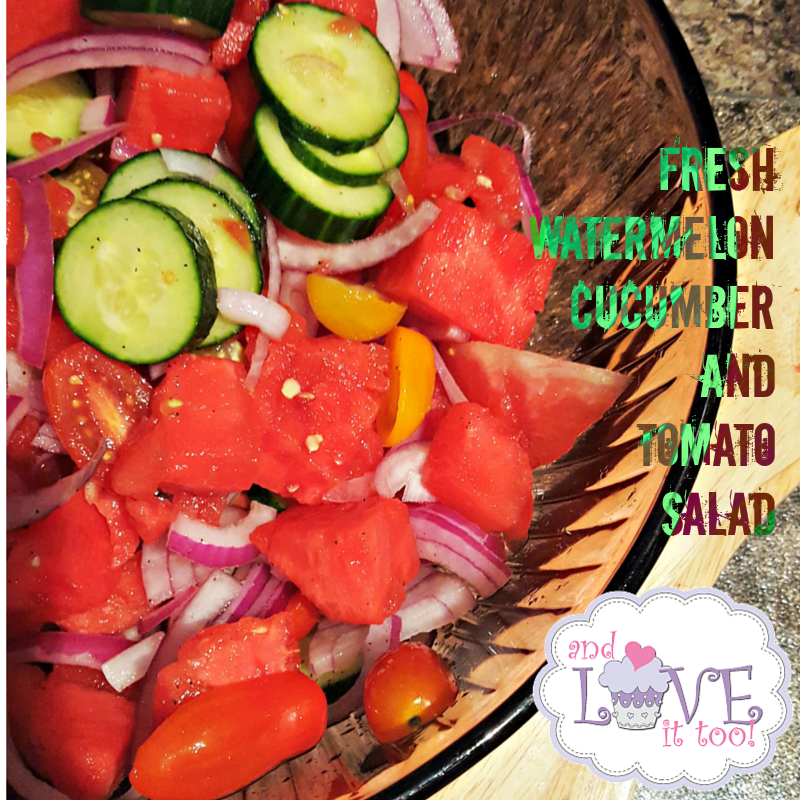
The last couple of months have been crazy…between listing our house for sale, thereby restricting my time in the kitchen because everything has to be perfect for showings; to up and moving my family across the state, it’s been difficult to sit down and recipe develop/write the way I wish to do! My husband […]


