
What do you do when the high for the day is a whopping 22 degrees, the roads are covered in ice and you have been told by the local authorities to just stay home? Why you bake, of course! As we were getting moving this morning, my husband saw me grabbing the three very ripe […]
Simple Frittata (mix and match!)
December 29, 2014 By Leave a Comment
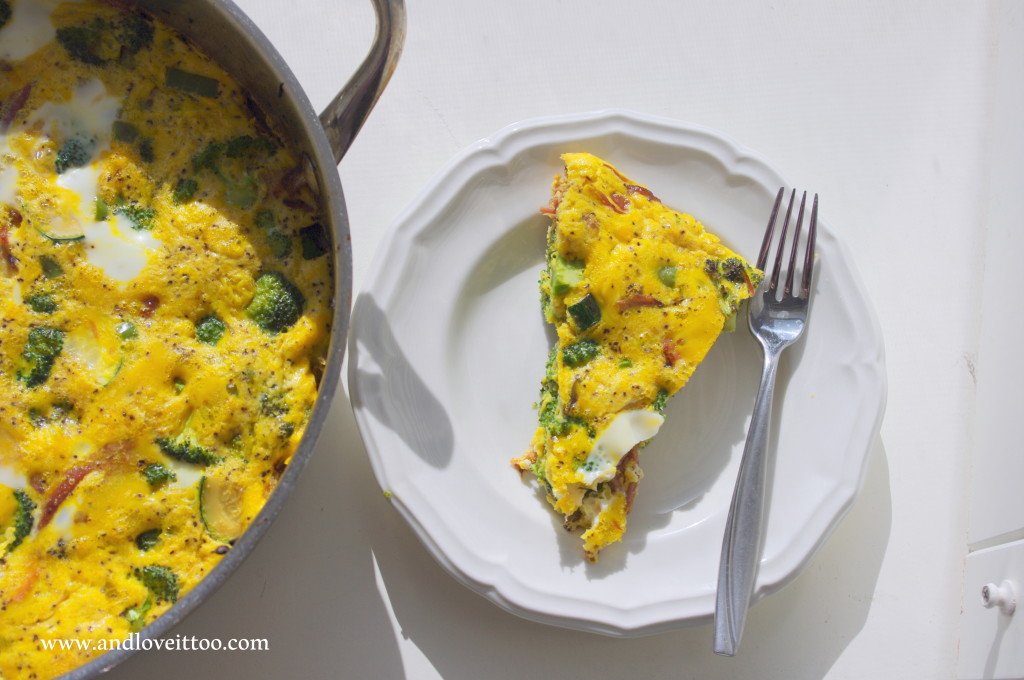
As we prepare for our New Year, New You, Naturally cleanse, I am doing my best to get back in the habit of making high-protein, vegetable rich breakfasts. I find that my week flows a lot easier when I plan ahead, and I stick to my plan much more effectively when I make one or […]
A Purely Paleo Thanksgiving Menu and Tips for Hosting a Successful Thanksgiving Feast
November 25, 2014 By Leave a Comment
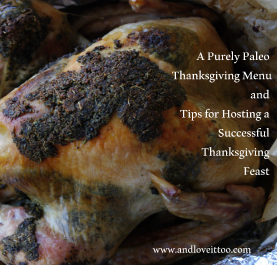
Can you believe that Thanksgiving is simply two days away? At this point, many of you have done your menu planning and already have the wheels in motion for your fantastic feast. But many of you, like me, have found yourself swamped up until this very minute and haven’t really had the opportunity to […]
Healthy Lunchbox 2014: The Ultimate Collection and Giveaway Extravaganza!
September 16, 2014 By Leave a Comment
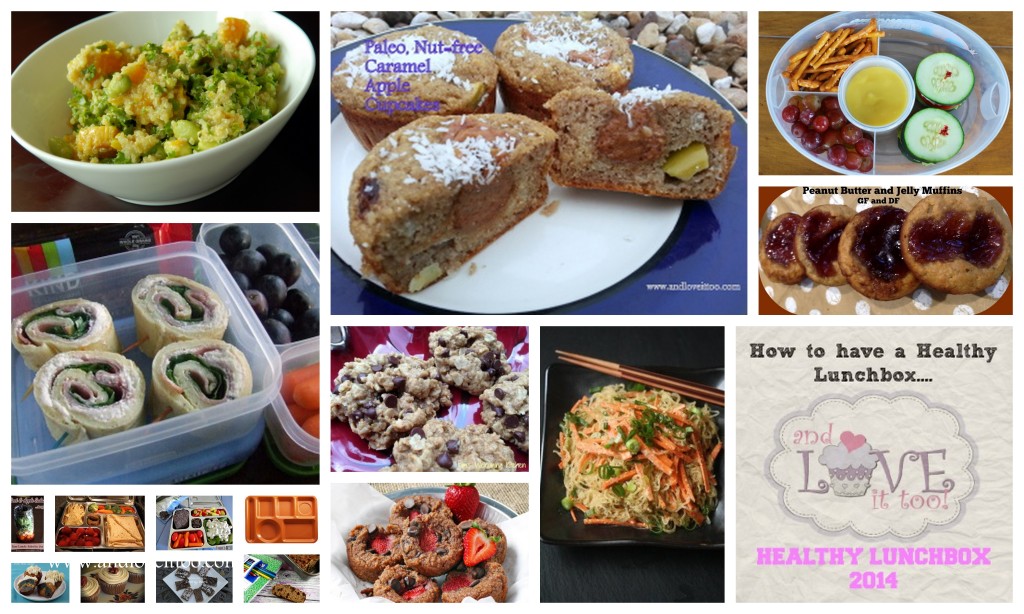
This year’s 2014 Healthy Lunchbox series has brought us many new faces and several new ideas. With each passing year, while our time may seem short and the craziness magnified, the more ideas and the more information we have, the easier we can make each and every day. This is why the Healthy Lunchbox series […]
Healthy Lunchbox 2014: Kate from Eat, Recycle, Repeat
September 15, 2014 By Leave a Comment
I cannot imagine a better way to round out the 2014 Healthy Lunchbox series than with this special blogger. Kate from Eat, Recycle, Repeat is not only a veteran Healthy Lunchbox guest blogger, she is an educator, traveler and dear friend. Currently, Kate resides in Japan and thus, expanding her overall repertoire on what a healthy lunchbox […]
Healthy Lunchbox 2014: Cassidy from Cassidy’s Craveable Creations
September 11, 2014 By 4 Comments
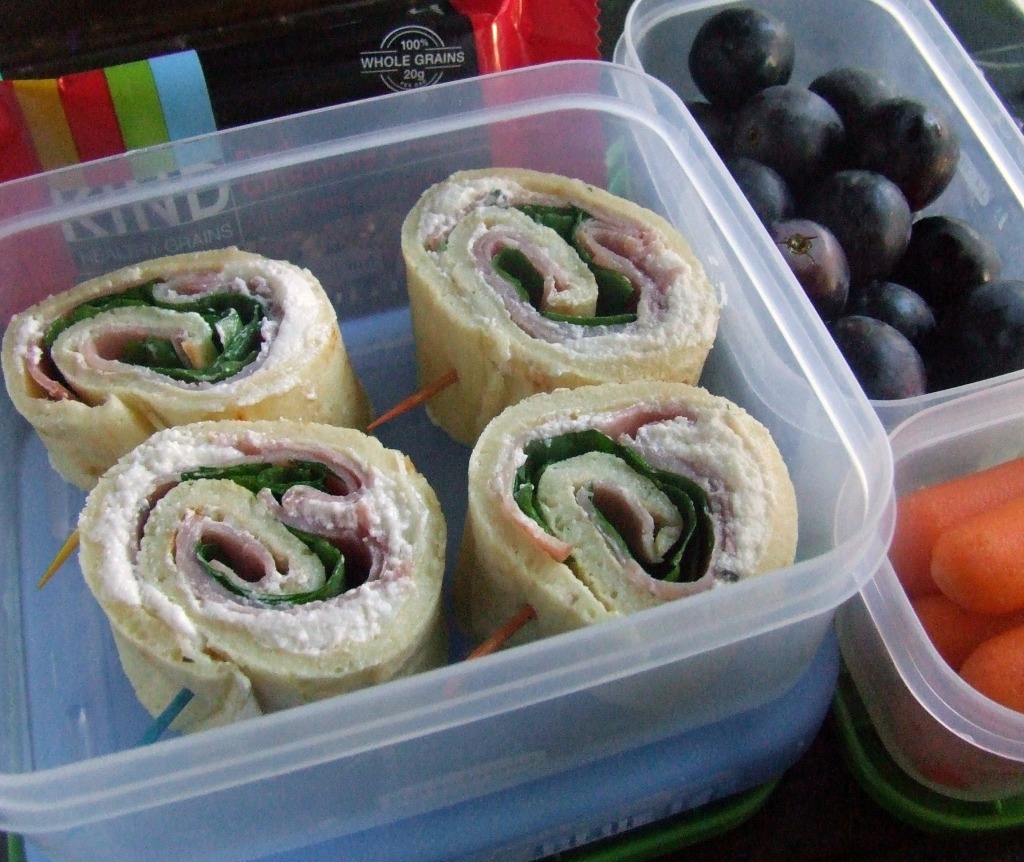
One of the things I appreciate most about the Healthy Lunchbox series is the ability to bring like-minded people together. Much like we have, Cassidy from Cassidy’s Craveable Creations has changed her family using the power of food. Today, Cassidy is sharing her Paleo Pinwheels which are naturally gluten and dairy-free. I don’t know about you…but my kids are […]
Healthy Lunchbox 2014: Lauren from Epi Family
September 3, 2014 By Leave a Comment
It wasn’t until about 12 years ago that I ever gave any thought to what food allergies really were or even had any inclination that they would ever affect my family. The day my son took just a couple of bites of shrimp, began vomiting shortly after then swelled up and was rushed to the […]
Healthy Lunchbox 2014: Phoebe from Feed me Phoebe
August 21, 2014 By 2 Comments
Phoebe from Feed me Phoebe and I have had the opportunity to work together in varying capacities from blogging with the Food Network to her fantastic Israeli Chickpea Salad shared in the 2012 Healthy Lunchbox series. From cooking classes to being able to hire Phoebe as your own personal chef, should you ever have the chance…this is a […]
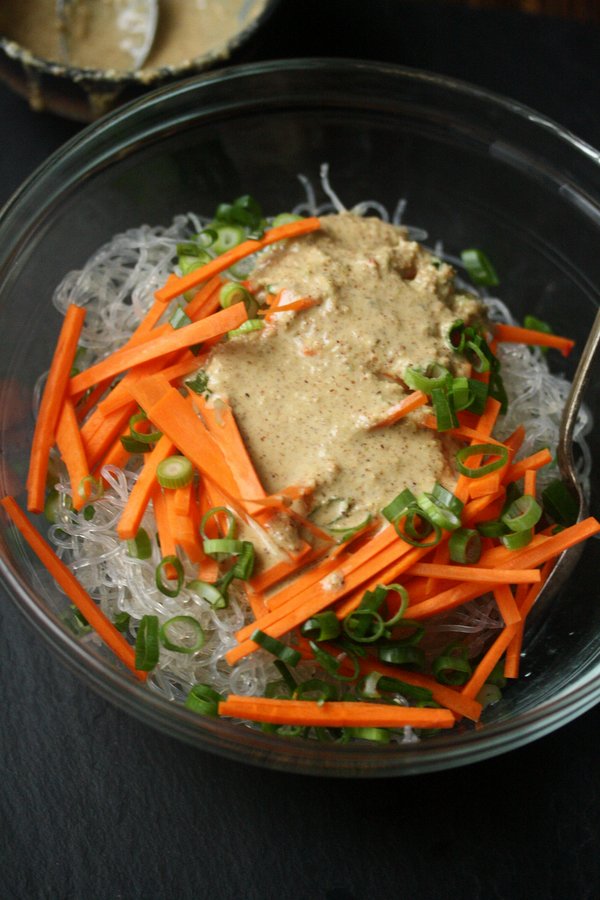
Healthy Lunchbox 2014: Janet from The Taste Space
August 16, 2014 By 2 Comments
Last year, Janet from The Taste Space shared with us a luscious Salad in a Jar. Her Topaz Dragon Ginger Dressing is one of my all-time favorite salad dressing solutions. As an opening recipe to this year’s Healthy Lunchbox series, this Quinoa Protein Bowl is an excellent choice for those who is meat-free or simply enjoys an […]
Momma’s Turkey
November 14, 2013 By Leave a Comment
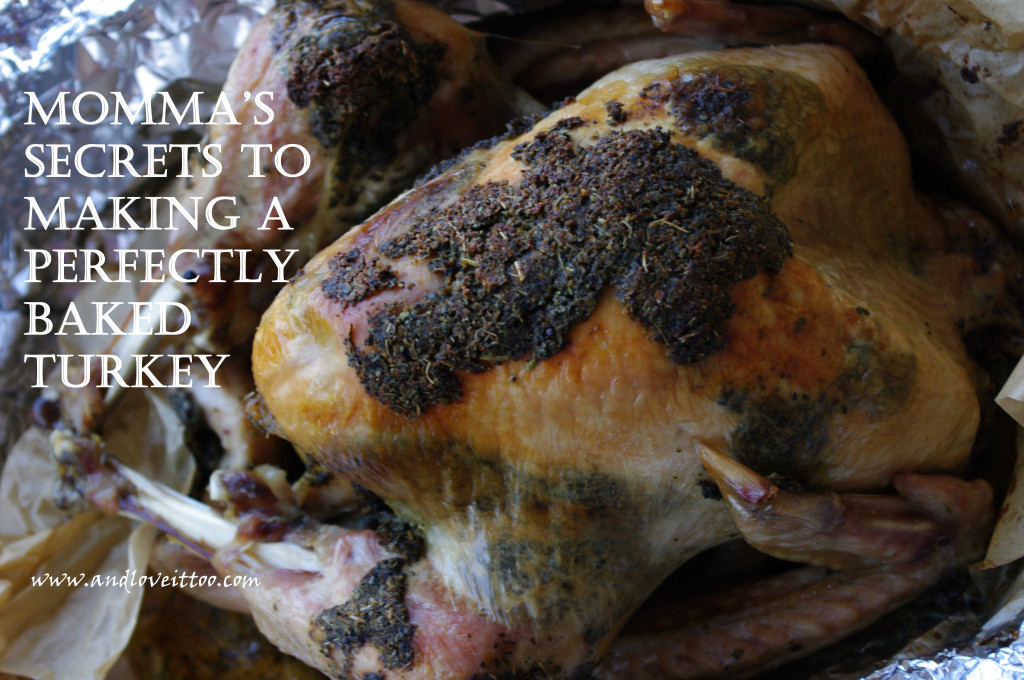
Thanksgiving is right around the corner. Two weeks away. Seriously!?! Where has this year gone? In deciding which recipes I needed to share before the big day arrives, I spent some time flipping through the pages of my blog and realized that I have spent a lot of time sharing my favorite sides like Paleo […]


