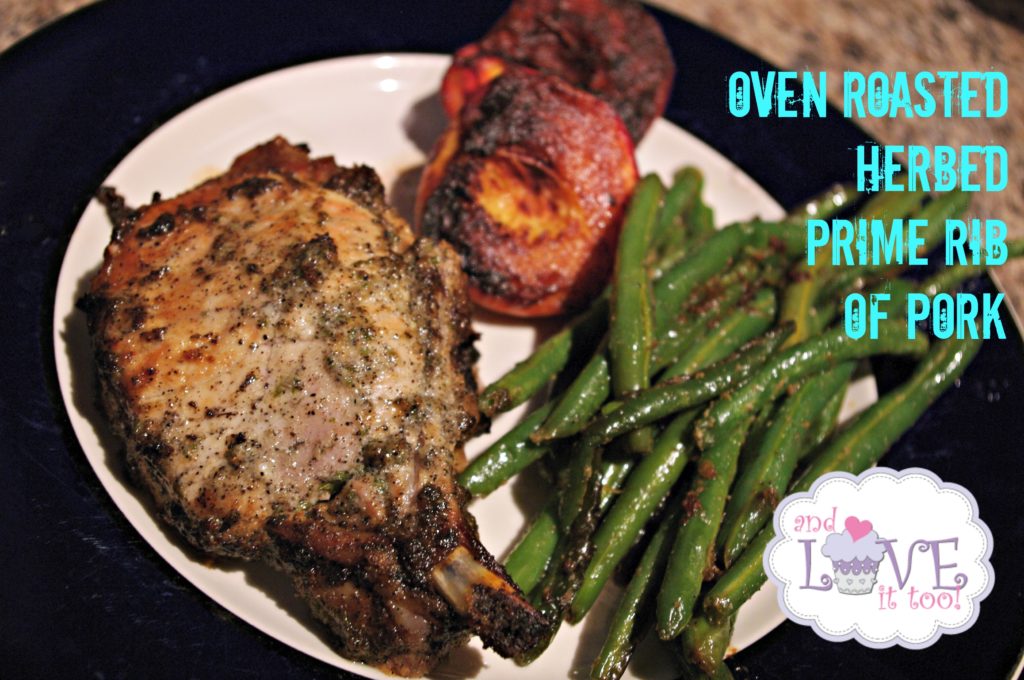
It is fairly rare that I come across something I feel I should have known about (food wise) and yet have never tried… Recently I was gifted a nice rack of Prime Rib of Pork. While I have enjoyed and roasted many Prime Ribs in my day, Prime Rib of Pork was something I […]
Fresh Watermelon, Cucumber and Tomato Salad
May 13, 2016 By 2 Comments
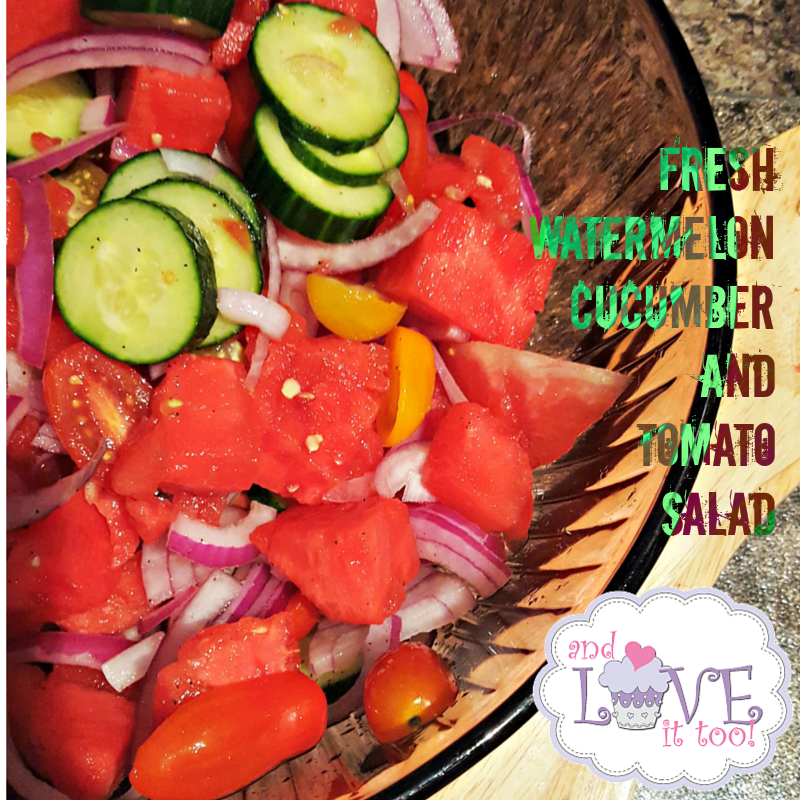
The last couple of months have been crazy…between listing our house for sale, thereby restricting my time in the kitchen because everything has to be perfect for showings; to up and moving my family across the state, it’s been difficult to sit down and recipe develop/write the way I wish to do! My husband […]
Paleo Citrus and Fruit Muffins For March Muffin Madness
March 24, 2016 By 11 Comments
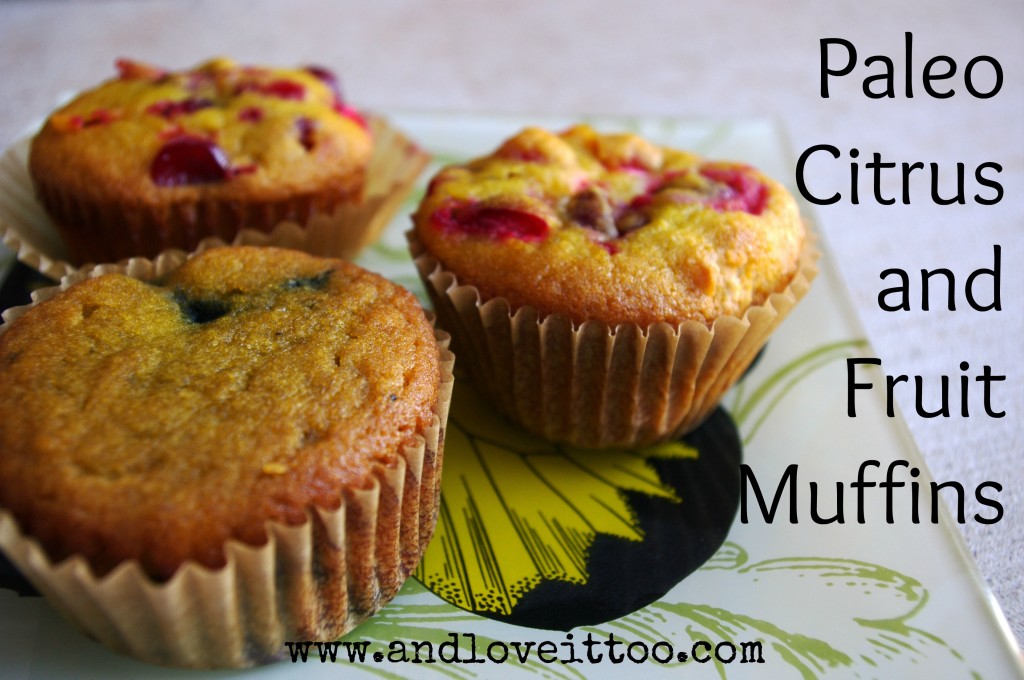
A few years ago, my friend Shirley from gfe-gluten free easily, began a series called March Muffin Madness. Just as I was honored to be able to participate in this event during its inception, I am thrilled to be a part of it again today! Just as it is with most things, March Muffin […]
St. Patrick’s Day Deliciousness!
March 16, 2016 By Leave a Comment

Cead mile failte! It’s no secret that I love St. Patrick’s day. Any excuse to wear green, the perfect compliment to my Irish red hair, right? 😉 But what I also love is the food! St. Patrick’s Day staples in our home include: Irish Soda Bread , which I usually make two loaves of; one the more […]
Sweet and Savory Breakfast Hash
March 9, 2016 By 10 Comments
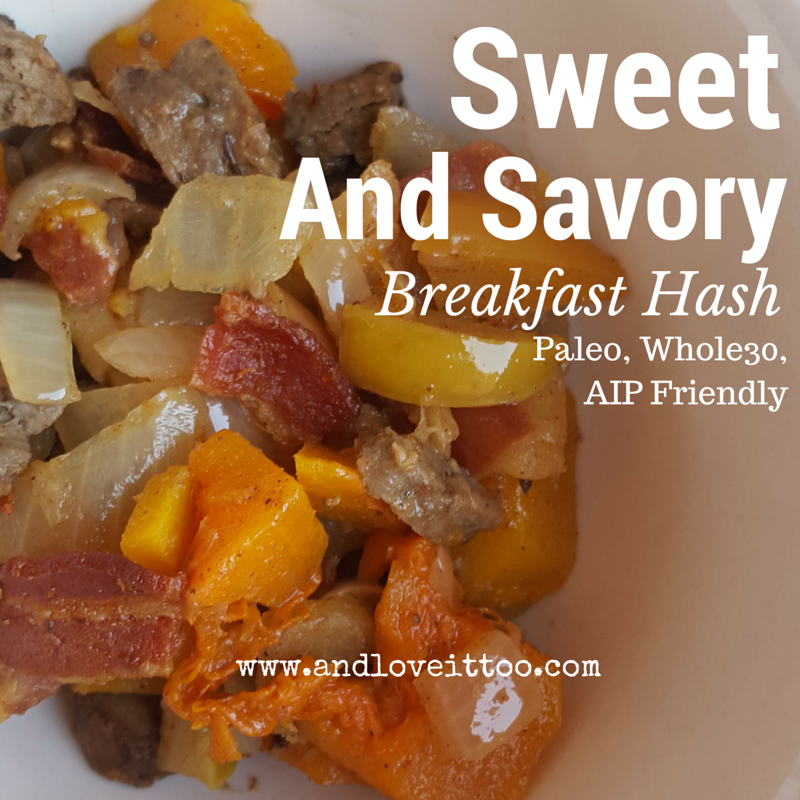
Some days you wake up and just know that you’re hungry for something high-powered but egg free. Some days you really, really desire something that is both sweet and savory. And some days you know you’ll need to make a lot all at once to make your efforts worthwhile (and to ensure delicious leftovers!!). For […]
Paleo Chicken Parmesan
February 22, 2016 By 2 Comments
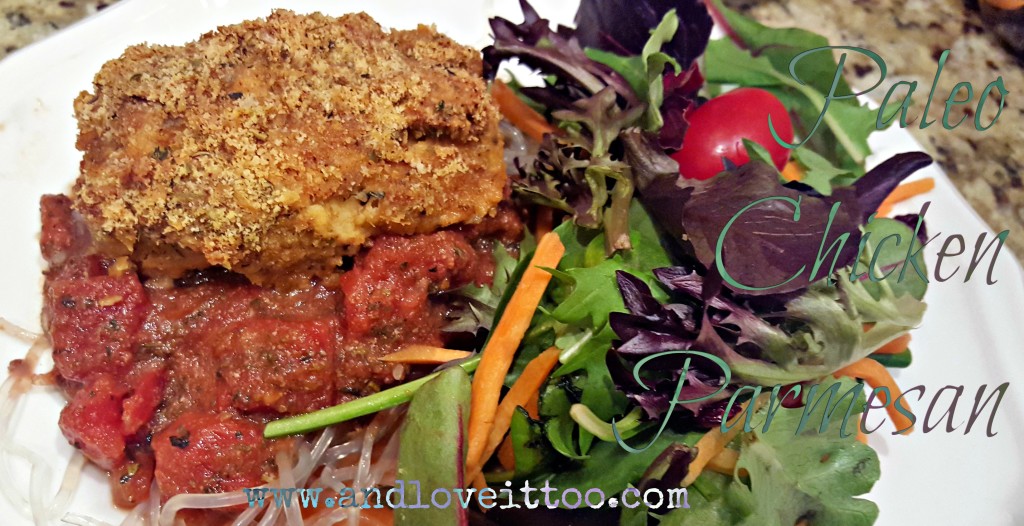
Life, as we all know, can sometimes become so overwhelming. That doesn’t always mean bad or negative things are happening…it just simply means our plate is overflowing. Mine has been overflowing for quite some time, hence the lack of sharing here! Recently though, I’ve begun to realize that most of my overflow is self inflicted. […]
What We Eat: Teriyaki Beef Kabobs (Paleo, Whole30)
June 20, 2015 By 3 Comments
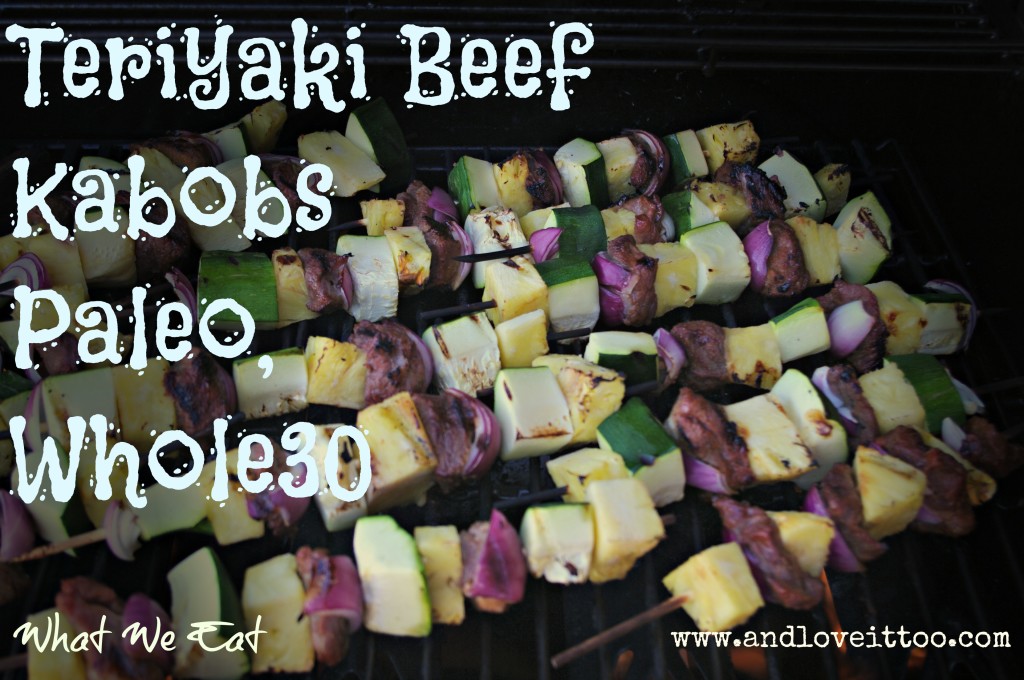
Last week I shared how I managed to stretch a meal originally planned for 4 to be enough for 8 people…this week, the concept is similar. Fruits and vegetables can make a meal stretch. Use these instead of grains and you’ve got a paleo plan you can afford to stick with. Because we purchase our […]
What We Eat: Roasted Kielbasa and Roasted Vegetable Packet Dinner
June 11, 2015 By 4 Comments
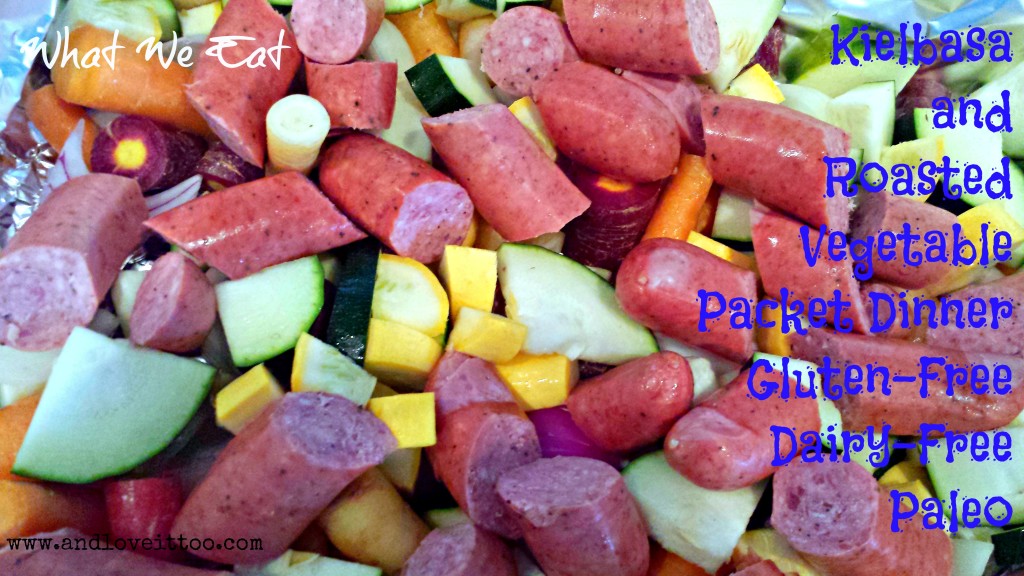
Sometimes I get in a blogging rut. I mean, I love sharing with you and I love getting to know all of you…but sometimes I find myself without any recipes because, well, what we eat doesn’t always need a recipe! I guess that happens when you move over to clean eating. Really, once you get […]
Pulled Pork with Pineapple Salsa over Roasted Acorn Squash
February 19, 2015 By 4 Comments
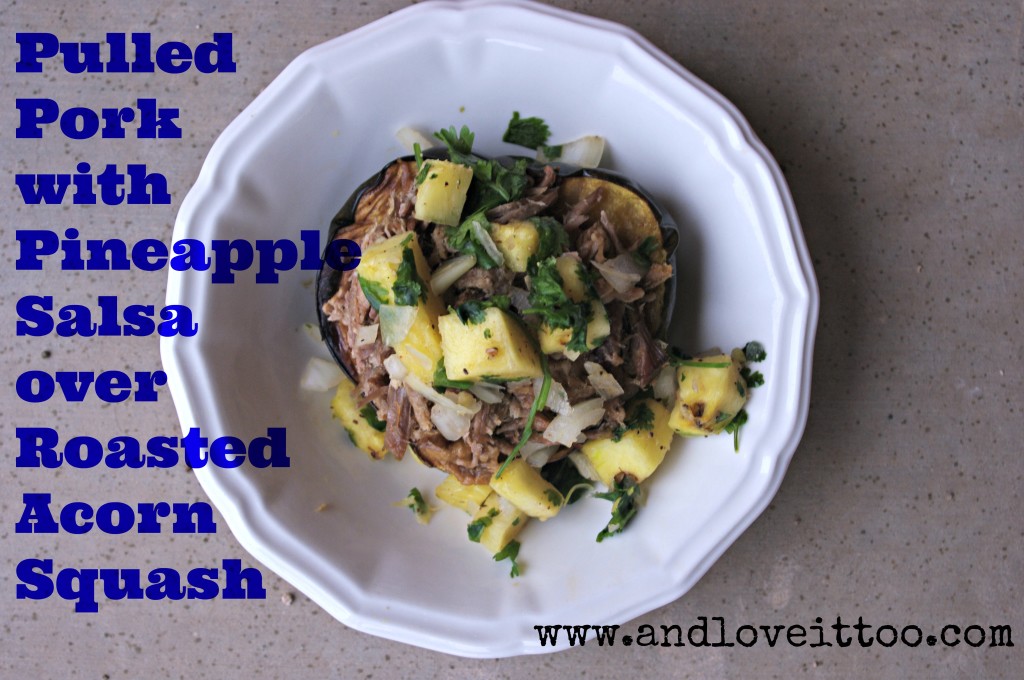
Two weeks ago I shared a simple recipe for 3-ingredient crockpot pulled pork. Today, I wanted to share with you one of our favorite ways to enjoy this! This Pulled Pork with Pineapple Salsa over Roasted Acorn Squash goes together quickly enough (once the pork has been cooked) that it makes for a great work/school […]
3-ingredient Crockpot Pulled Pork
February 5, 2015 By 2 Comments
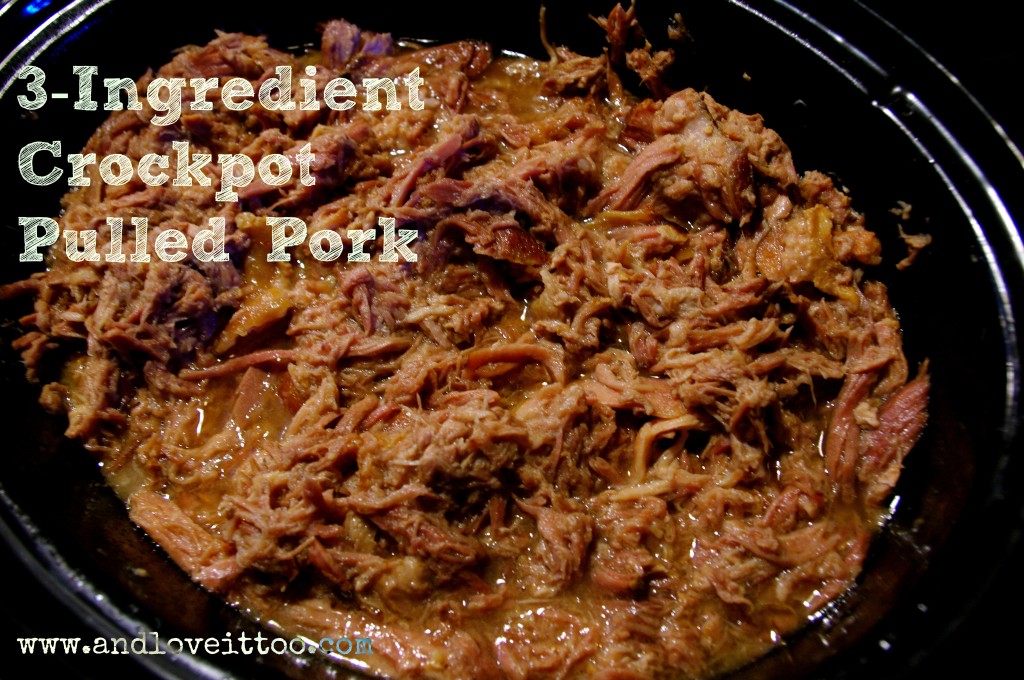
One of the most difficult things to do when feeding a large family a nutrient-dense diet is to maintain and keep a tight budget. There are many tricks that I use to do this; we source from local farms as often as possible; often through local Farmer’s Markets but also by going to their farms, […]


