With Easter around the corner, my family is preparing for the biggest celebration yet. With that comes the desire to provide somewhat ‘normal’ treats without having to break the bank to provide safe treats for everyone and without having to unnecessarily risk harmful exposure to allergens. Recently, I came across a picture of some tantalizing […]
Pulled Pork with Pineapple Salsa over Roasted Acorn Squash
February 19, 2015 By 4 Comments
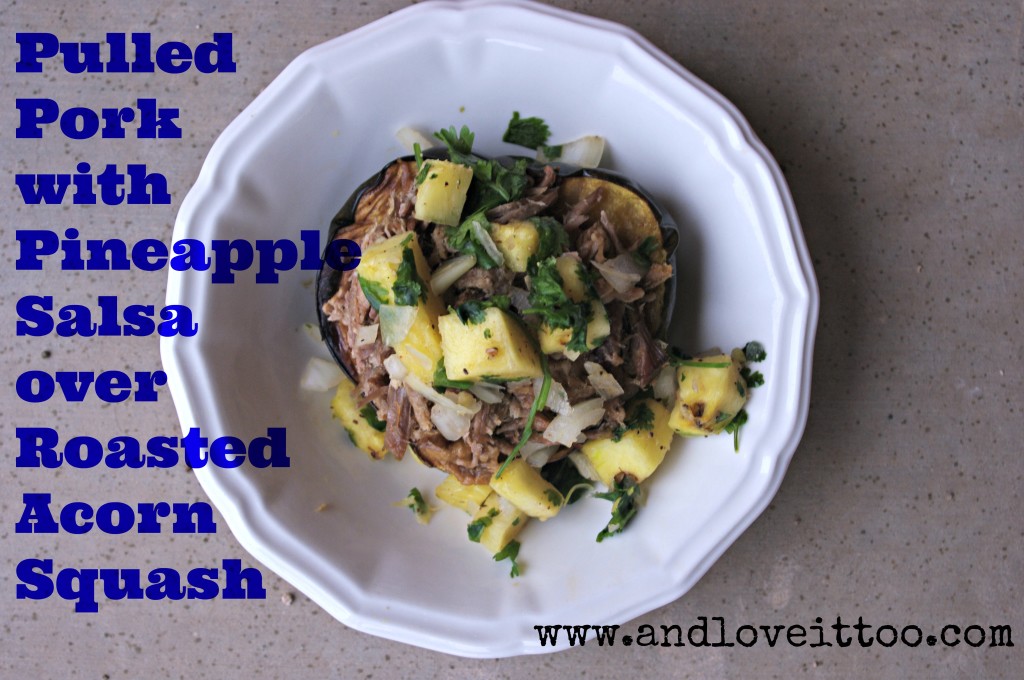
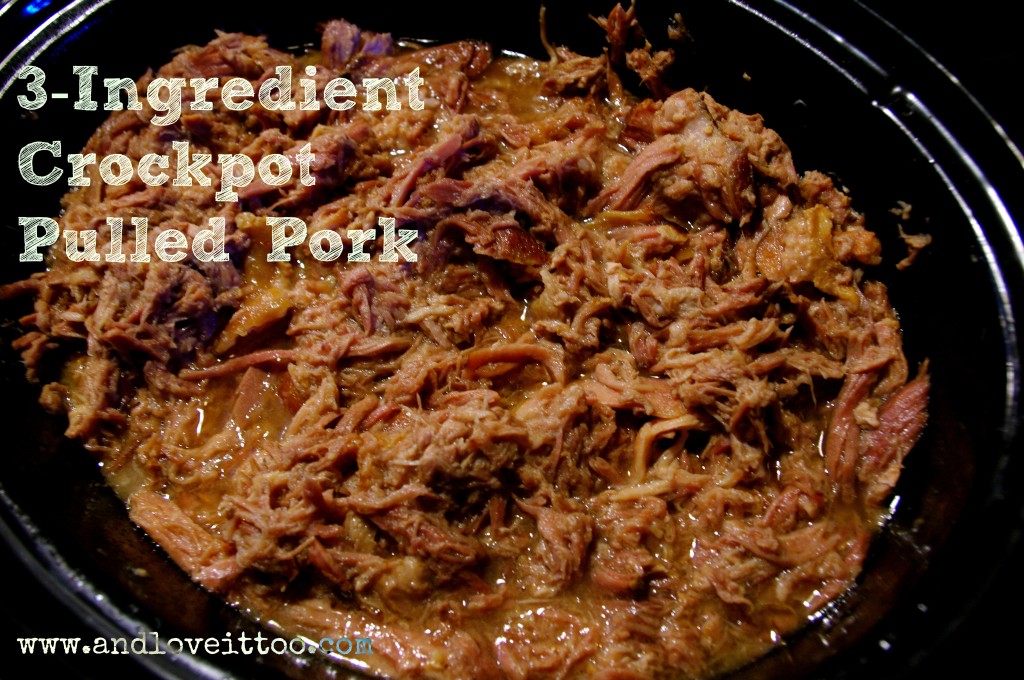
Two weeks ago I shared a simple recipe for 3-ingredient crockpot pulled pork. Today, I wanted to share with you one of our favorite ways to enjoy this! This Pulled Pork with Pineapple Salsa over Roasted Acorn Squash goes together quickly enough (once the pork has been cooked) that it makes for a great work/school […]
3-ingredient Crockpot Pulled Pork
February 5, 2015 By 2 Comments
One of the most difficult things to do when feeding a large family a nutrient-dense diet is to maintain and keep a tight budget. There are many tricks that I use to do this; we source from local farms as often as possible; often through local Farmer’s Markets but also by going to their farms, […]
A Purely Paleo Thanksgiving Menu and Tips for Hosting a Successful Thanksgiving Feast
November 25, 2014 By Leave a Comment
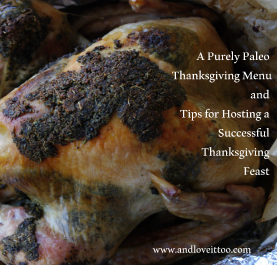
Can you believe that Thanksgiving is simply two days away? At this point, many of you have done your menu planning and already have the wheels in motion for your fantastic feast. But many of you, like me, have found yourself swamped up until this very minute and haven’t really had the opportunity to […]
Healthy Lunchbox 2014: The Ultimate Collection and Giveaway Extravaganza!
September 16, 2014 By Leave a Comment
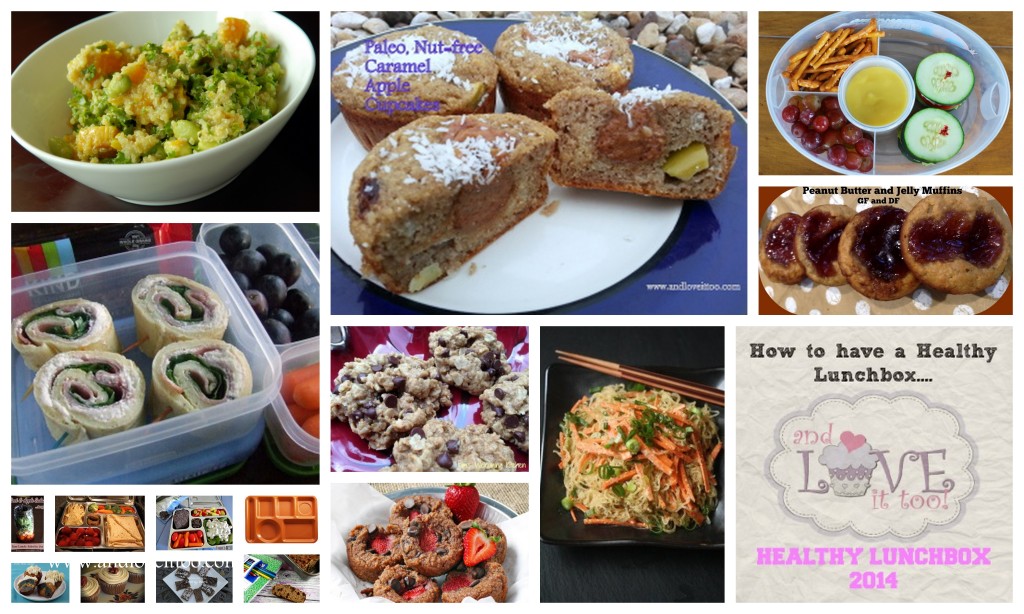
This year’s 2014 Healthy Lunchbox series has brought us many new faces and several new ideas. With each passing year, while our time may seem short and the craziness magnified, the more ideas and the more information we have, the easier we can make each and every day. This is why the Healthy Lunchbox series […]
Healthy Lunchbox 2014: Sandi from Sandi’s Allergy Free Recipes
September 10, 2014 By 1 Comment

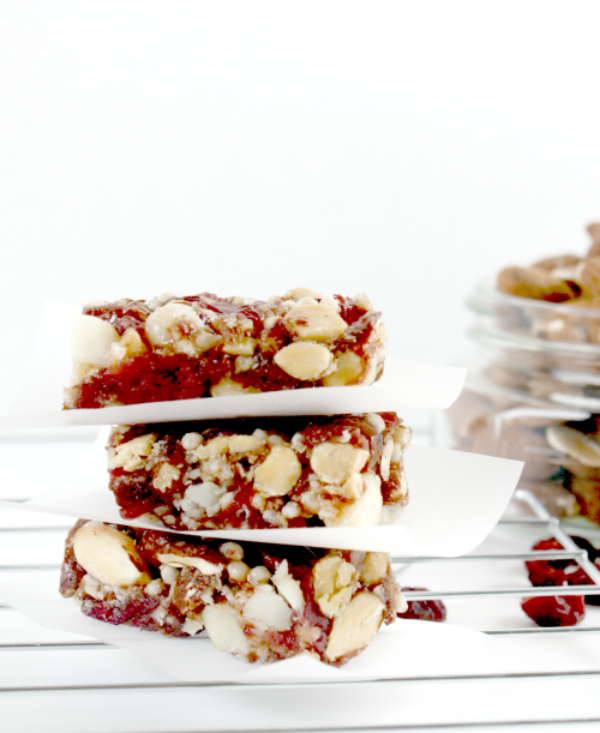
Like many of us who have been diagnosed with celiac disease or even food allergies, Sandi from Sandi’s Allergy Free Recipes spent much of her life battling symptoms but never really understood what those symptoms meant until she became very, very ill. Today, Sandi shares one of her favorite grab-and-go desserts. Easy to make and many suggestions […]
Healthy Lunchbox 2014: Dr. Weinberg from Jennifer Weinberg, MD
September 9, 2014 By 2 Comments
Jennifer Weinberg MD.com is an impressive site where its author, Jennifer Weinberg, MD, MPH, MBE teaches about a lifestyle many of us strive for, one where our lifestyle, environment and nutritional goals all fall in sync with each other. So when Dr. Weinberg said she was interested in participating as a guest blogger in this […]
Healthy Lunchbox 2014: Nicole from Rolling Out Dough
September 8, 2014 By 4 Comments
One of the first things most people will tell you about switching to a gluten-free lifestyle is that it is expensive! Fact is, when you stick to the basics, fruits, vegetables and minimally processed meats; eating gluten-free can not only be extremely affordable, it is also extremely healthy! Even so, there are times when we […]
Healthy Lunchbox 2014: Kim from Kim’s Welcoming Kitchen
September 7, 2014 By 4 Comments
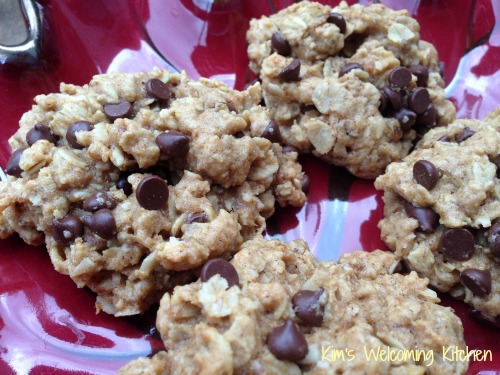
In addition to being the author of four cookbooks, Kim Lutz is the blogger at Kim’s Welcoming Kitchen which focuses on allergy-free, gluten-free and vegan recipes. I was introduced to Kim by our mutual friend, Shirley Braden over at Gluten-Free Easily and I couldn’t be more thankful. The more tools we have, the better we can provide for […]
Healthy Lunchbox 2014: Lauren from Epi Family
September 3, 2014 By Leave a Comment
It wasn’t until about 12 years ago that I ever gave any thought to what food allergies really were or even had any inclination that they would ever affect my family. The day my son took just a couple of bites of shrimp, began vomiting shortly after then swelled up and was rushed to the […]


