
There are few things more delectable than a rich, savory, creamy sauce like pesto. That is, unless you are allergic to some of the most vital ingredients normally found in this simple sauce. While my family often enjoys my Vegan Pesto with Kale, recently a friend asked me if I had ever attempted to make […]
What We Eat: Mexican Coleslaw with Cilantro-Lime Vinaigrette
July 27, 2015 By 9 Comments
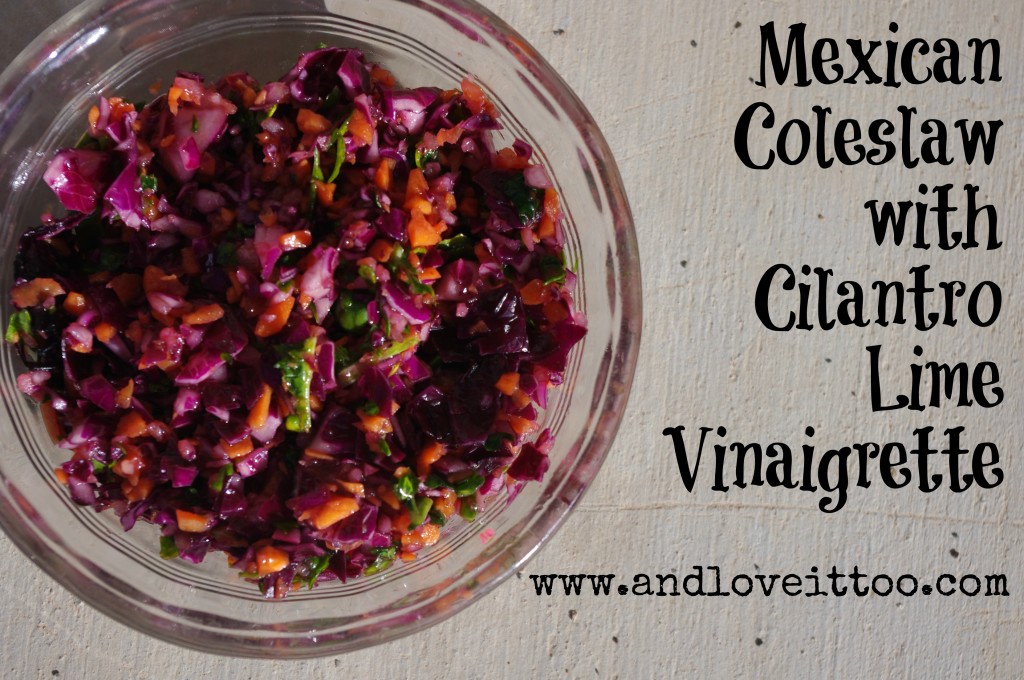
There is just something about the combination of cilantro and lime that makes me happy. My cilantro-lime ranch vegetable dip is made and enjoyed weekly in our home. I love the combination of cilantro and lime in cauliflower rice, on my paleo tacos and more… So when I had several heads of cabbage needing to […]
What We Eat: Teriyaki Beef Kabobs (Paleo, Whole30)
June 20, 2015 By 3 Comments
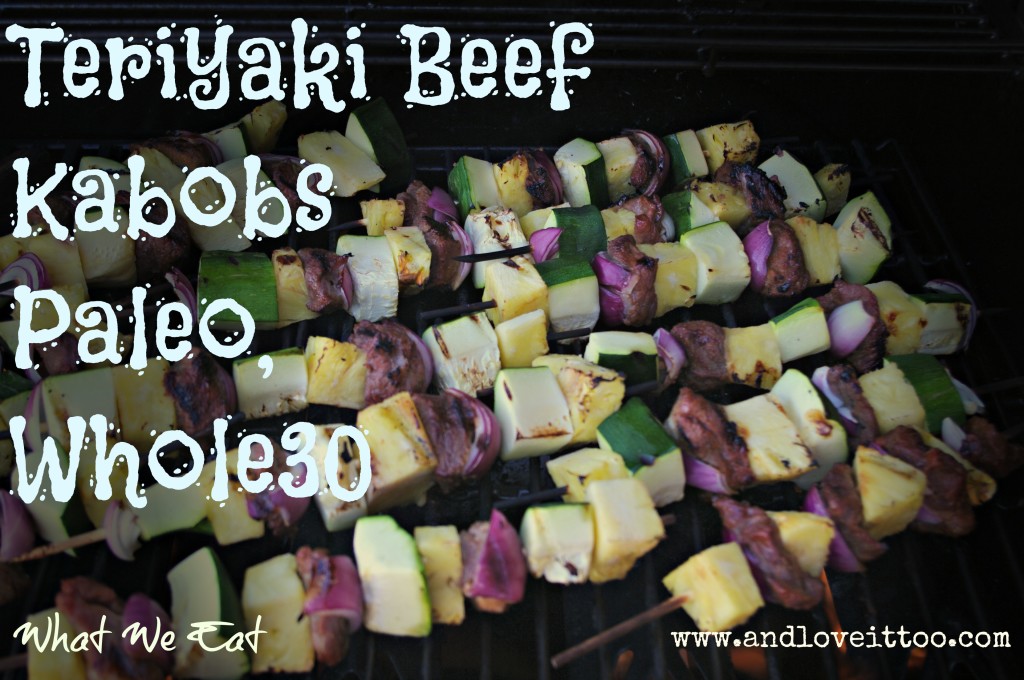
Last week I shared how I managed to stretch a meal originally planned for 4 to be enough for 8 people…this week, the concept is similar. Fruits and vegetables can make a meal stretch. Use these instead of grains and you’ve got a paleo plan you can afford to stick with. Because we purchase our […]
What We Eat: Roasted Kielbasa and Roasted Vegetable Packet Dinner
June 11, 2015 By 4 Comments
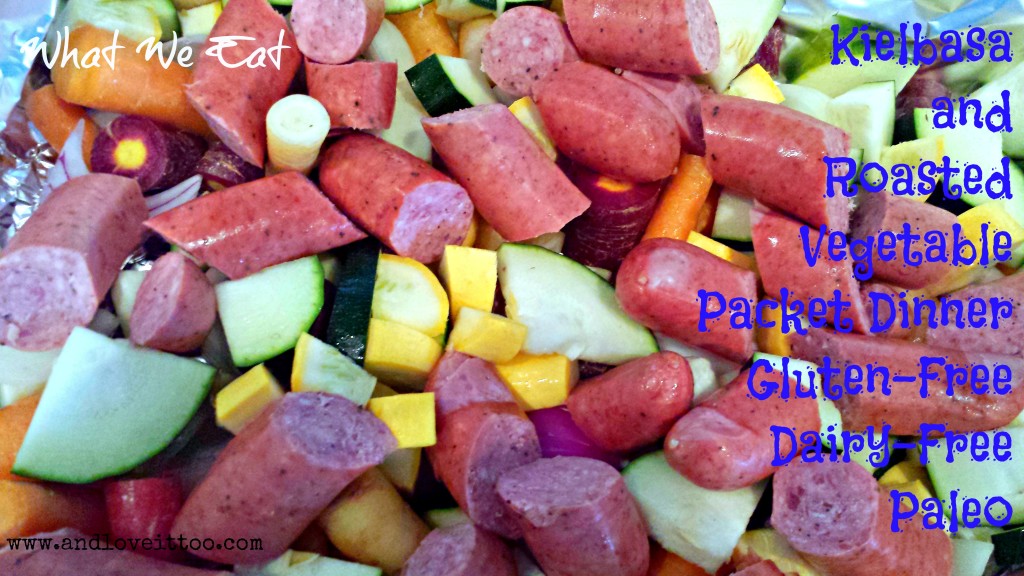
Sometimes I get in a blogging rut. I mean, I love sharing with you and I love getting to know all of you…but sometimes I find myself without any recipes because, well, what we eat doesn’t always need a recipe! I guess that happens when you move over to clean eating. Really, once you get […]
The Best Gluten-Free Bread Ever! (Done 2 Ways!)
May 23, 2015 By 12 Comments
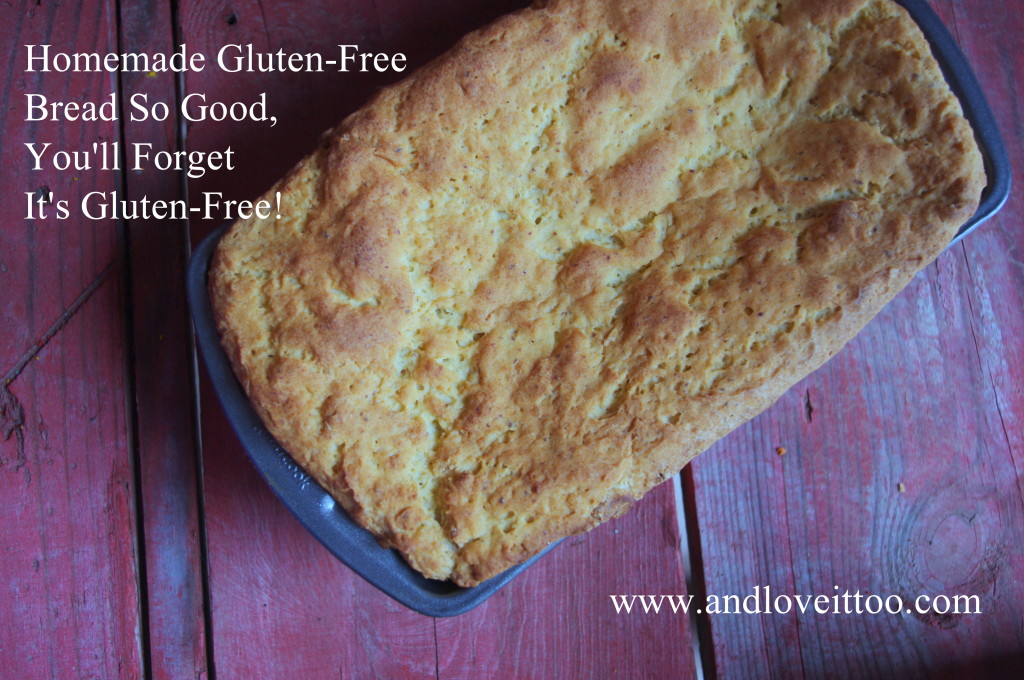
We are almost an the entire way through Celiac Awareness Month and I have failed to post a single recipe. Like many of you, this time of the year for my family of 7 is filled with sports events, end of the year concerts, talent shows, birthdays, holidays and more… It is just a wee […]
Confessions of a busy mom (and one really great dairy-free buttercream frosting recipe)
April 3, 2015 By 4 Comments

I have a confession. Something that has sat on my shoulders for some time. No matter how much I want to, no matter how hard I try… I cannot always make things from scratch. I mean, I really want to be that mom that has her business, writes her blog (or two), is at […]
Nutbutter Bars (Paleo Friendly, Nut-Free Option Listed)
March 26, 2015 By Leave a Comment
With Easter around the corner, my family is preparing for the biggest celebration yet. With that comes the desire to provide somewhat ‘normal’ treats without having to break the bank to provide safe treats for everyone and without having to unnecessarily risk harmful exposure to allergens. Recently, I came across a picture of some tantalizing […]
Pulled Pork with Pineapple Salsa over Roasted Acorn Squash
February 19, 2015 By 4 Comments
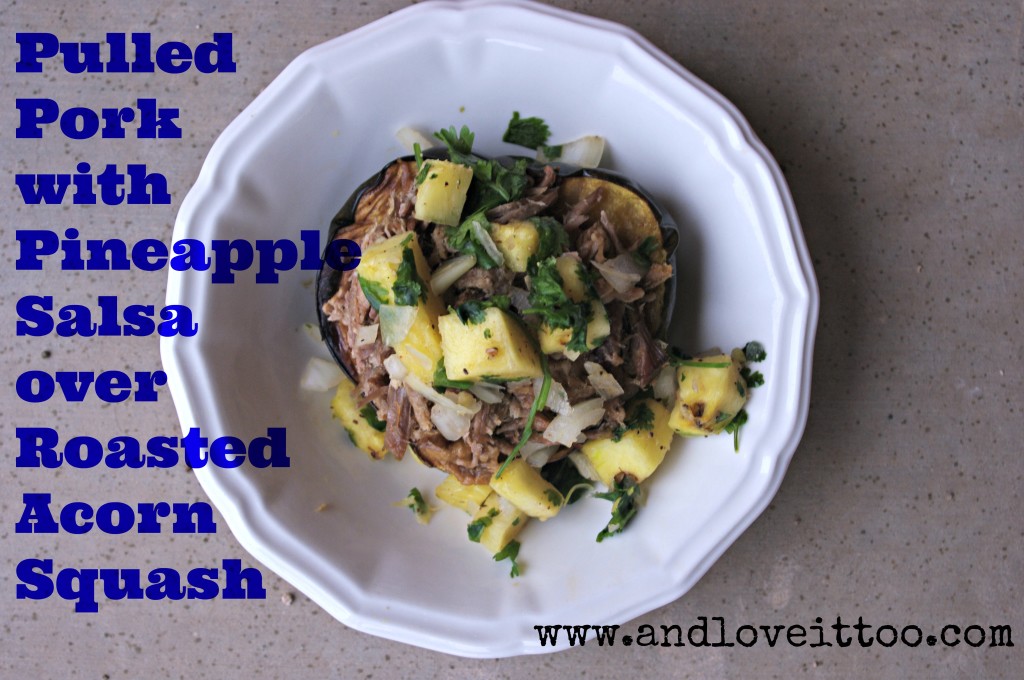
Two weeks ago I shared a simple recipe for 3-ingredient crockpot pulled pork. Today, I wanted to share with you one of our favorite ways to enjoy this! This Pulled Pork with Pineapple Salsa over Roasted Acorn Squash goes together quickly enough (once the pork has been cooked) that it makes for a great work/school […]
Vanilla with Chocolate Buttercream Frosting Mustache Cake (dairy-free, gluten-free, paleo)
February 11, 2015 By 4 Comments

More often than not, when your birthday falls close to a holiday, any holiday, chances are that your party theme will fall in line with that holiday. My October baby often has some sort of Halloween or ghoulish aspect to her party (and her treats). My Thanksgiving baby (as in, she was born on Thanksgiving […]
3-ingredient Crockpot Pulled Pork
February 5, 2015 By 2 Comments
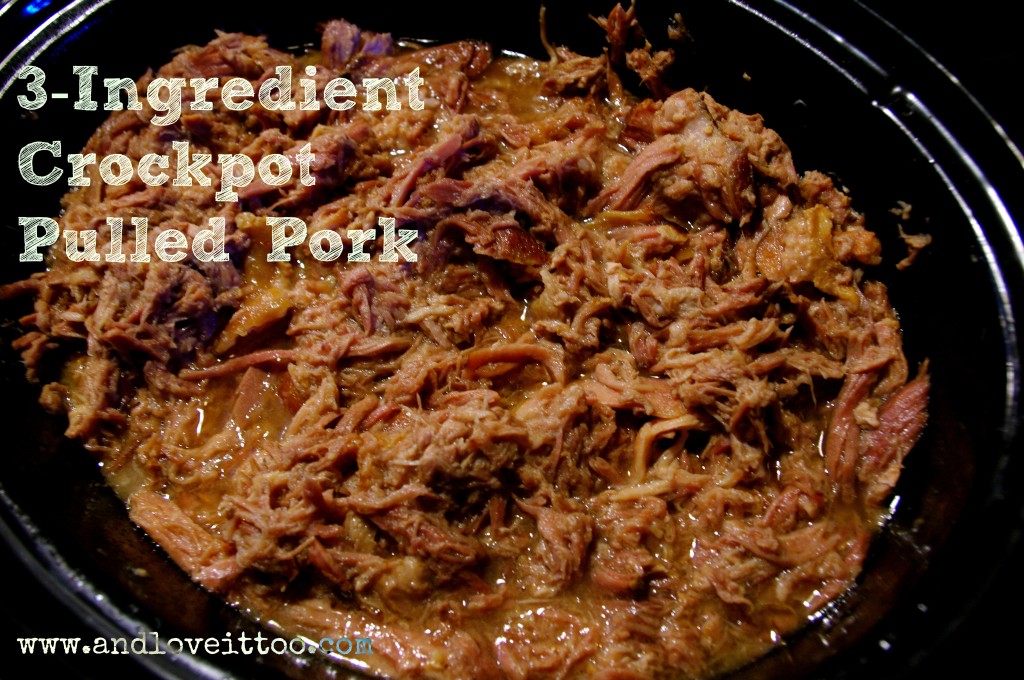
One of the most difficult things to do when feeding a large family a nutrient-dense diet is to maintain and keep a tight budget. There are many tricks that I use to do this; we source from local farms as often as possible; often through local Farmer’s Markets but also by going to their farms, […]


