With Easter around the corner, my family is preparing for the biggest celebration yet. With that comes the desire to provide somewhat ‘normal’ treats without having to break the bank to provide safe treats for everyone and without having to unnecessarily risk harmful exposure to allergens. Recently, I came across a picture of some tantalizing […]
Pulled Pork with Pineapple Salsa over Roasted Acorn Squash
February 19, 2015 By 4 Comments
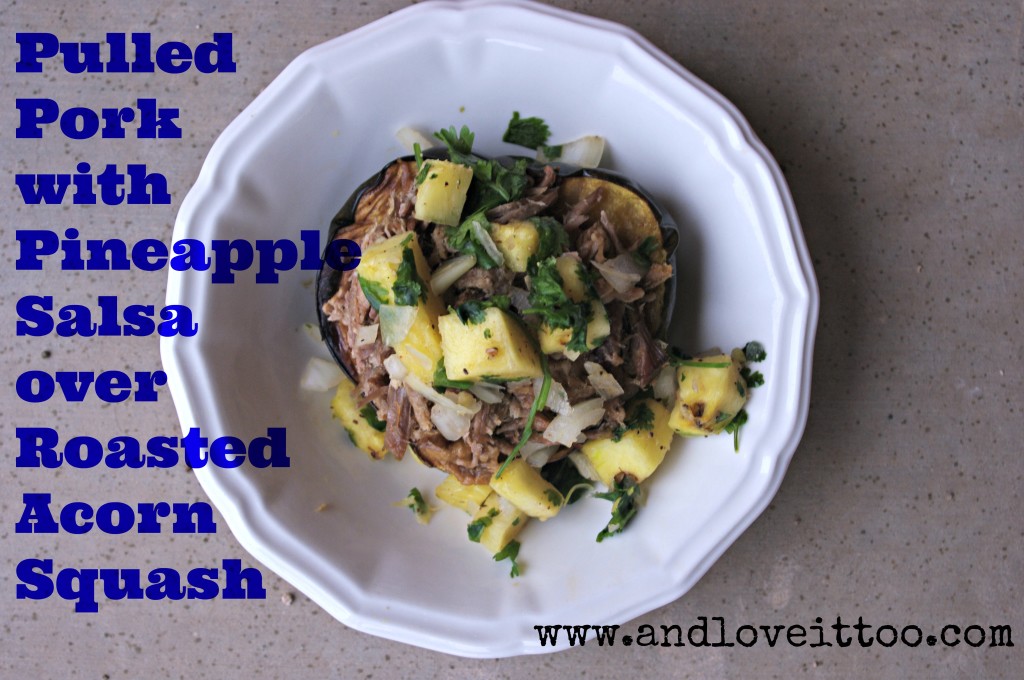
Two weeks ago I shared a simple recipe for 3-ingredient crockpot pulled pork. Today, I wanted to share with you one of our favorite ways to enjoy this! This Pulled Pork with Pineapple Salsa over Roasted Acorn Squash goes together quickly enough (once the pork has been cooked) that it makes for a great work/school […]
Vanilla with Chocolate Buttercream Frosting Mustache Cake (dairy-free, gluten-free, paleo)
February 11, 2015 By 4 Comments

More often than not, when your birthday falls close to a holiday, any holiday, chances are that your party theme will fall in line with that holiday. My October baby often has some sort of Halloween or ghoulish aspect to her party (and her treats). My Thanksgiving baby (as in, she was born on Thanksgiving […]
3-ingredient Crockpot Pulled Pork
February 5, 2015 By 2 Comments
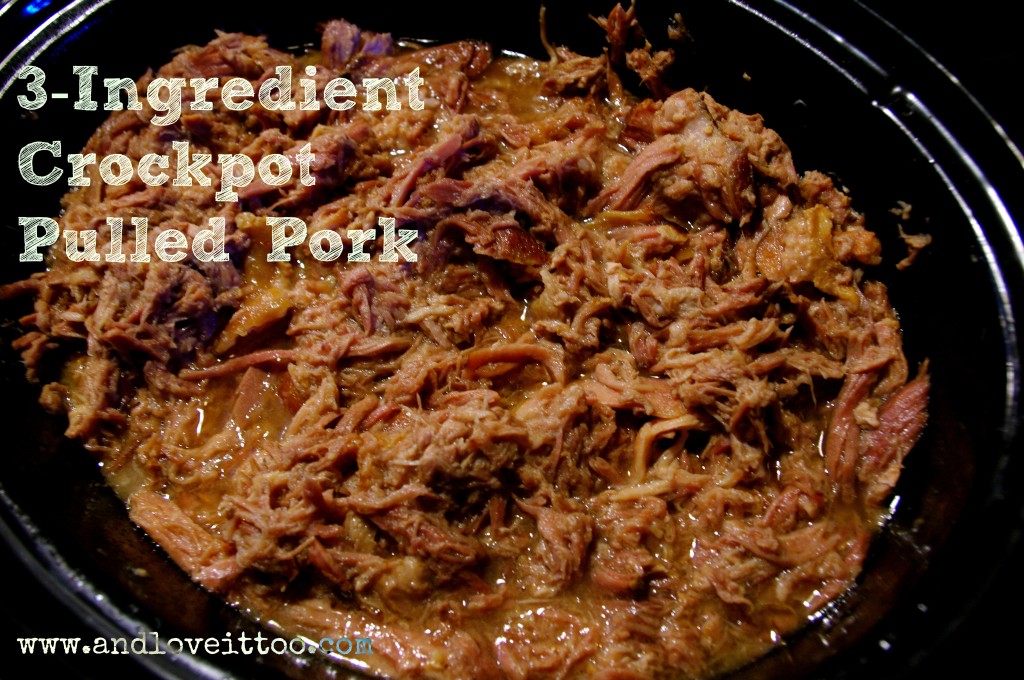
One of the most difficult things to do when feeding a large family a nutrient-dense diet is to maintain and keep a tight budget. There are many tricks that I use to do this; we source from local farms as often as possible; often through local Farmer’s Markets but also by going to their farms, […]
Banana Pecan Bread
December 31, 2014 By 1 Comment

What do you do when the high for the day is a whopping 22 degrees, the roads are covered in ice and you have been told by the local authorities to just stay home? Why you bake, of course! As we were getting moving this morning, my husband saw me grabbing the three very ripe […]
Simple Frittata (mix and match!)
December 29, 2014 By Leave a Comment
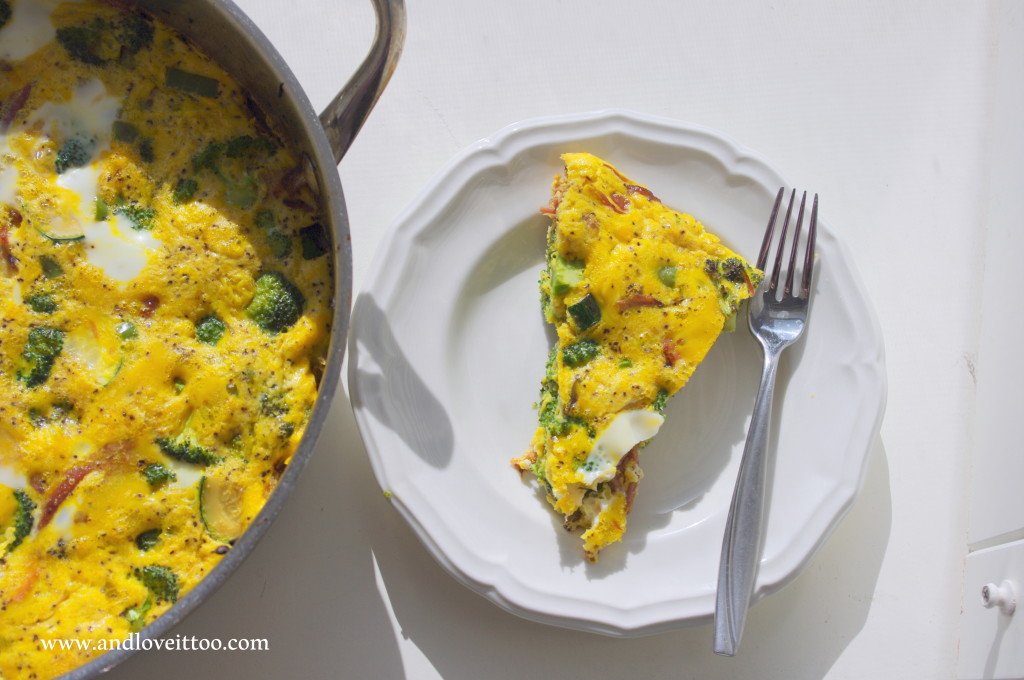
As we prepare for our New Year, New You, Naturally cleanse, I am doing my best to get back in the habit of making high-protein, vegetable rich breakfasts. I find that my week flows a lot easier when I plan ahead, and I stick to my plan much more effectively when I make one or […]
Merry Christmas to You From Our House To Yours!
December 25, 2014 By Leave a Comment

🙂 This month has flown and Christmas is here and (almost) gone! I pray this year has brought you many blessings. Wishing you a Merry Christmas from our home to yours!
A Purely Paleo Thanksgiving Menu and Tips for Hosting a Successful Thanksgiving Feast
November 25, 2014 By Leave a Comment
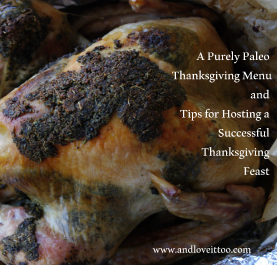
Can you believe that Thanksgiving is simply two days away? At this point, many of you have done your menu planning and already have the wheels in motion for your fantastic feast. But many of you, like me, have found yourself swamped up until this very minute and haven’t really had the opportunity to […]
Healthy Lunchbox 2014: The Ultimate Collection and Giveaway Extravaganza!
September 16, 2014 By Leave a Comment
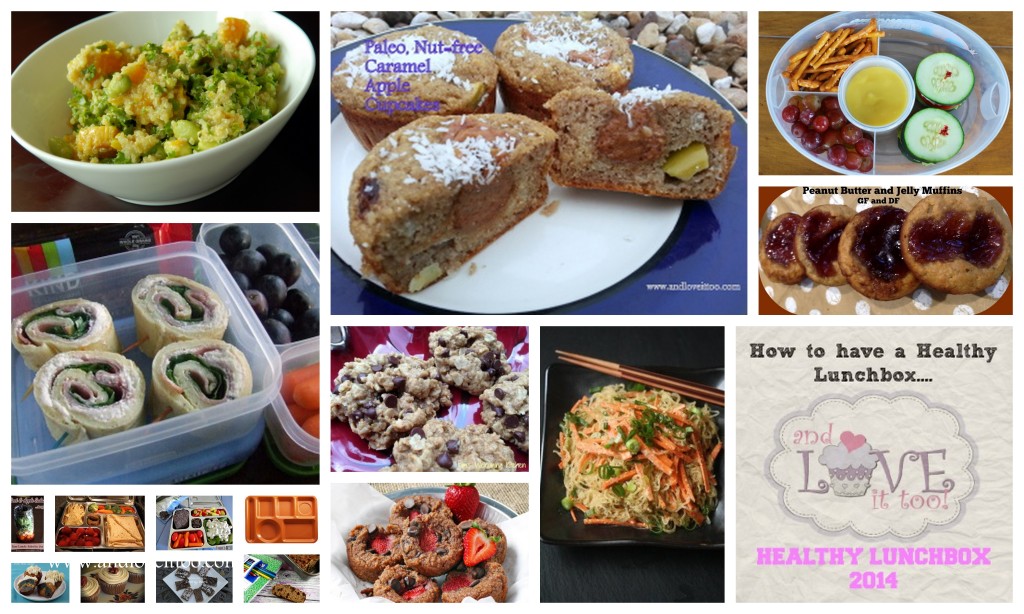
This year’s 2014 Healthy Lunchbox series has brought us many new faces and several new ideas. With each passing year, while our time may seem short and the craziness magnified, the more ideas and the more information we have, the easier we can make each and every day. This is why the Healthy Lunchbox series […]
Healthy Lunchbox 2014: Kate from Eat, Recycle, Repeat
September 15, 2014 By Leave a Comment
I cannot imagine a better way to round out the 2014 Healthy Lunchbox series than with this special blogger. Kate from Eat, Recycle, Repeat is not only a veteran Healthy Lunchbox guest blogger, she is an educator, traveler and dear friend. Currently, Kate resides in Japan and thus, expanding her overall repertoire on what a healthy lunchbox […]


