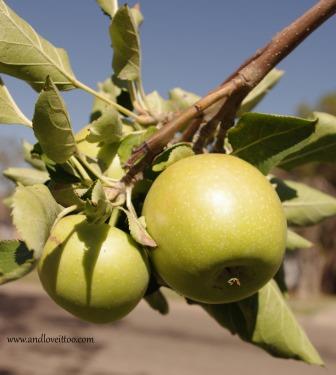
The calendar tells us that autumn has arrived! The weather where you live may or may not agree with that. While we enjoyed temperatures down in the 70’s and 80’s last week (prefect West Texas autumn temperatures), this week we are back in the mid to high 90’s. Meh. That’s West Texas craziness for you. […]
Sweet Potato Souffle (Gluten-Free, Dairy-Free, Sugar-Free, Paleo, ACD)
September 18, 2013 By 8 Comments
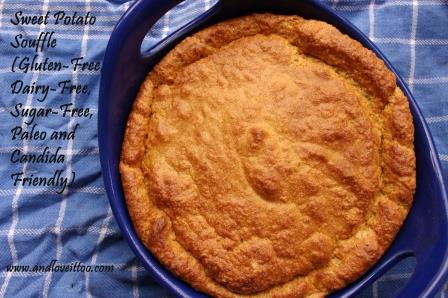
I love this time of the year! As summer draws to a close, fall produce intermingles with the last of the summer harvest. It is a great time to incorporate your favorite year-round vegetables in new and exciting ways. It is also the time that everyone seems to be gearing up for all things pumpkin. […]
Blogiversary, Loving What I do and an Angel Food Cake for you!
September 13, 2013 By 11 Comments
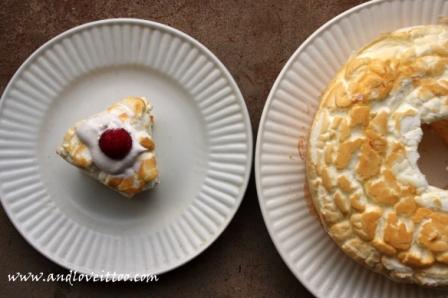
If someone had told me three years ago that more than 30,000 unique individuals would be visiting this website every month, I would have laughed. You see, when I started this site my goal was to share recipes that made my life easier. To create food that was safe for my family and delicious to […]
Strawberry Topped Boston Cream Pie (Gluten-Free, Dairy-Free, Nut-Free, Paleo)
February 14, 2013 By 4 Comments
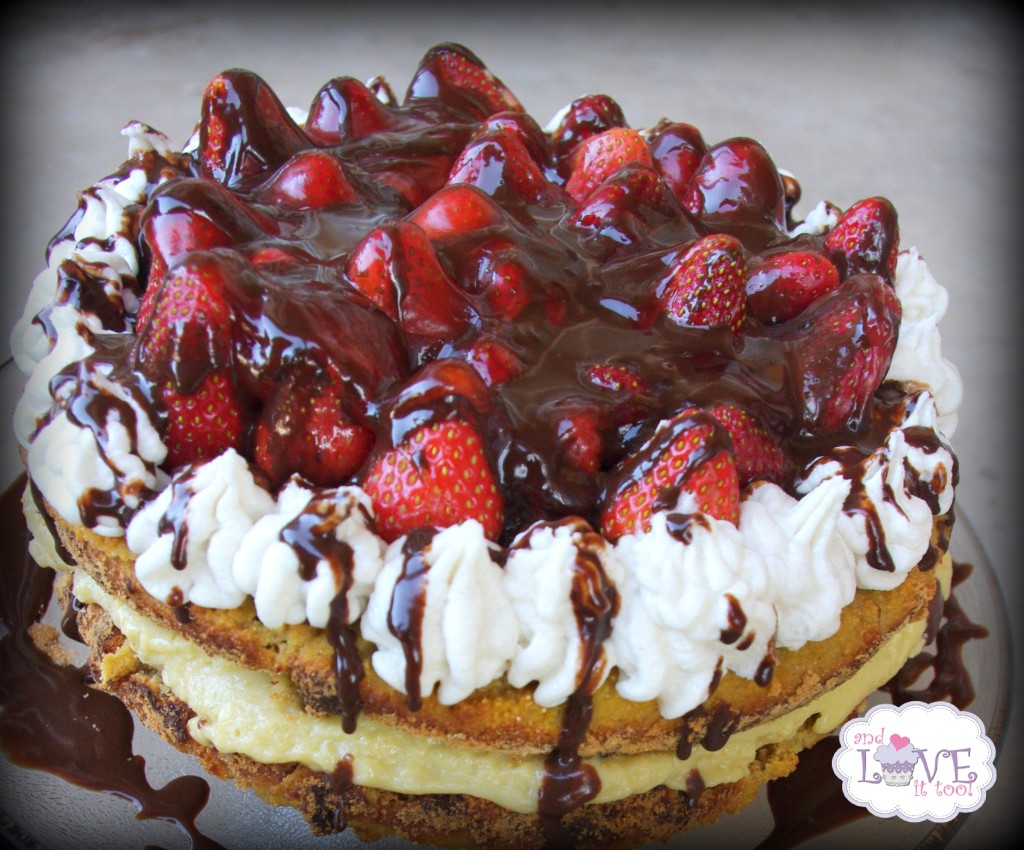
It might surprise you to learn that my husband and I don’t celebrate Valentine’s Day. Nope. Never. Not once. You see, my husband has this thing against a commercially exploited day supposedly designed to tell the person you love that you love them. He believes that love is something to be expressed on a daily […]
Sweet Potato Hasselbeck Potatoes
January 9, 2013 By 13 Comments
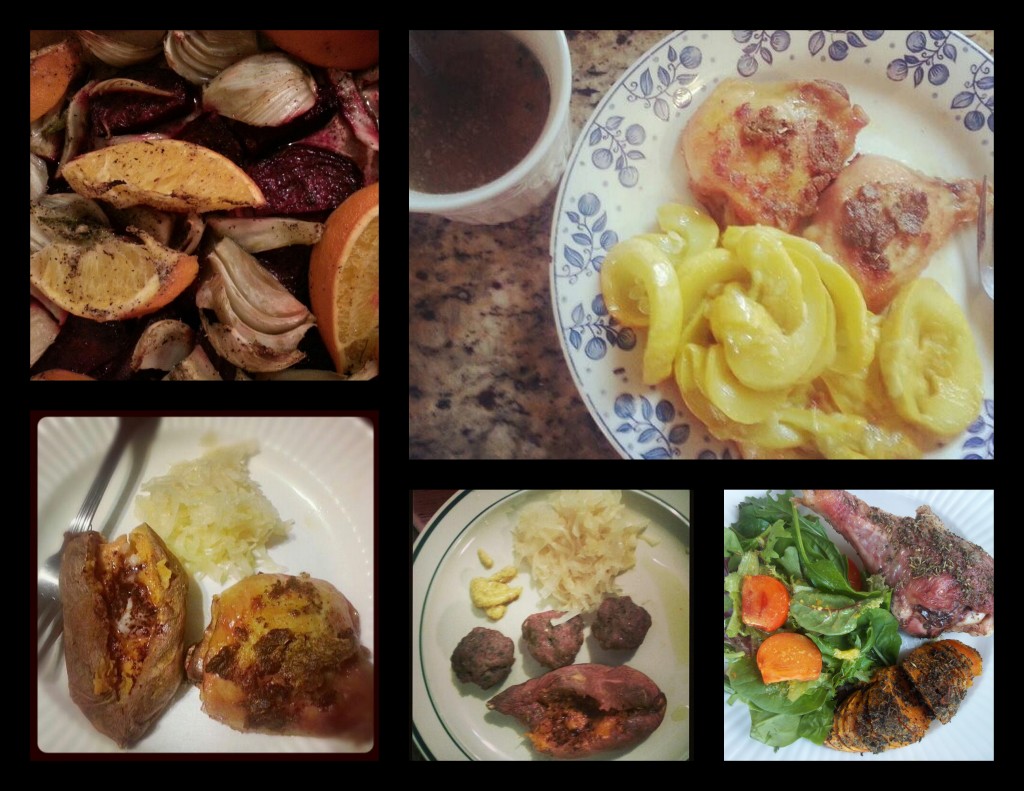
If you follow me on Facebook, Instagram or Twitter, undoubtedly you have seen some of the photos of the lovely meals my family and I have been enjoying recently. Funny thing? In addition to our usual grain-free and dairy-free fare; every meal I have made and every meal I have photographed over the last five […]
Paleo Garlic Cheese Biscuits
January 2, 2013 By 14 Comments

A few weeks ago, my friend Shirley Braden from Gluten-Free Easily posted her recipe for Garlic Cheese Biscuits. When she shared the link over on Facebook, I commented on how amazing her biscuits looked to which she said: “Sunny, I’m looking for you to make a grain-free version. I haven’t gotten to that yet, but […]
One Minute Microwave Lava Cake (Grain-Free, Dairy-Free, Refined Sugar-Free)
December 28, 2012 By 10 Comments
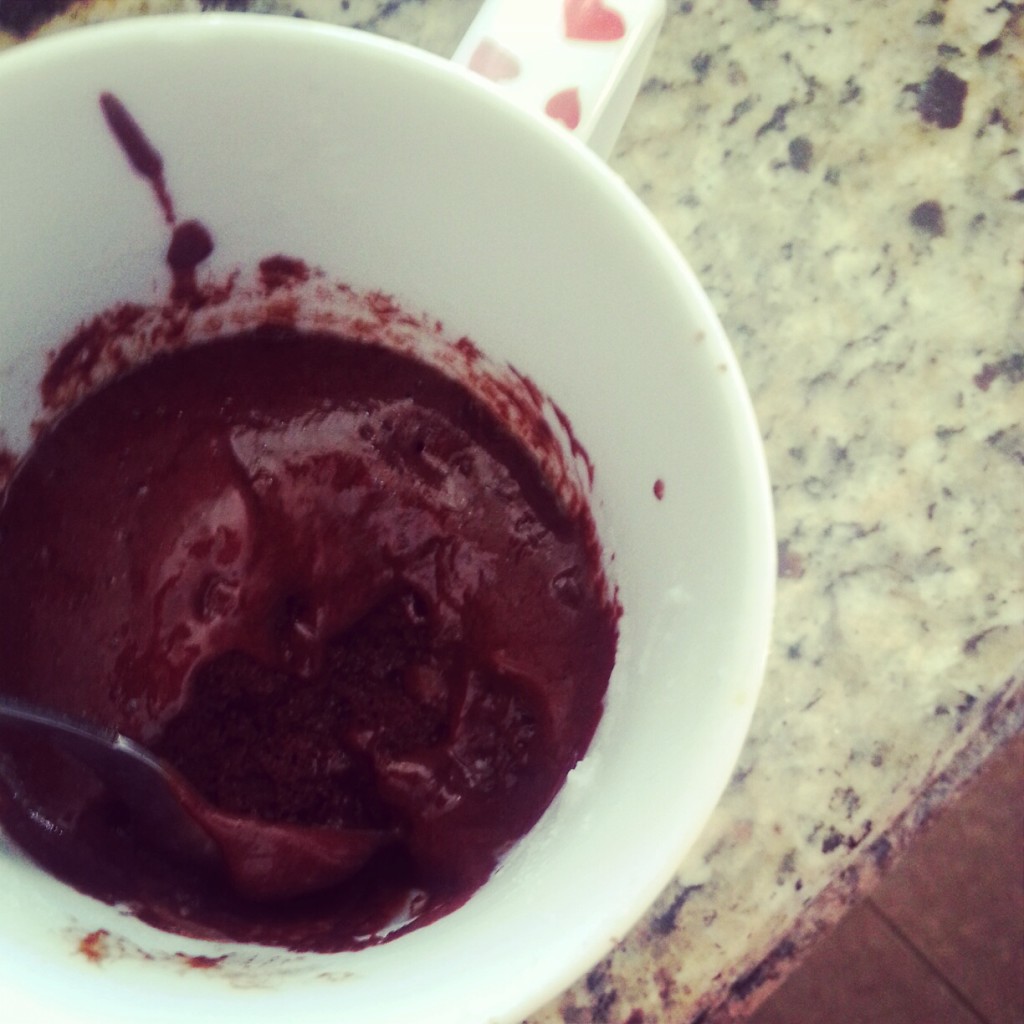
I love my friends. I love that anyone who knows me in this little town of ours automatically thinks of me when they see something labeled “gluten-free.” Because of this, I get periodic recipes e-mailed or texted to me on a regular basis and frankly, many of these turn into inspiration for future recipes or […]
Paleo Green Bean Casserole
November 14, 2012 By 32 Comments
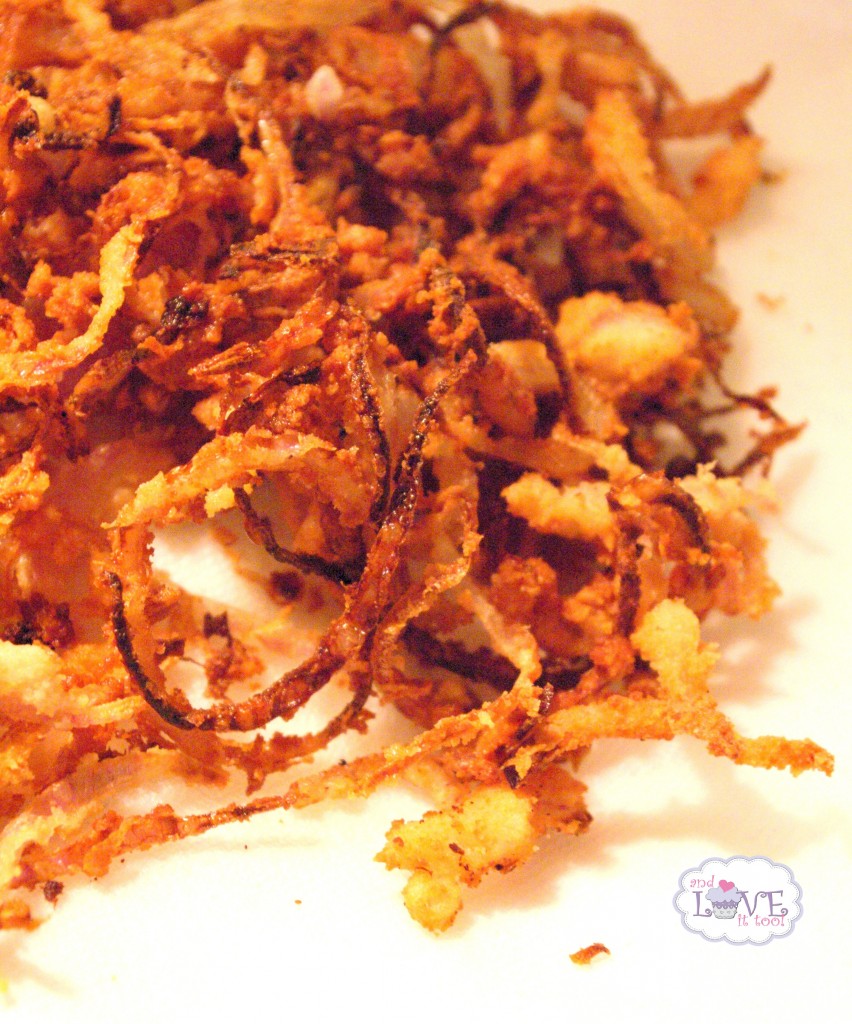
Growing up, my stepmother always told me she was a horrible cook. The thing is, I loved her food. Simple meals made at home are still homemade meals. Living in the small town that we lived in, there weren’t many opportunities to run and grab take-out or fast food and so that meant that we […]
Vanilla Pumpkin Swirl Cake with Vanilla Palm Sugar Glaze (Grain-Free, Dairy-Free, Refined Sugar-Free, Paleo)
October 24, 2012 By 9 Comments
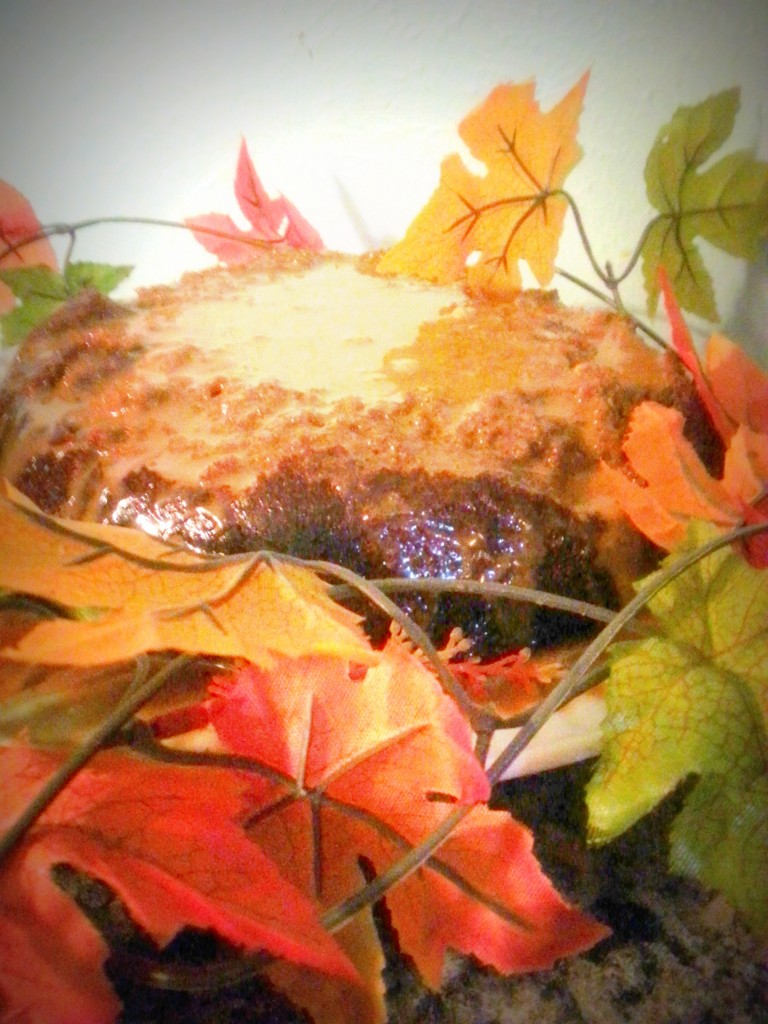
This is not my prettiest cake by any means, and I thought about remaking it in a number of different pans, but my daughter was so thrilled when she saw the final product that I decided if it was good enough for her, then it was good enough for me. So many of my projects […]
Rainbow Salad
October 17, 2012 By 9 Comments
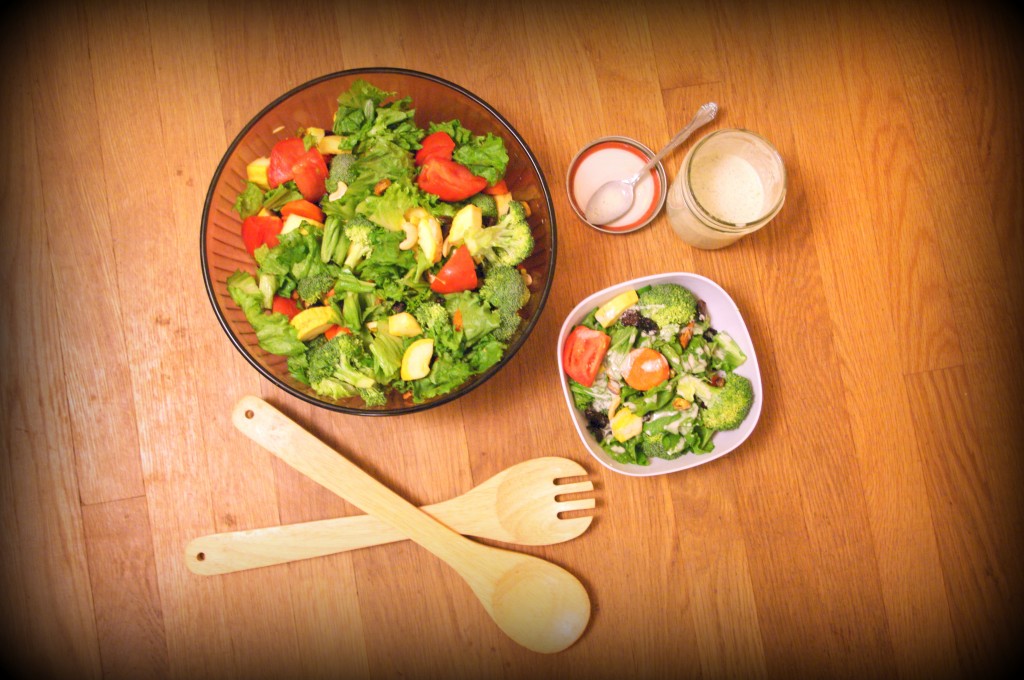
One day, my husband looked at me lovingly and said those five little words many of us never expect to hear: “Honey, I miss your salad.” Yes, my salad. I guess it had been a few weeks since I had made one of my nutrient-packed salads and my husband had a craving. Now if only […]


