Recipe development is an interesting thing. No doubt we all go about it in our own way, but for me it starts with a memory, a craving or a challenge from a friend or follower. Yep, I have been known to turn my kitchen upside down to help someone reconnect with an old food love […]
Coconut Flour Country Biscuits
February 27, 2013 By 21 Comments
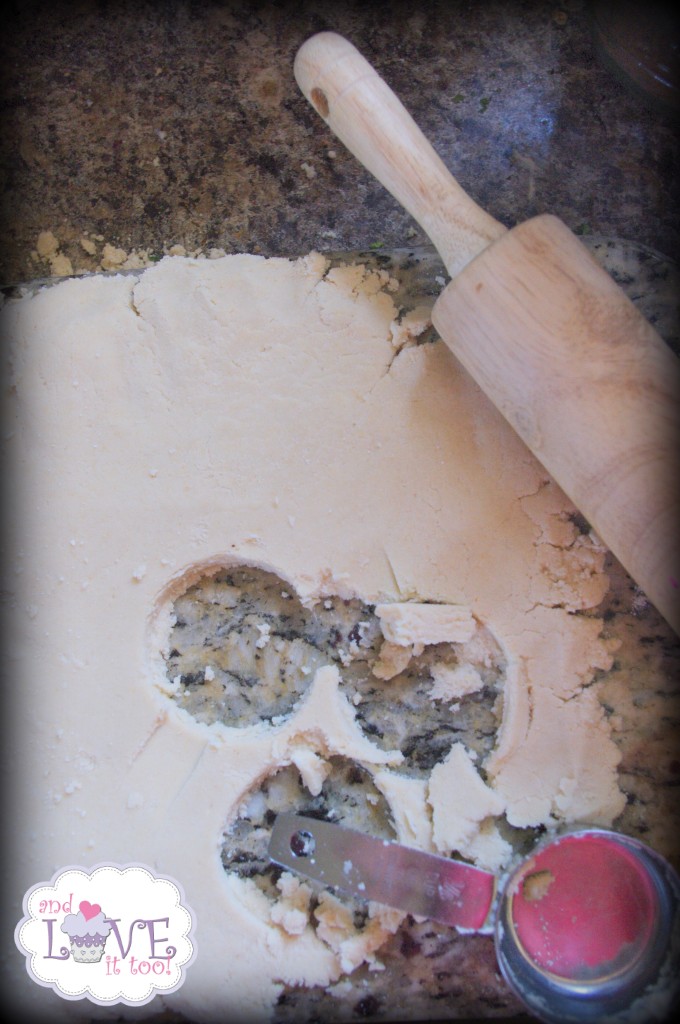
Biscuits are one of those cherished southern foods my grandfather was an expert at. Learning how to make these dairy-free proved to be a mild challenge…making them gluten-free? Difficult to say the least. My largest challenge came after discovering that I am sensitive to nuts. Over the last several years I have played with dozens […]
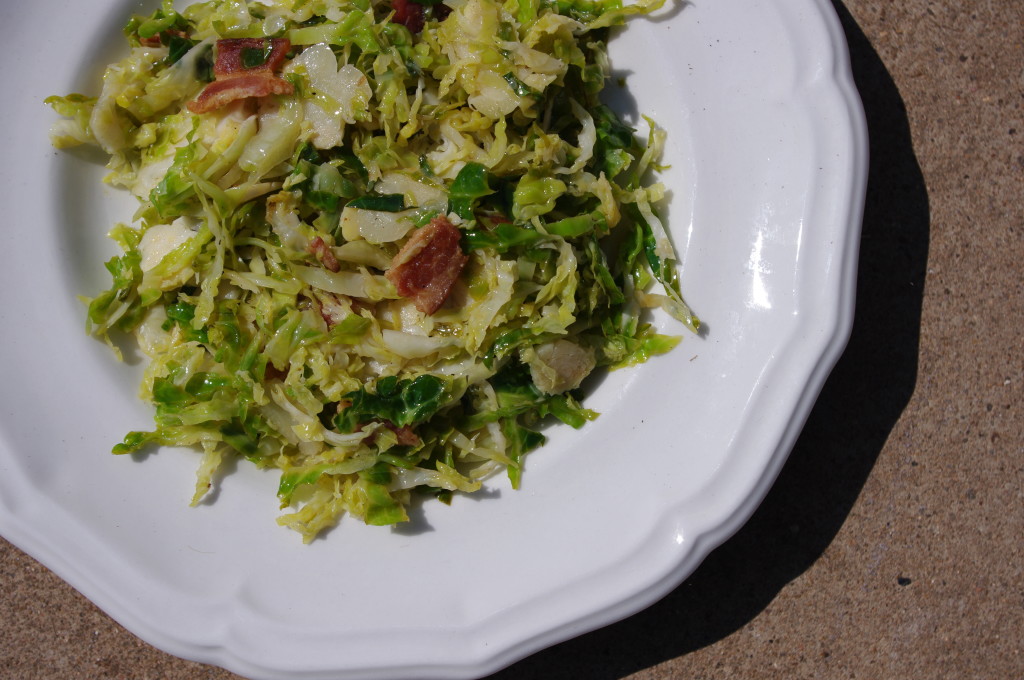
Pomegranate Balsamic Roasted Brussel Sprouts
January 21, 2013 By 8 Comments
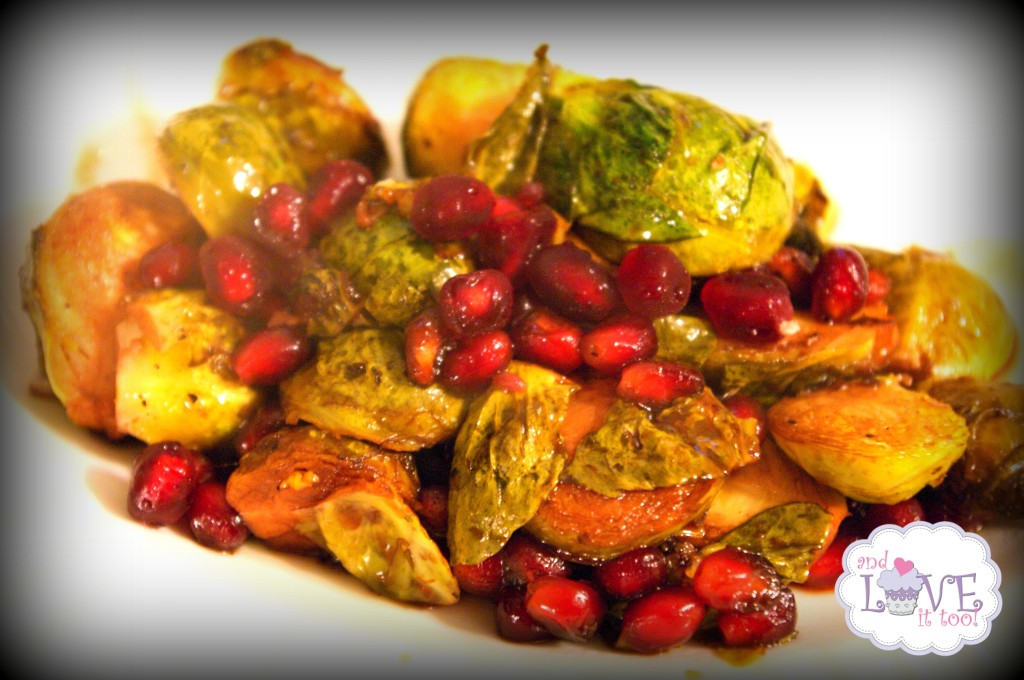
Just over one month ago, I gladly shared the secret that got my children to eat brussel sprouts. These lemon-infused brussels made it easy to deceive my children into trying more than just one bite and helped them discover that they like brussels. Only, I don’t like deceiving my children. And while these brussels defy […]
Sweet Potato Hasselbeck Potatoes
January 9, 2013 By 13 Comments
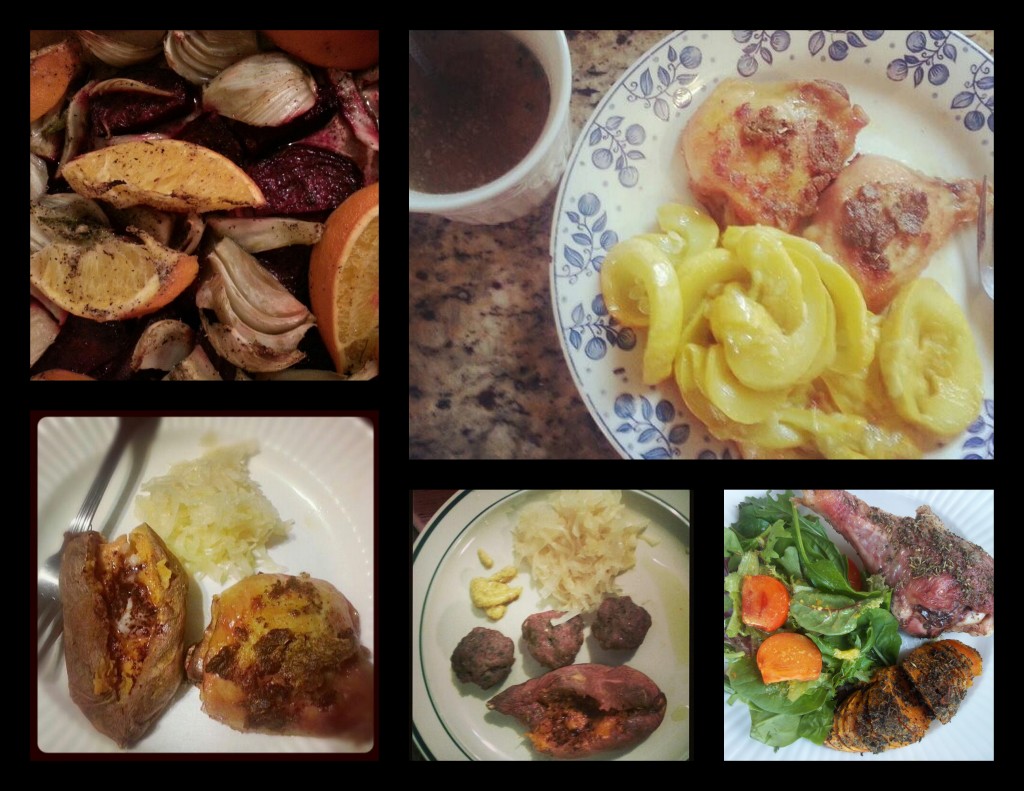
If you follow me on Facebook, Instagram or Twitter, undoubtedly you have seen some of the photos of the lovely meals my family and I have been enjoying recently. Funny thing? In addition to our usual grain-free and dairy-free fare; every meal I have made and every meal I have photographed over the last five […]
Dairy-Free, Paleo Friendly Cheddar Cheese (Vegan Option Noted)
January 1, 2013 By 57 Comments
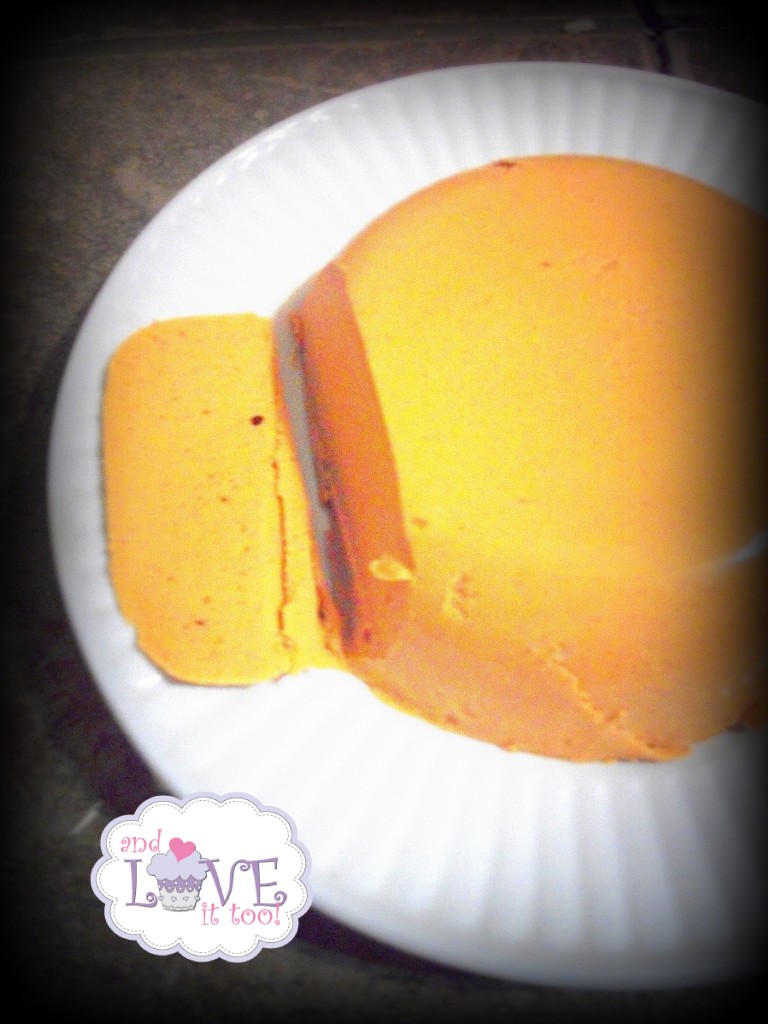
January 1, a new year, a new you. While many people use this day to mark their new, fresh eating habits; while many of my friends have begun their sugar-detox, juicing or Whole30 plan, my next Whole30 won’t begin until this Friday. “Why?” you ask? Well, first off, Thursday is my husband’s birthday. And while […]
Lemon Infused Brussels
December 19, 2012 By 2 Comments
There is no doubt that I love my greens. Kale, spinach, arugula and more! There is scarcely a green that my family won’t eat. That is, unless you are a brussel sprout. It wasn’t until going gluten-free that I learned to love brussel sprouts. Before then I gagged at the thought. No matter how they […]
Potatoes au Gratin (Gluten-Free, Dairy-Free, Vegan Option Noted)
November 21, 2012 By 4 Comments
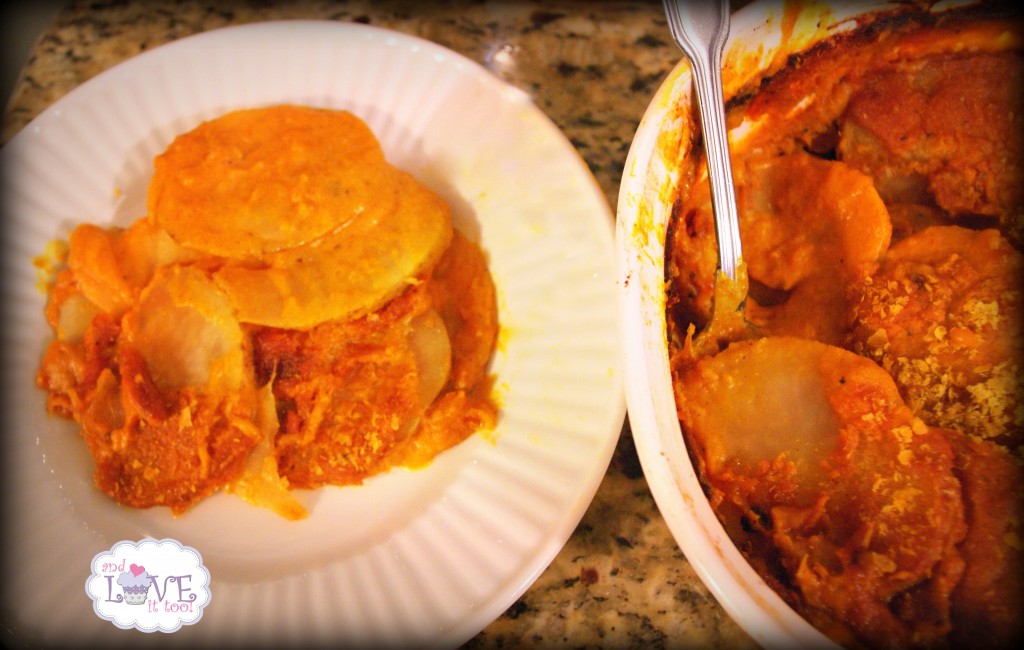
I do not eat potatoes often; my body just isn’t ready to process that many carbs. That being said, Thanksgiving only comes once a year and these cheesy, delicious slices are worth a once-a-year indulgence. One of my favorite Thanksgiving sides, I am pleased to share these with you today. May your holiday be filled […]
Paleo Green Bean Casserole
November 14, 2012 By 32 Comments
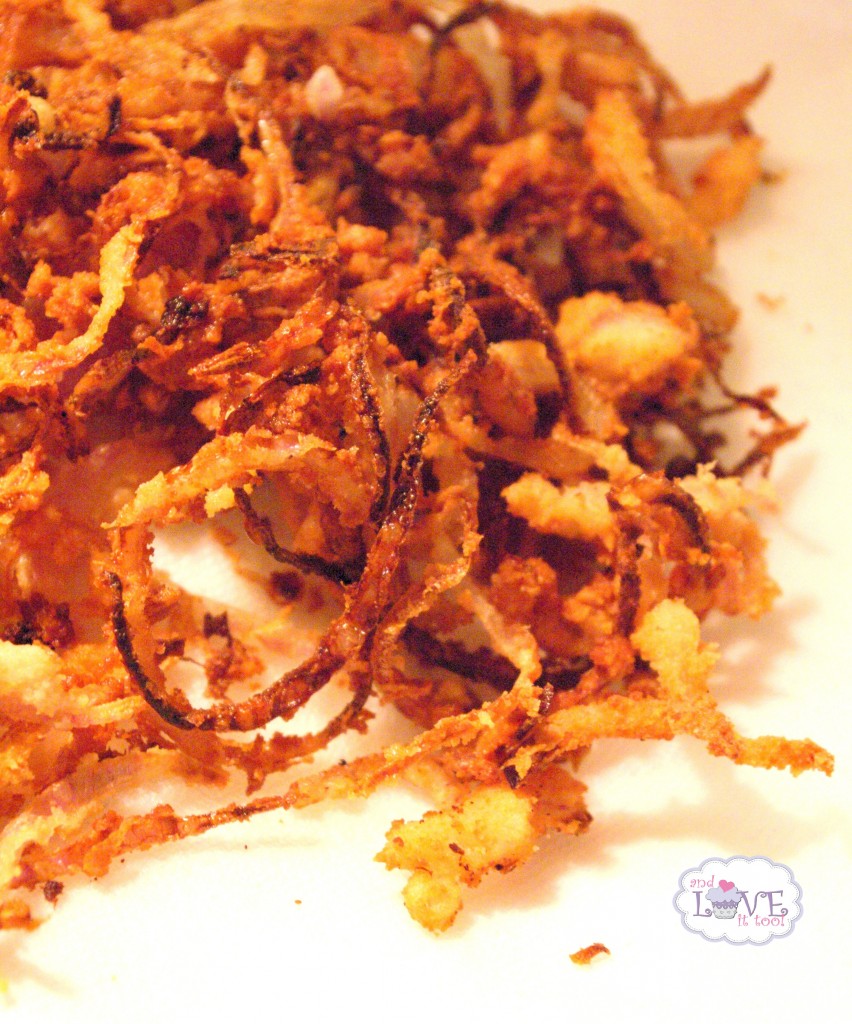
Growing up, my stepmother always told me she was a horrible cook. The thing is, I loved her food. Simple meals made at home are still homemade meals. Living in the small town that we lived in, there weren’t many opportunities to run and grab take-out or fast food and so that meant that we […]
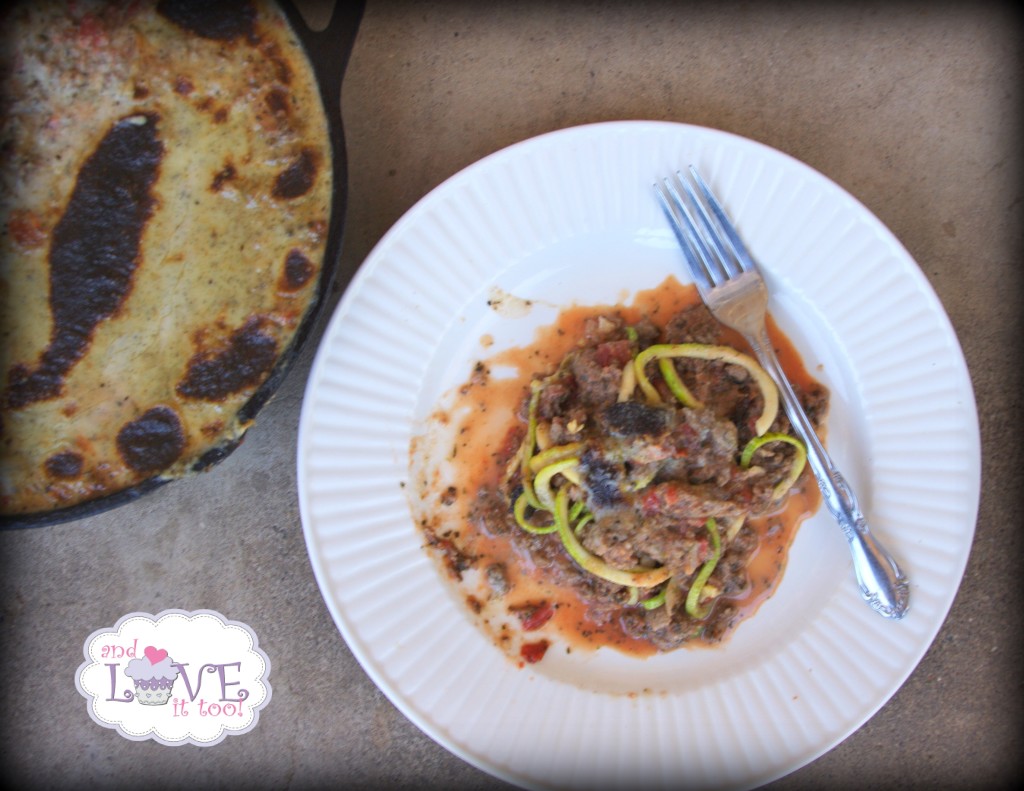
Cream of Mushroom Soup (Gluten-Free, Dairy-Free, Paleo, Vegan Option)
November 12, 2012 By 21 Comments
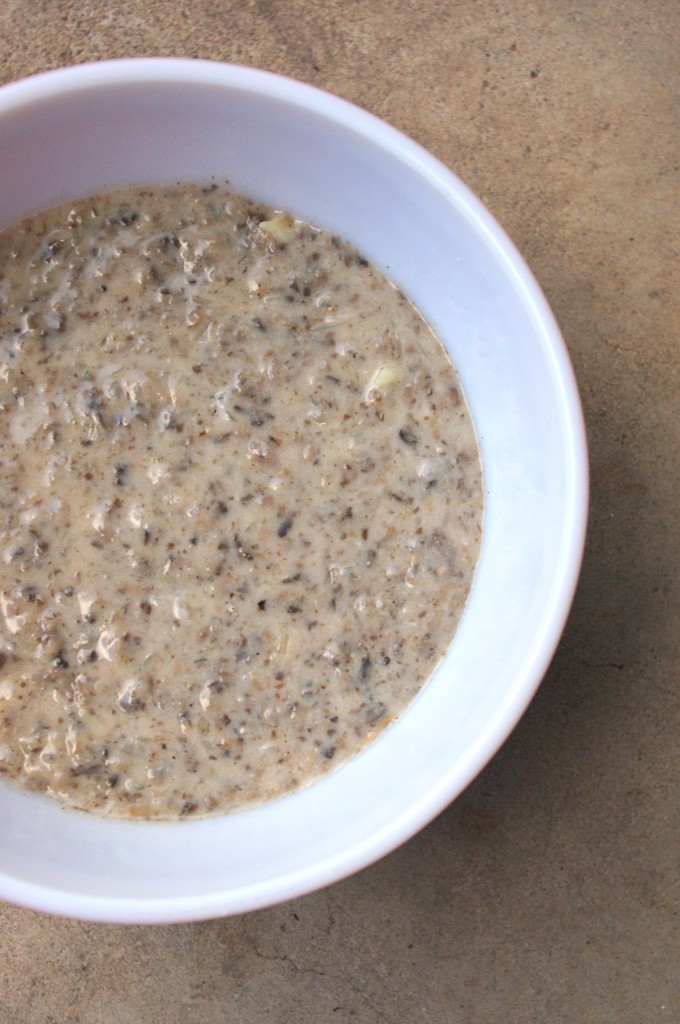
With the holidays upon us, there are some staples that one cannot live without this time of the year. Unfortunately, allergies, food sensitivities and auto-immune syndromes can often lead to feeling like we have to miss out on many of our favorite foods. Not so, I say! With the exception of baklava, there are few […]
Share the Love with Vegan Carrot Cake Coconut Macaroons
November 7, 2012 By 17 Comments
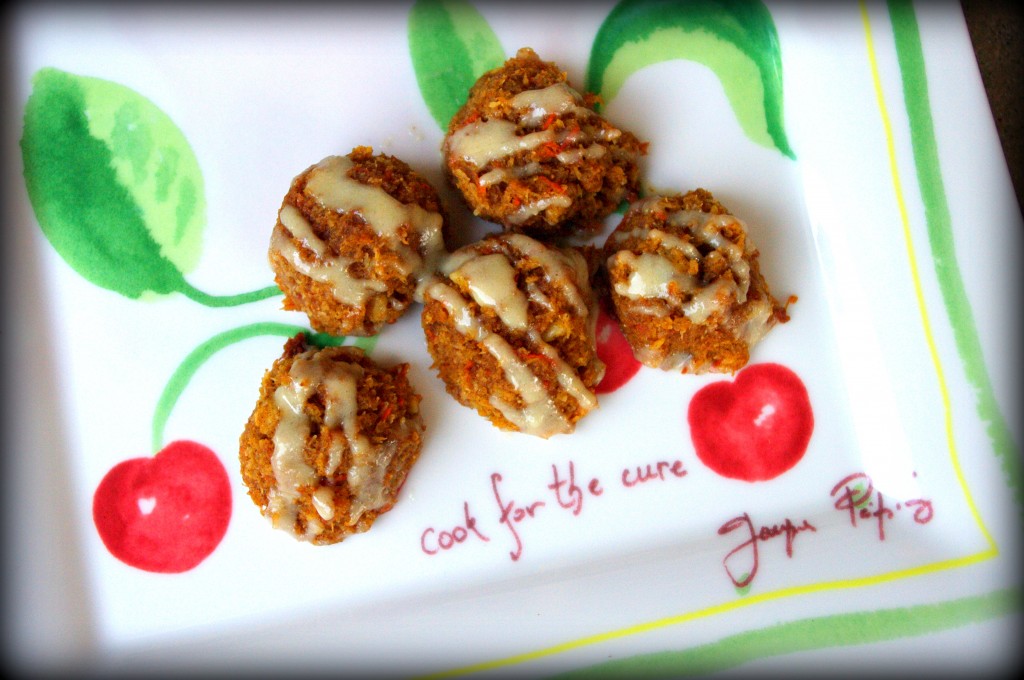
I have some of the greatest friends in the universe. Really. So when my beautiful friend Shea from Dixie Chik Cooks asked if I wanted to participate in the Kitchenaid’s Pass the Plate event through BeBetsy, I did not hesitate to say ‘yes!’ even before I knew exactly what it was. What I have learned […]


