
Maybe you’re avoiding potatoes. Maybe you’re a peach fanatic. Or maybe you’re just looking for something a little different to go with dinner tonight. Whatever it is, you’ll love these pan roasted peaches! Perfectly paired with your favorite roast, steak or chicken dinner, these sweet with just a little savory peaches are an easy […]
Fresh Watermelon, Cucumber and Tomato Salad
May 13, 2016 By 2 Comments
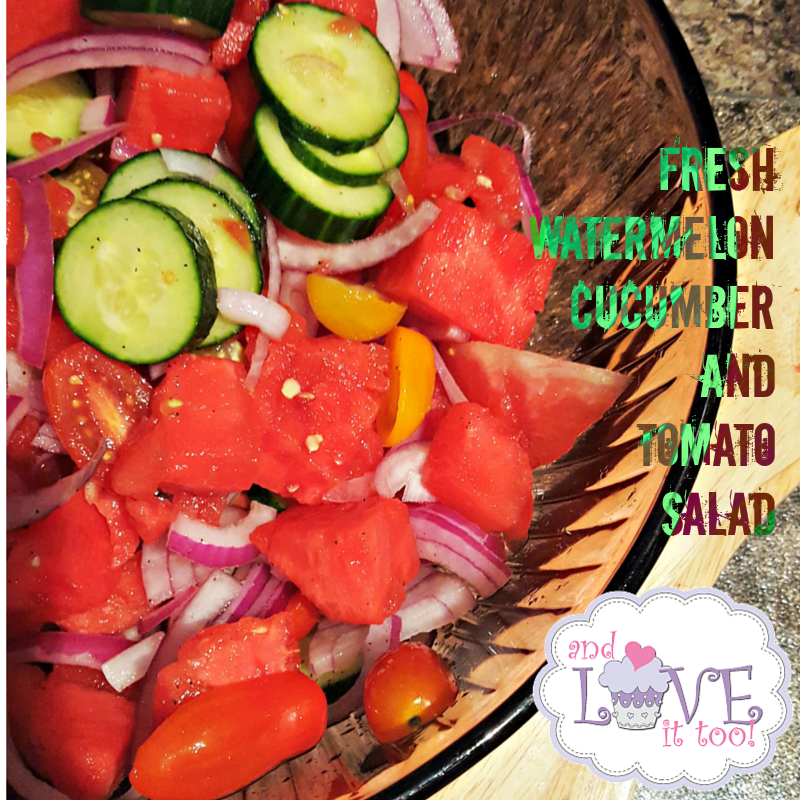
The last couple of months have been crazy…between listing our house for sale, thereby restricting my time in the kitchen because everything has to be perfect for showings; to up and moving my family across the state, it’s been difficult to sit down and recipe develop/write the way I wish to do! My husband […]
Sweet and Savory Breakfast Hash
March 9, 2016 By 10 Comments
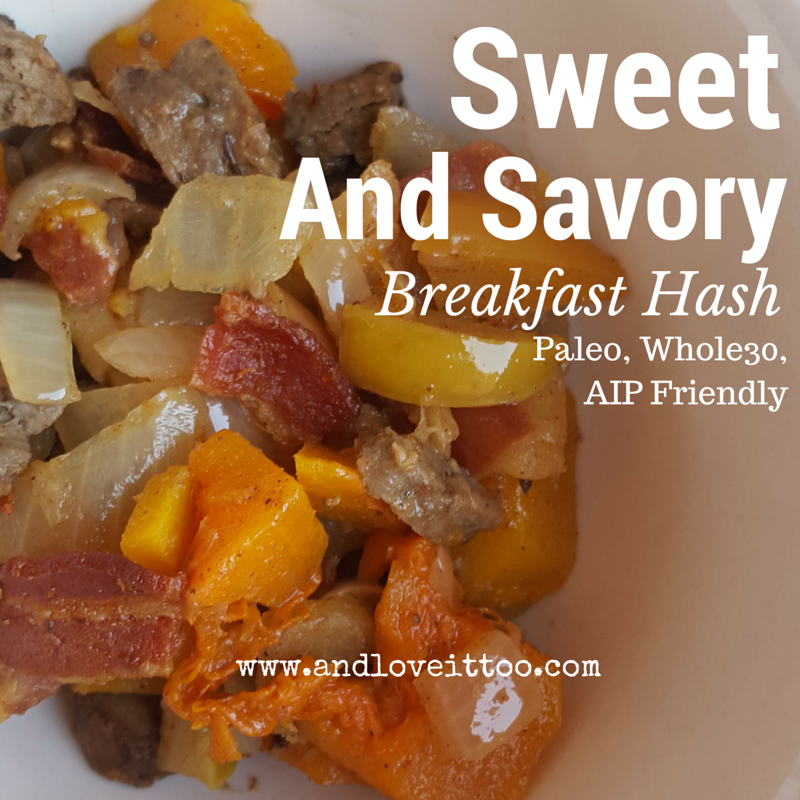
Some days you wake up and just know that you’re hungry for something high-powered but egg free. Some days you really, really desire something that is both sweet and savory. And some days you know you’ll need to make a lot all at once to make your efforts worthwhile (and to ensure delicious leftovers!!). For […]
Lightly Salted, Cinnamon Broiled Grapefruit
March 2, 2016 By 5 Comments
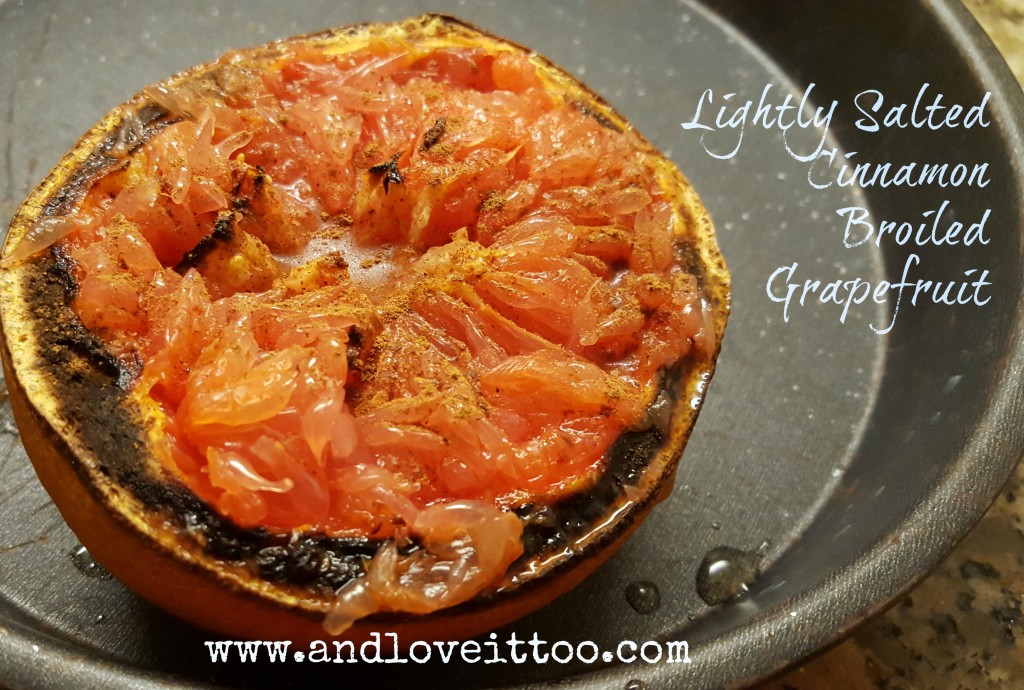
Sometimes my most difficult struggle with keeping this page up to date with fresh ideas isn’t in what I am eating, it’s realizing the value behind the simple things we do eat. Over the last couple of months I have been running a Facebook group dedicated to healthy, whole-food eating. Over there I am sharing […]
Paleo Chicken Parmesan
February 22, 2016 By 2 Comments
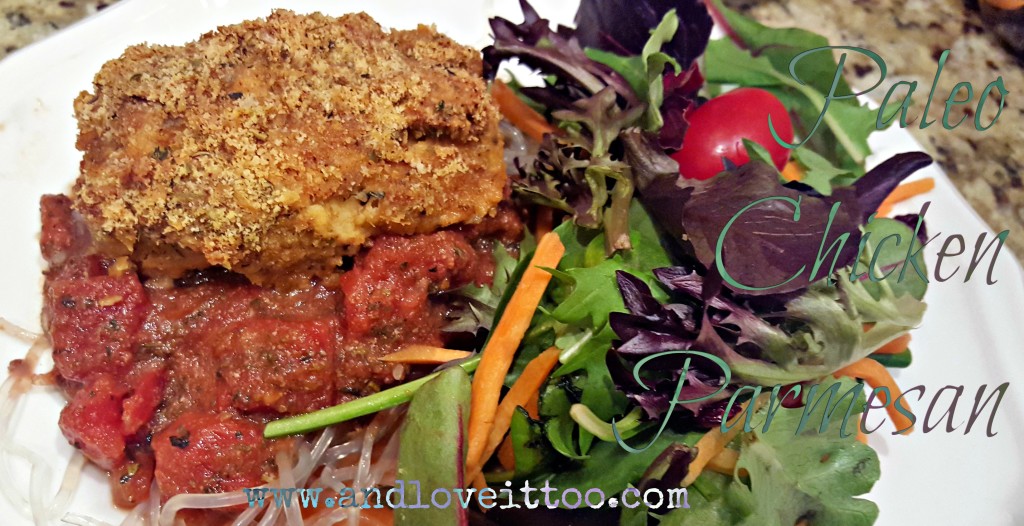
Life, as we all know, can sometimes become so overwhelming. That doesn’t always mean bad or negative things are happening…it just simply means our plate is overflowing. Mine has been overflowing for quite some time, hence the lack of sharing here! Recently though, I’ve begun to realize that most of my overflow is self inflicted. […]
What We Eat: Mexican Coleslaw with Cilantro-Lime Vinaigrette
July 27, 2015 By 9 Comments
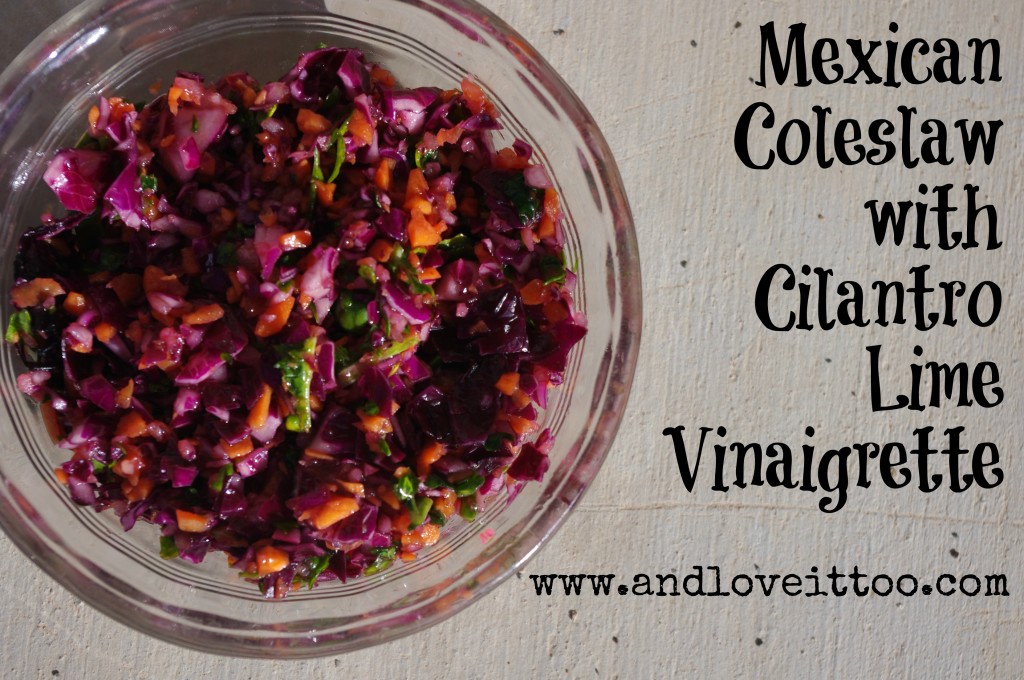
There is just something about the combination of cilantro and lime that makes me happy. My cilantro-lime ranch vegetable dip is made and enjoyed weekly in our home. I love the combination of cilantro and lime in cauliflower rice, on my paleo tacos and more… So when I had several heads of cabbage needing to […]
What We Eat: Teriyaki Beef Kabobs (Paleo, Whole30)
June 20, 2015 By 3 Comments
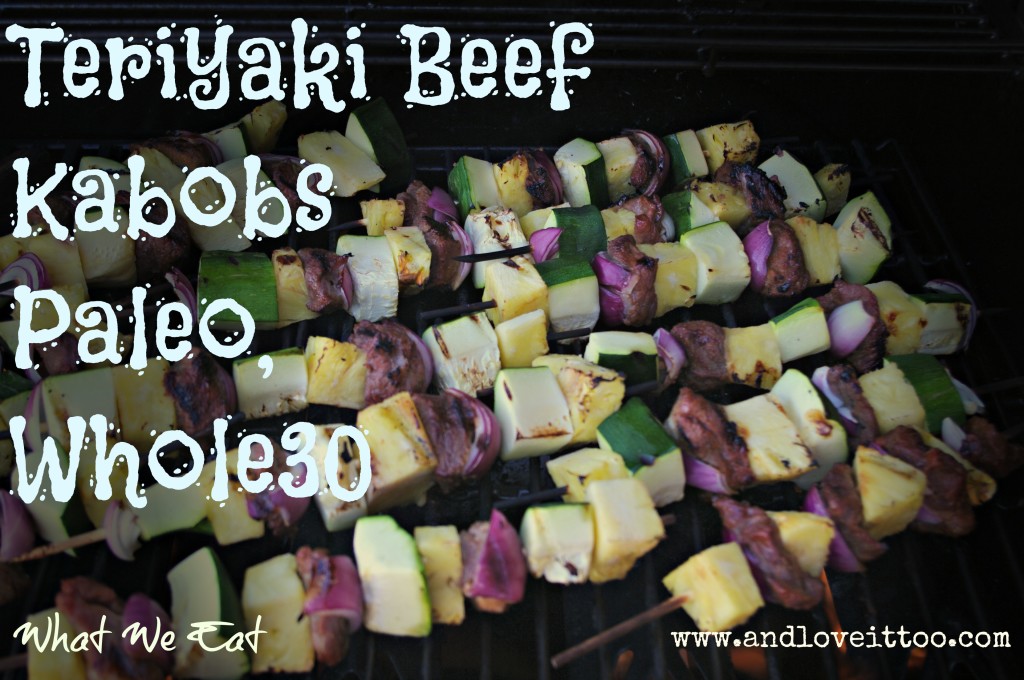
Last week I shared how I managed to stretch a meal originally planned for 4 to be enough for 8 people…this week, the concept is similar. Fruits and vegetables can make a meal stretch. Use these instead of grains and you’ve got a paleo plan you can afford to stick with. Because we purchase our […]
What We Eat: Roasted Kielbasa and Roasted Vegetable Packet Dinner
June 11, 2015 By 4 Comments
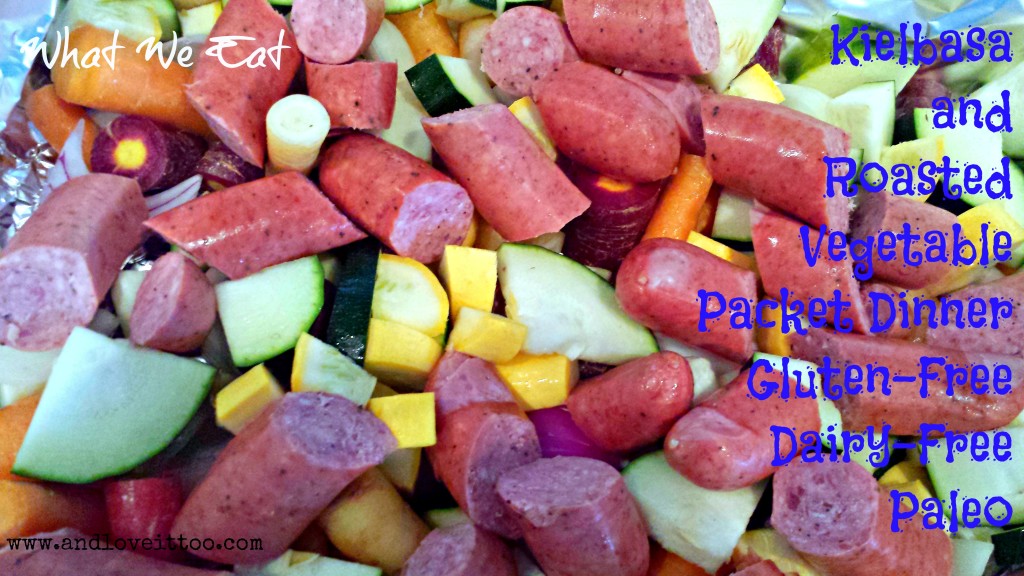
Sometimes I get in a blogging rut. I mean, I love sharing with you and I love getting to know all of you…but sometimes I find myself without any recipes because, well, what we eat doesn’t always need a recipe! I guess that happens when you move over to clean eating. Really, once you get […]
Banana Pecan Bread
December 31, 2014 By 1 Comment

What do you do when the high for the day is a whopping 22 degrees, the roads are covered in ice and you have been told by the local authorities to just stay home? Why you bake, of course! As we were getting moving this morning, my husband saw me grabbing the three very ripe […]
Salted Chili Lime Watermelon Popsicles
July 1, 2014 By Leave a Comment
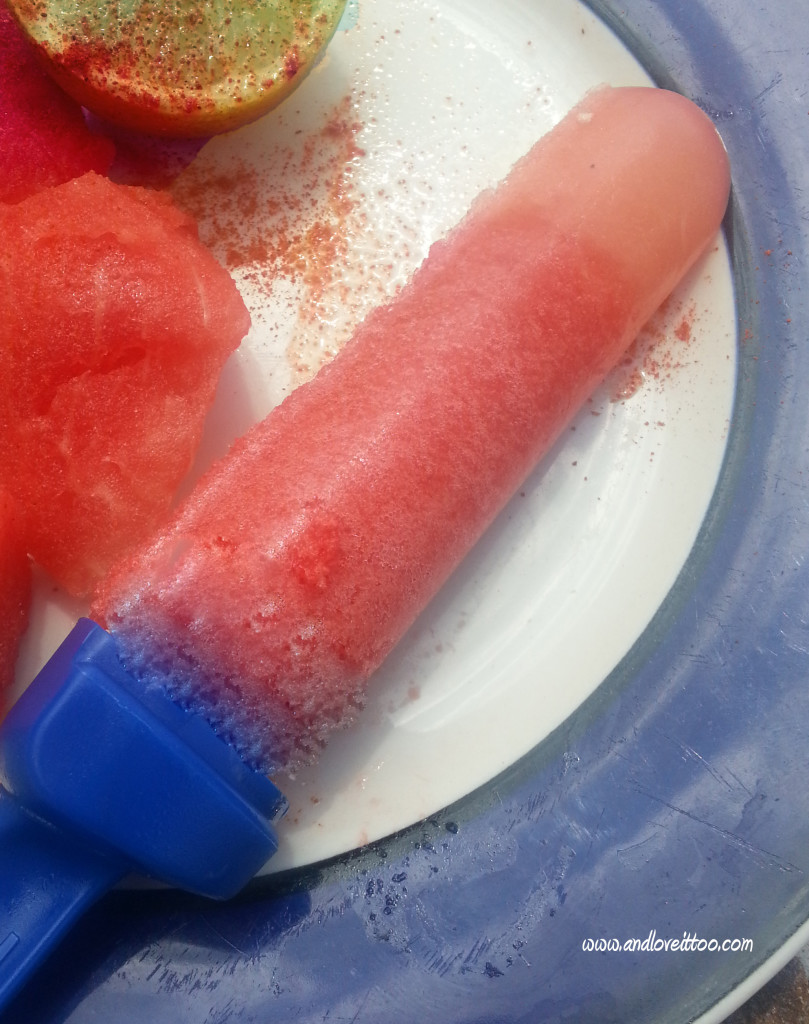
Having spent a vast majority of my life split between Southern California and Texas, there is no doubt that my food is heavily influenced by the Mexican culture. When I was pregnant with my oldest biological son, I craved Mexican candy and chili spiced fruits most. These popsicles are a healthy throw back to those […]


