Between the digestive issues my daughter has faced since she was a baby and my own celiac diagnosis, I have been somewhat obsessed with healing our guts for quite some time. For many years, I thought yogurt and liquid acidophilus were our only options. It has not been until recently that I have learned the […]
Ingredient-Challenge Monday: Very Berry Fruit Bowl with Spiced Whipped Coconut Cream
July 9, 2012 By 19 Comments
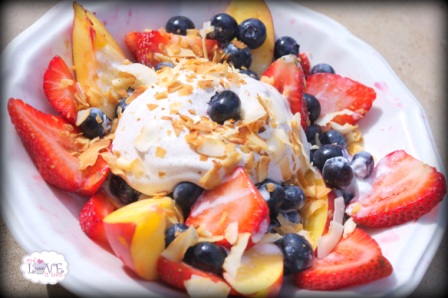
Happy Ingredient-Challenge Monday, everyone! I hope you are brimming with excitement…if the recent entries are any indication; I cannot wait to see what you have for us this month. I don’t know about you, but I have had a great day! Yes, I know it’s Monday, but this really was a great day. Why you […]
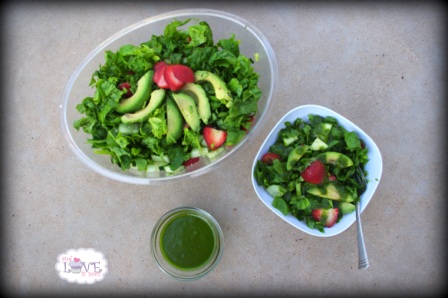
Ingredient Challenge Monday Featured Recipe- Strawberry Arugula Salad with Sweet Cilantro Honey Dressing from Heather, The Gluten-Free Cat and ICM Challenge-Ingredient Announcement!
July 8, 2012 By 4 Comments
Months that begin on a Sunday or a Monday seem to mess with me. Here it is, July 8 and it’s already the second week of the month. What does that mean? That means tomorrow is Ingredient-Challenge Monday! And I almost forgot. Before I go on and tell you what ingredient we will be playing […]
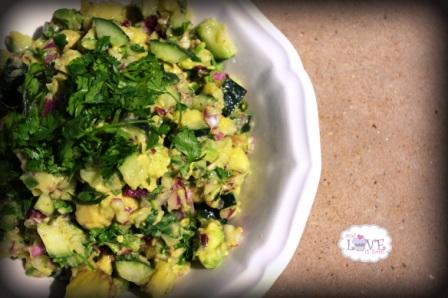
April Ingredient Challenge Monday Featured Recipe-Pineapple and Cucumber Guacamole from The Taste Space and ICM Challenge Ingredient Announcement!
May 14, 2012 By 2 Comments
So, I could give you a million excuses why this post is so late… I mean, this weekend was Mother’s Day weekend, and as the mother of five amazing kids and one superb husband, they spoiled me and took care of me all while keeping me away from my computer (although I did sneak in […]
Ingredient-Challenge Monday: Pineapple Bacon Bites
April 9, 2012 By 9 Comments

Welcome to the April Ingredient-Challenge Monday! As announced yesterday, this month we feature the mouth-watering pineapple as our challenge ingredient. In spite of its natural sweetness, pineapples are not only low in calories (82 calories per cup of pineapple chunks), they are also a good source of fiber, Vitamin A, Calcium, Iron and Vitamin C. […]
Spinach, Kale and Dandelion Green Salad with Blood Oranges, Candied Pecans and Blood Orange Vinaigrette
April 5, 2012 By 2 Comments
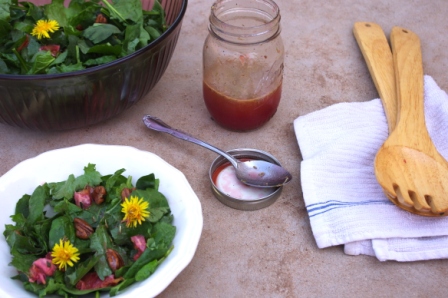
Spring is beautifully upon us. Flowers are blooming, birds are singing. Children are ready to shed their winter gloom to get outside and play. Then there is the yard. Lawns need to be mowed, weeds need to be pulled. Or do they? One advantage to living in a drought ridden area is the fact that […]
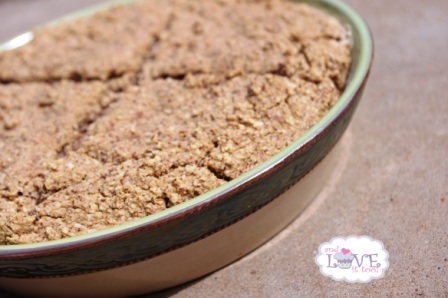
Grain-Free Irish Soda Bread, 2-ways
March 15, 2012 By 4 Comments
My red hair is generally a dead giveaway to one of the most distinct parts of my family ancestry. While I grew up proud of every part of my rich, mixed family history which includes: American Indian, English, Dutch and (as mentioned before) Irish, the two portions I studied most closely were definitely my American […]
Eat Like a Dinosaur and Yummy Egg Pie
March 10, 2012 By 5 Comments
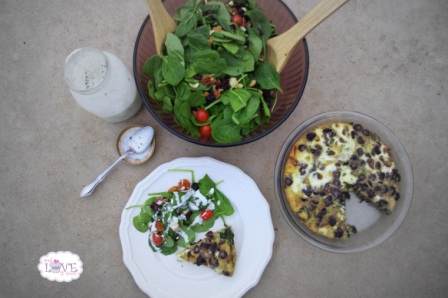
If you are a regular visitor of the gluten-free blogging world, it is likely you have heard a lot of buzz about the new cookbook from Paleo Parents titled Eat Like a Dinosaur. Well let me tell you, this book is worth buzzing about. I was honored to work with Stacy and Matthew, the paleo […]
Perfectly Sweet Fruit Roll-Ups
February 26, 2012 By 6 Comments

Growing up as a child of the 80’s, fruit roll-ups were one of those quintessential items. I mean, what was lunch without a vivid green and blue, sugary sweet roll of fruity deliciousness? And fruit roll-ups are made with fruit so they are good for you, right? Riiiiight. When the key ingredients include corn syrup, […]
Maple-Glazed Roasted Fennel with Apples and Root Vegetables
February 6, 2012 By 2 Comments
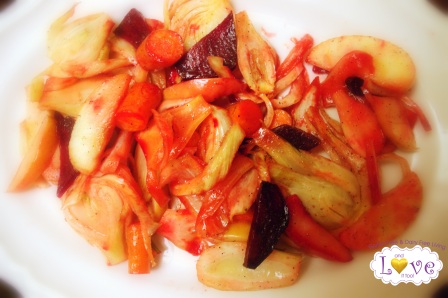
Just in case you missed the announcement last Friday over at Dixie Chik Cooks, Ingredient Challenge Mondays are back! Don’t remember Ingredient Challenge Mondays? Here’s are just some of my previous ICM entries… What’s different this go-round? Well, like we did in the final ICM challenges from before, this time we are including […]


