Months that begin on a Sunday or a Monday seem to mess with me. Here it is, July 8 and it’s already the second week of the month. What does that mean? That means tomorrow is Ingredient-Challenge Monday! And I almost forgot. Before I go on and tell you what ingredient we will be playing […]
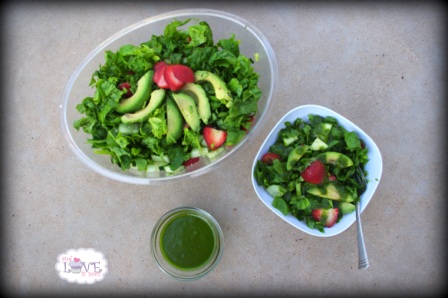
Ingredient Challenge Monday Featured Recipe- Strawberry Arugula Salad with Sweet Cilantro Honey Dressing from Heather, The Gluten-Free Cat and ICM Challenge-Ingredient Announcement!
July 8, 2012 By 4 Comments
Cherry-Lime Flavored Water
July 3, 2012 By 20 Comments

The last few days have brought some significant changes to my home. After much discussion, my husband agreed to join me on my second Whole30, which began just a couple of days ago. Why is this such a big deal? My husband is a die-hard dairy-loving gluten-eating sugar-binging wonderful man. Don’t get me wrong…he is […]
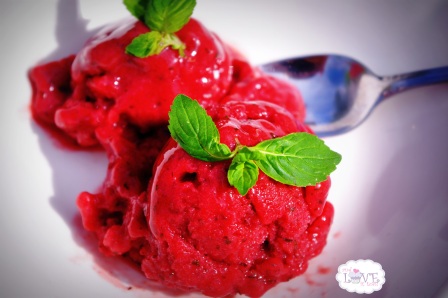
Ingredient-Challenge Monday: Strawberry Mojito Sorbet (Fruit-Juice Sweetened, Vegan, Raw, Paleo)
June 11, 2012 By 20 Comments
Welcome to Ingredient Challenge Monday!! As announced yesterday, this month I am challenging you to bring your best strawberry recipe to the table. Some things you should know…I.love.strawberries. I do! In fact, now that they are in season, I have purchased more than 20 pounds of strawberries in the last month alone (no joke!). Some […]
May ICM Winner: Coconut Secret Bars from Tessa the Domestic Diva and June’s Challenge-Ingredient Announcement!
June 10, 2012 By 7 Comments
First, I want to congratulate everyone who participated in last month’s Ingredient-Challenge Monday, your coconut recipes were simply amazing! If you haven’t been by to see everything shared, please do…in addition to the several that were linked in, there were two- late arrivals, one from Kate at Eat Recycle Repeat that is vegan, sugar-free, and […]
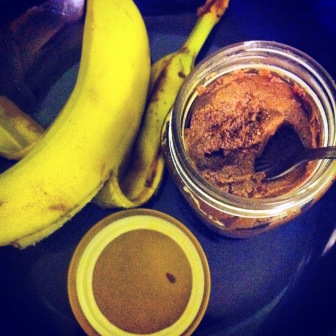
Strawberry Coconut Butter
May 27, 2012 By 17 Comments
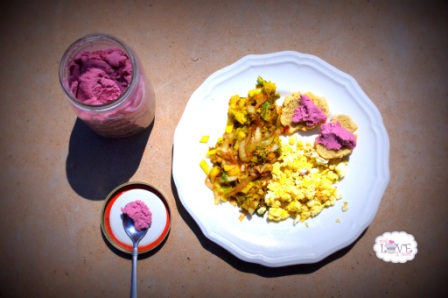
I first discovered coconut butter at my local health food store. Purchased more out of curiosity than anything, one little bite and I was positively hooked! This Strawberry Coconut Butter came after experimenting with this brilliant Coconut Butter recipe from Lexi’s Kitchen. Filled with nutrient dense coconut and coconut oil, coconut butter is one of […]
April Ingredient Challenge Monday Featured Recipe-Pineapple and Cucumber Guacamole from The Taste Space and ICM Challenge Ingredient Announcement!
May 14, 2012 By 2 Comments
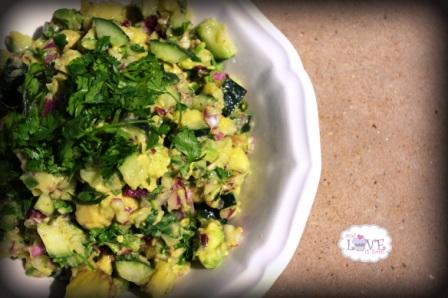
So, I could give you a million excuses why this post is so late… I mean, this weekend was Mother’s Day weekend, and as the mother of five amazing kids and one superb husband, they spoiled me and took care of me all while keeping me away from my computer (although I did sneak in […]
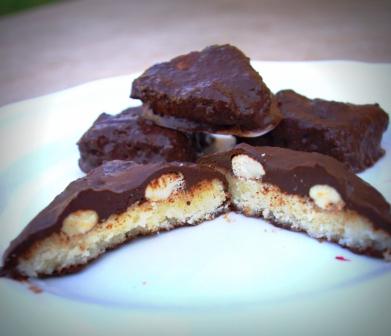
No-Bake Vegan Candybar Brownies (Grain-Free, Dairy-Free, Refined Sugar-Free, Raw alternative noted)
April 17, 2012 By 7 Comments
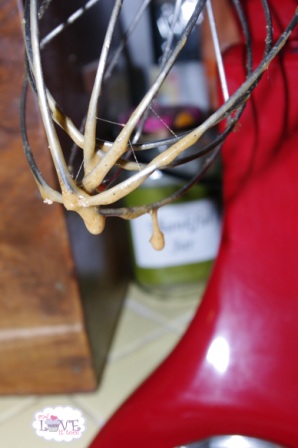
Let me start by saying Pinterest is a dangerous site. Very dangerous. In addition to losing unimaginable amounts of time, Pinterest can motivate you to do things you might not have done before. Sometimes this is a good thing. Sometimes this is not. These no-bake, refined sugar-free vegan candy bar brownies are the result of […]
Spinach, Kale and Dandelion Green Salad with Blood Oranges, Candied Pecans and Blood Orange Vinaigrette
April 5, 2012 By 2 Comments
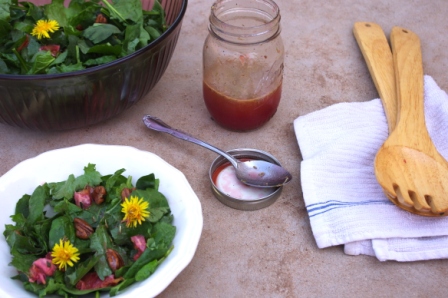
Spring is beautifully upon us. Flowers are blooming, birds are singing. Children are ready to shed their winter gloom to get outside and play. Then there is the yard. Lawns need to be mowed, weeds need to be pulled. Or do they? One advantage to living in a drought ridden area is the fact that […]
Guest Post for Dixie Chik Cooks: Sugar-Free Chocolate Cashew Butter (Raw, Vegan)
March 17, 2012 By 2 Comments
This post originally aired over at Dixie Chik Cooks. While Shea (the original Dixie Chik) is not gluten-free or dairy-free, many of her creations are naturally safe for those of us who are. Creative, spicy, and beautifully talented, be sure to visit Dixie Chik Cooks for some beautifully southern inspiration. It is always an […]
ICM, Giveaway and the Chocolate Mint Green Monster (AKA, the healthiest Shamrock Shake this side of the pacific)
March 12, 2012 By 20 Comments
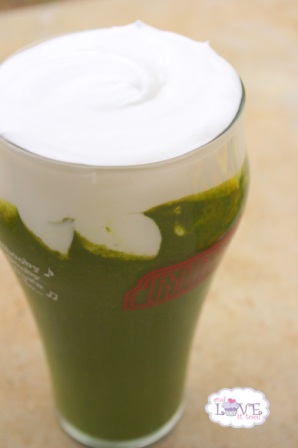
Happy Ingredient-Challenge Monday! As Shea and I announced last month, the 2nd Monday of every month is now dedicated to our ICM challenge! As mentioned this past Saturday, we have a lot in store for you this month. First, our featured ingredient for this month: Kale! Like I have said before, I love love love […]


