
What do you do when the high for the day is a whopping 22 degrees, the roads are covered in ice and you have been told by the local authorities to just stay home? Why you bake, of course! As we were getting moving this morning, my husband saw me grabbing the three very ripe […]
Simple Frittata (mix and match!)
December 29, 2014 By Leave a Comment
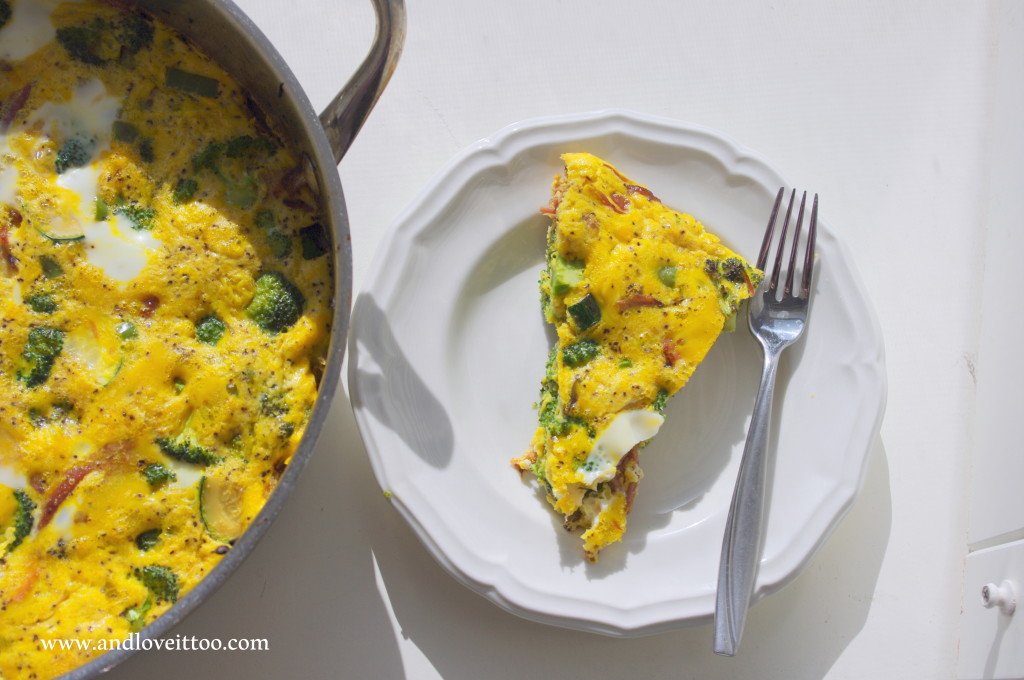
As we prepare for our New Year, New You, Naturally cleanse, I am doing my best to get back in the habit of making high-protein, vegetable rich breakfasts. I find that my week flows a lot easier when I plan ahead, and I stick to my plan much more effectively when I make one or […]
A Purely Paleo Thanksgiving Menu and Tips for Hosting a Successful Thanksgiving Feast
November 25, 2014 By Leave a Comment
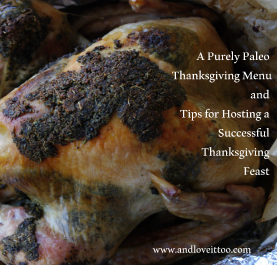
Can you believe that Thanksgiving is simply two days away? At this point, many of you have done your menu planning and already have the wheels in motion for your fantastic feast. But many of you, like me, have found yourself swamped up until this very minute and haven’t really had the opportunity to […]
Healthy Lunchbox 2014: Bloggiversary and Caramel Apple Cupcakes
September 13, 2014 By 1 Comment
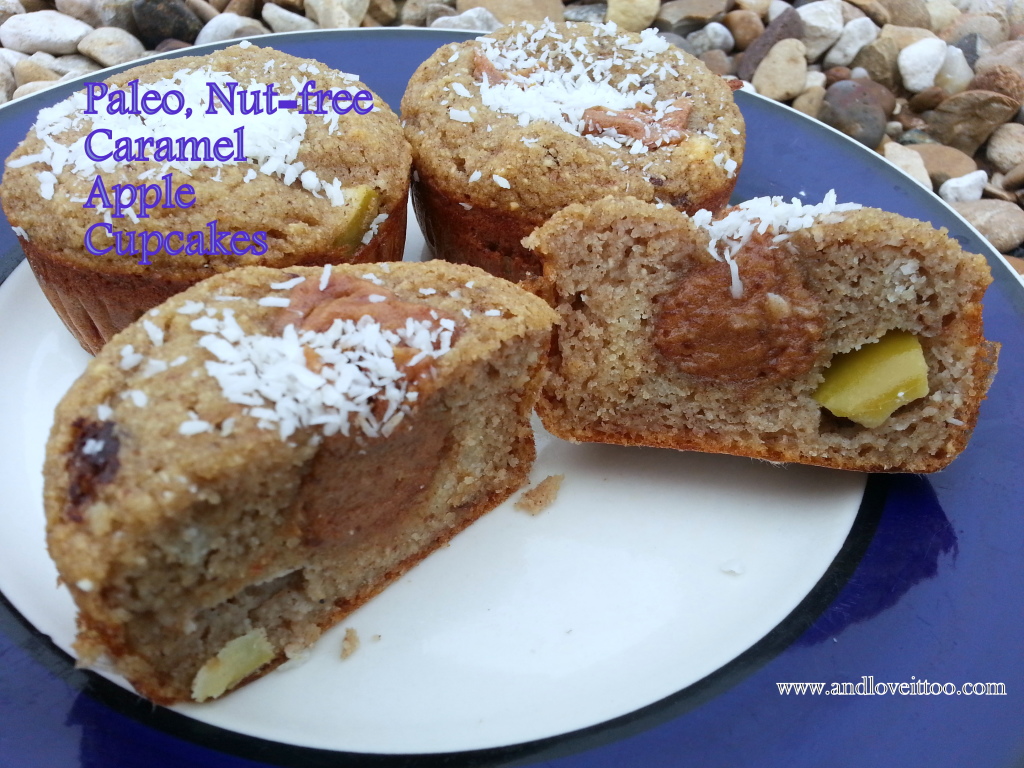
I can scarcely believe it has been four years since I first began this blogging journey. And while my journey here has had a few ups and downs, so many of you have stuck by me no matter what. For that, I owe you more than you know. Thank you just isn’t enough. As it […]
Salted Chili Lime Watermelon Popsicles
July 1, 2014 By Leave a Comment
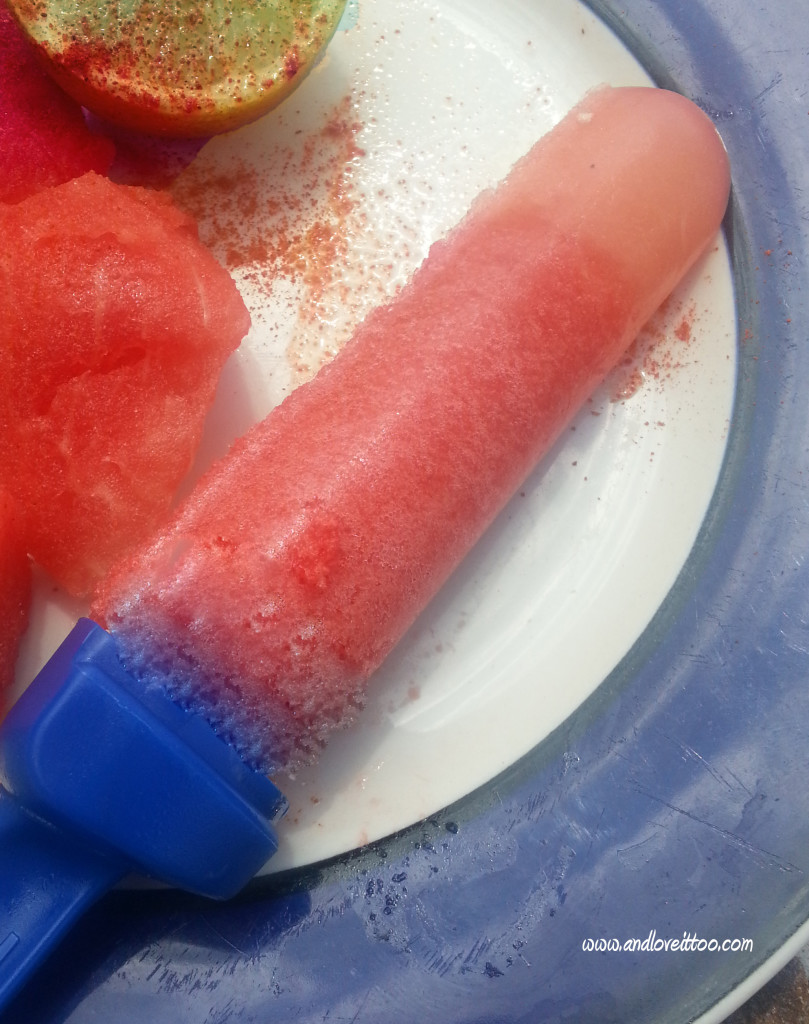
Having spent a vast majority of my life split between Southern California and Texas, there is no doubt that my food is heavily influenced by the Mexican culture. When I was pregnant with my oldest biological son, I craved Mexican candy and chili spiced fruits most. These popsicles are a healthy throw back to those […]
Cilantro and Lime Ranch Vegetable Dip (Dairy-free, Paleo, Vegan alternatives noted)
June 26, 2014 By 1 Comment
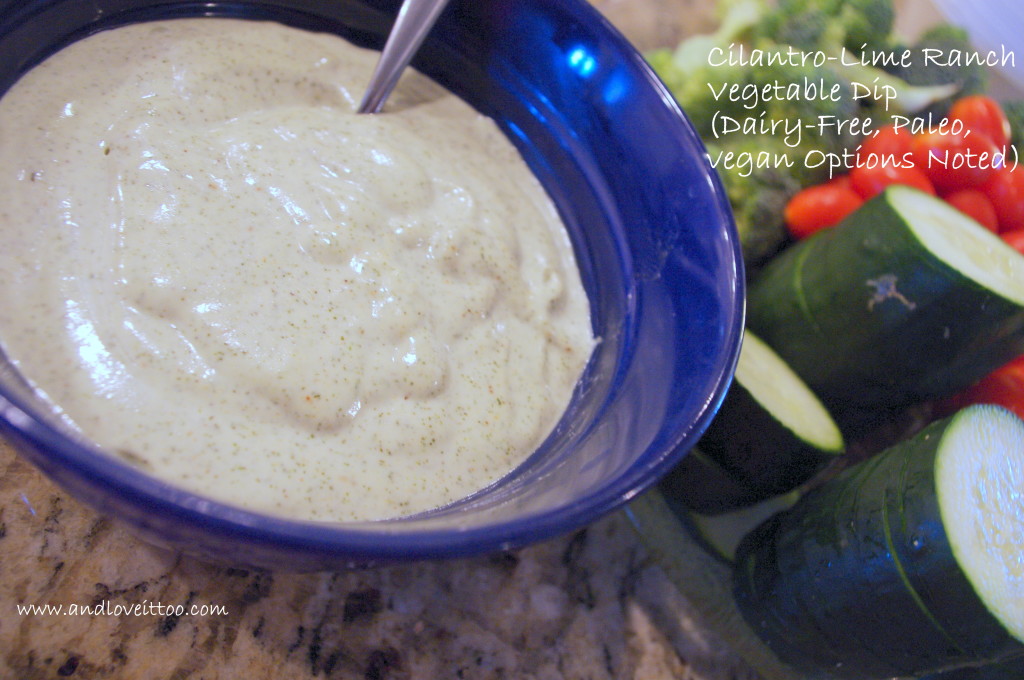
This dip is a twist on my Easy Vegan Ranch Dressing. A little less coconut cream and a few drops of essential oil make a world of difference in flavor and texture. This mix goes together quickly and has fast become our favorite dipping sauce for veggies, topping for taco salads and more. To keep […]
Spiced Fruit Dip (Vegan, Paleo, Refined Sugar-Free)
June 17, 2014 By 3 Comments

Just a few days ago, I talked about how my family has honed in on one essential oil brand that we trust. With this, I promised to share some of my favorite oils and different ways that we use them. This recipe is made with our protective blend. Filled with essential oils of: cinnamon, […]
Dauntless Cake (aka: Super Rich, Warm Chocolate Cake) Grain-Free, Dairy-Free, Paleo, Nut-Free Option Listed
June 3, 2014 By 2 Comments
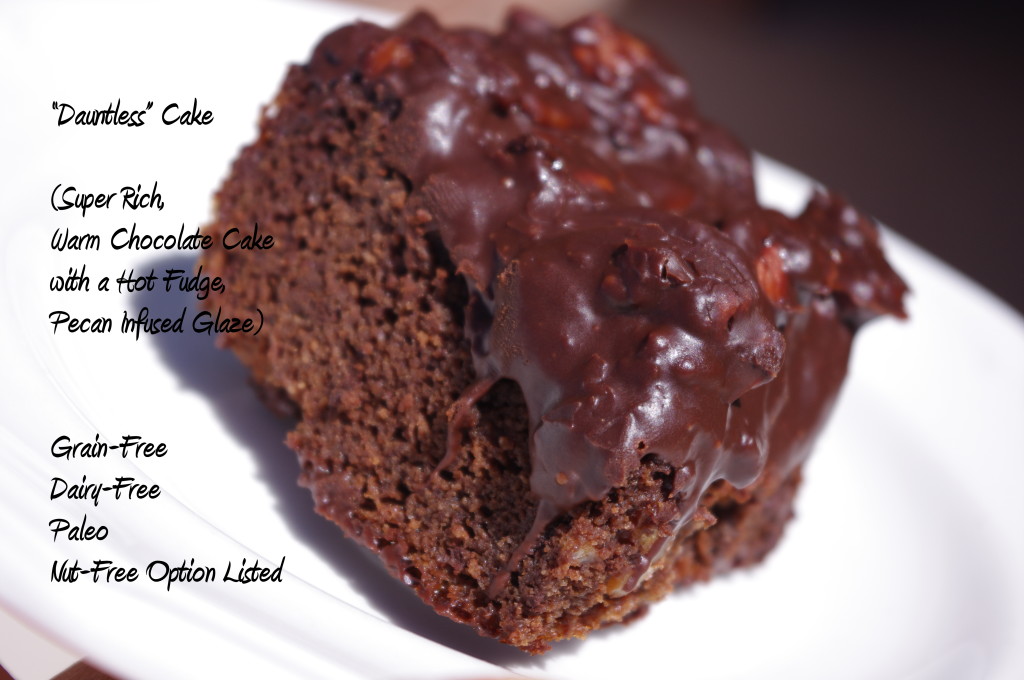
If there is one thing someone could say about all seven people in my home…it is that we are all avid readers. And book addicts. Maybe that is two things, but they all stem from one source. While my husband and I typically enjoy very different genres, our children always seem to take hold of […]
Momma’s Turkey
November 14, 2013 By Leave a Comment
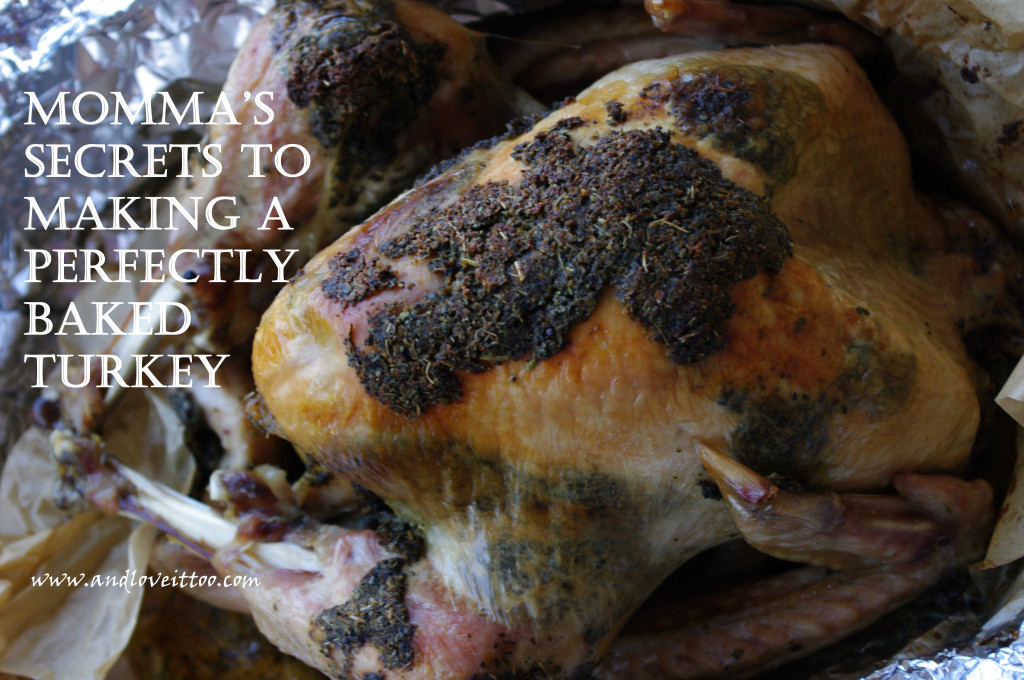
Thanksgiving is right around the corner. Two weeks away. Seriously!?! Where has this year gone? In deciding which recipes I needed to share before the big day arrives, I spent some time flipping through the pages of my blog and realized that I have spent a lot of time sharing my favorite sides like Paleo […]
Carrot Cake Blondie’s with Cinnamon Coconut Butter Frosting (Gluten-Free, Dairy-Free, Nut-Free, Paleo, ACD Friendly)
October 17, 2013 By 9 Comments
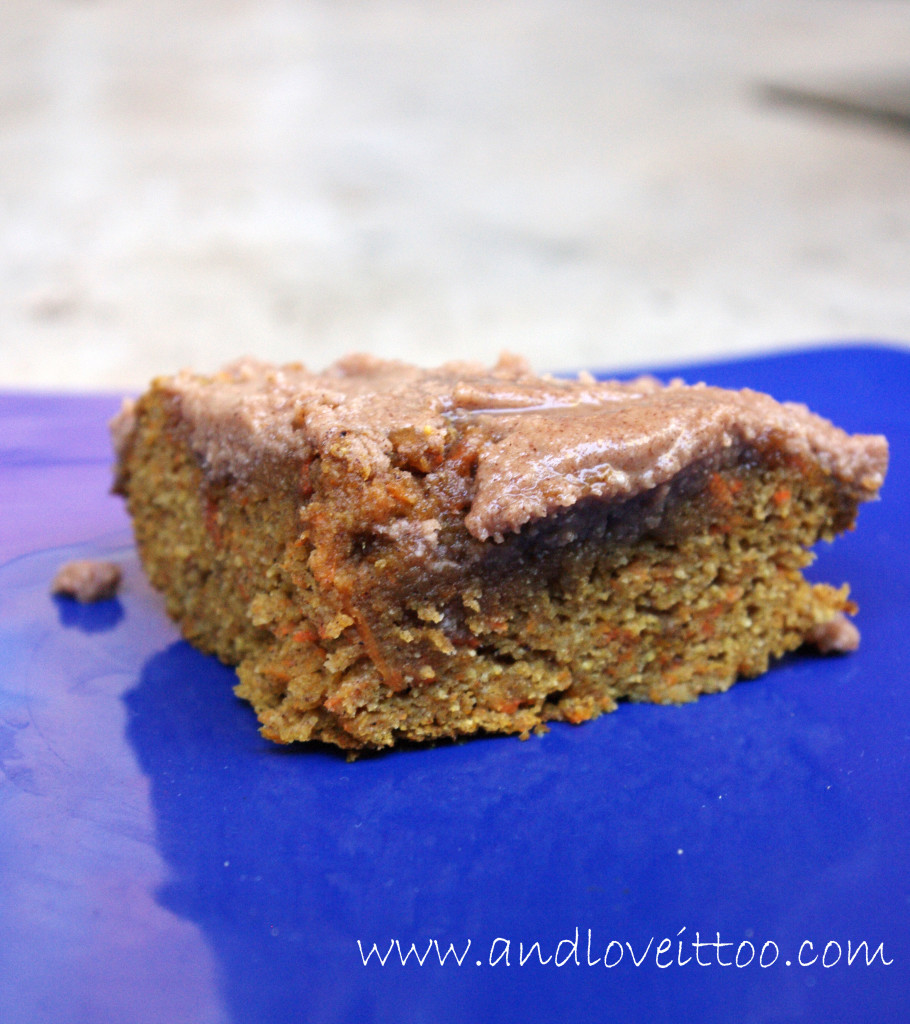
Sometimes in life we just need a brownie. Sometimes we really want a nice, fluffy piece of cake. Other times, we want something that meets both of these desires but in a way that won’t completely throw our eating plan off track. These Carrot Cake Blondie’s with Cinnamon Coconut Butter Frosting are the perfect fit […]


