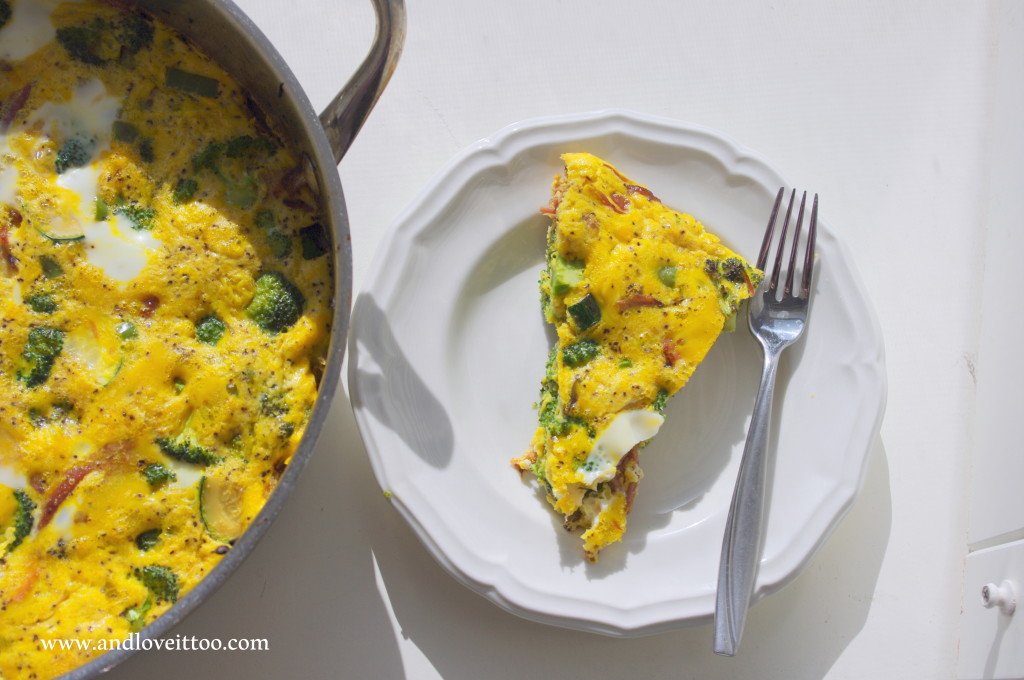
As we prepare for our New Year, New You, Naturally cleanse, I am doing my best to get back in the habit of making high-protein, vegetable rich breakfasts. I find that my week flows a lot easier when I plan ahead, and I stick to my plan much more effectively when I make one or […]
Healthy Lunchbox 2014: Janet from The Taste Space
August 16, 2014 By 2 Comments
Last year, Janet from The Taste Space shared with us a luscious Salad in a Jar. Her Topaz Dragon Ginger Dressing is one of my all-time favorite salad dressing solutions. As an opening recipe to this year’s Healthy Lunchbox series, this Quinoa Protein Bowl is an excellent choice for those who is meat-free or simply enjoys an […]
Momma’s Turkey
November 14, 2013 By Leave a Comment
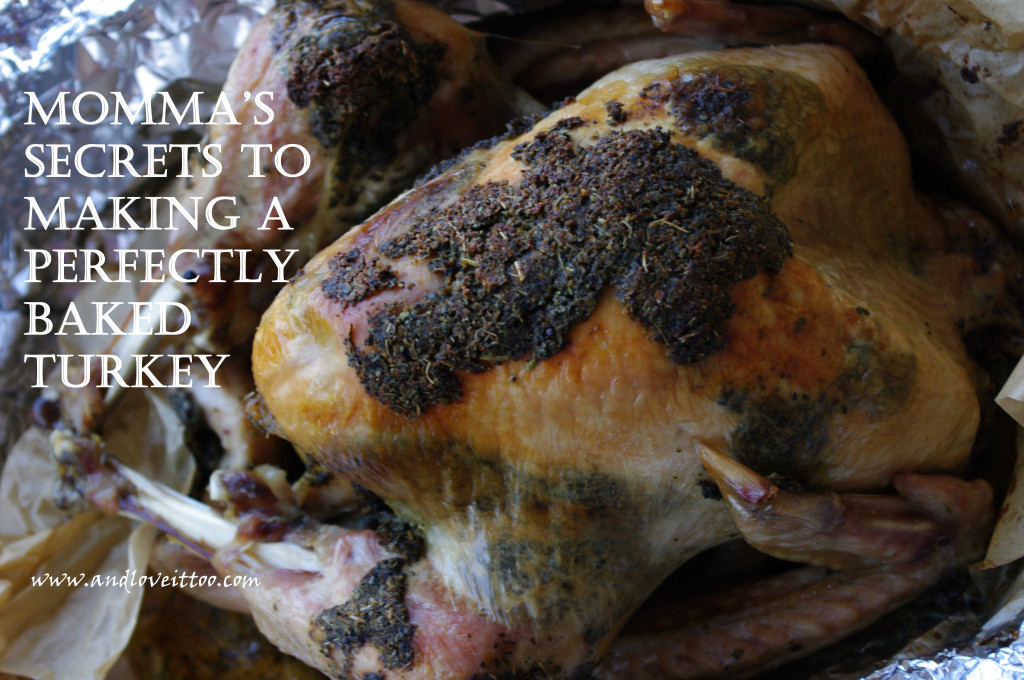
Thanksgiving is right around the corner. Two weeks away. Seriously!?! Where has this year gone? In deciding which recipes I needed to share before the big day arrives, I spent some time flipping through the pages of my blog and realized that I have spent a lot of time sharing my favorite sides like Paleo […]
Paleo Pumpkin Pie Oatmeal
October 3, 2013 By 19 Comments
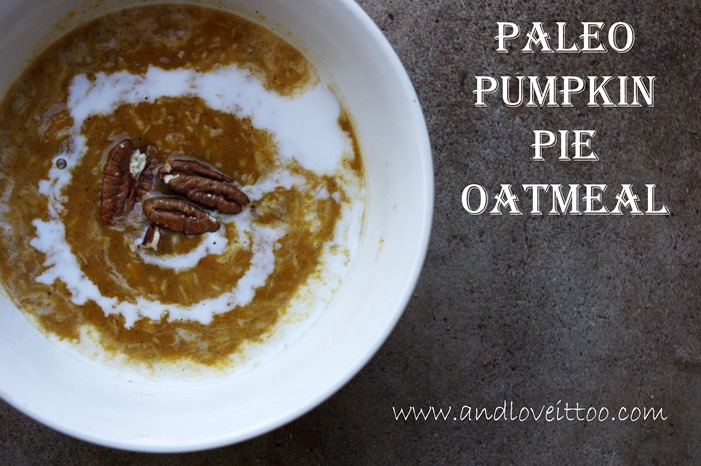
It’s officially fall! Time for all things pumpkin! From steamers to vegan caramel pecan pumpkin pie in a jar, I’ve given you many wonderful ways to enjoy this lovely squash. Today, in true fall fashion, I’d like to share with you what has quickly become a favorite post-workout breakfast for my family and me. Sweet like […]
Easy Peasy Healing Bone Broth
July 17, 2013 By 10 Comments

If you do a general search on the healing powers of bone broth, you will come up with more than 50,000 articles, blog posts and references with why you should incorporate this amazingly simple remedy into your diet. Known especially for its power to heal the gut, bone broth is something I managed to add […]
Mahi Mahi Lettuce Wraps (ACD, Candida Friendly, Paleo, Gluten-Free, Dairy-Free, Whole30, Autoimmune Alternative Listed)
July 12, 2013 By 5 Comments
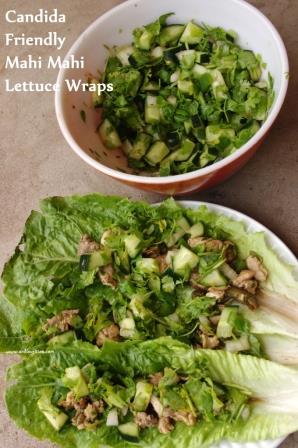
On Wednesday I revealed that my daughter and I have both tested positive for an overgrowth of candida. While this diagnosis has brought relief and a solid explanation behind her life-long constipation, digestive and kidney issues; as well as understanding and a root cause behind my own thyroid, fatigue, weight gain, adrenal, migraine issues and […]
Baked Spaghetti with Zucchini Noodles
March 13, 2013 By 7 Comments
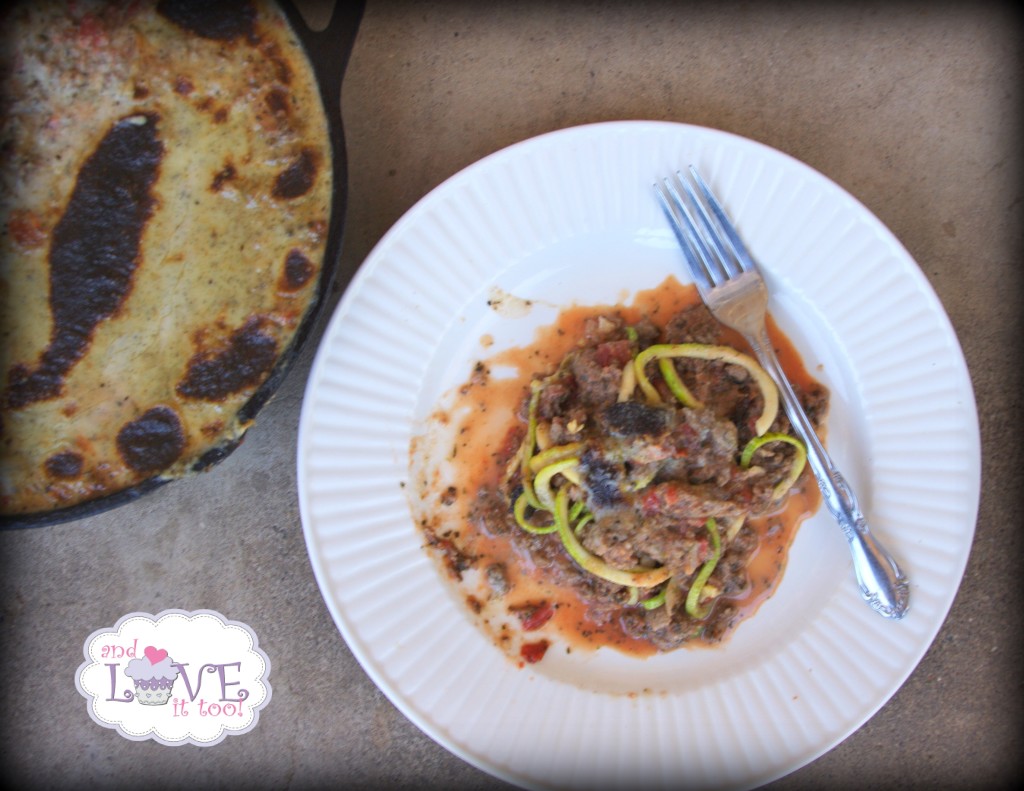
Recipe development is an interesting thing. No doubt we all go about it in our own way, but for me it starts with a memory, a craving or a challenge from a friend or follower. Yep, I have been known to turn my kitchen upside down to help someone reconnect with an old food love […]
Not Your Momma’s Meatloaf
February 20, 2013 By 10 Comments
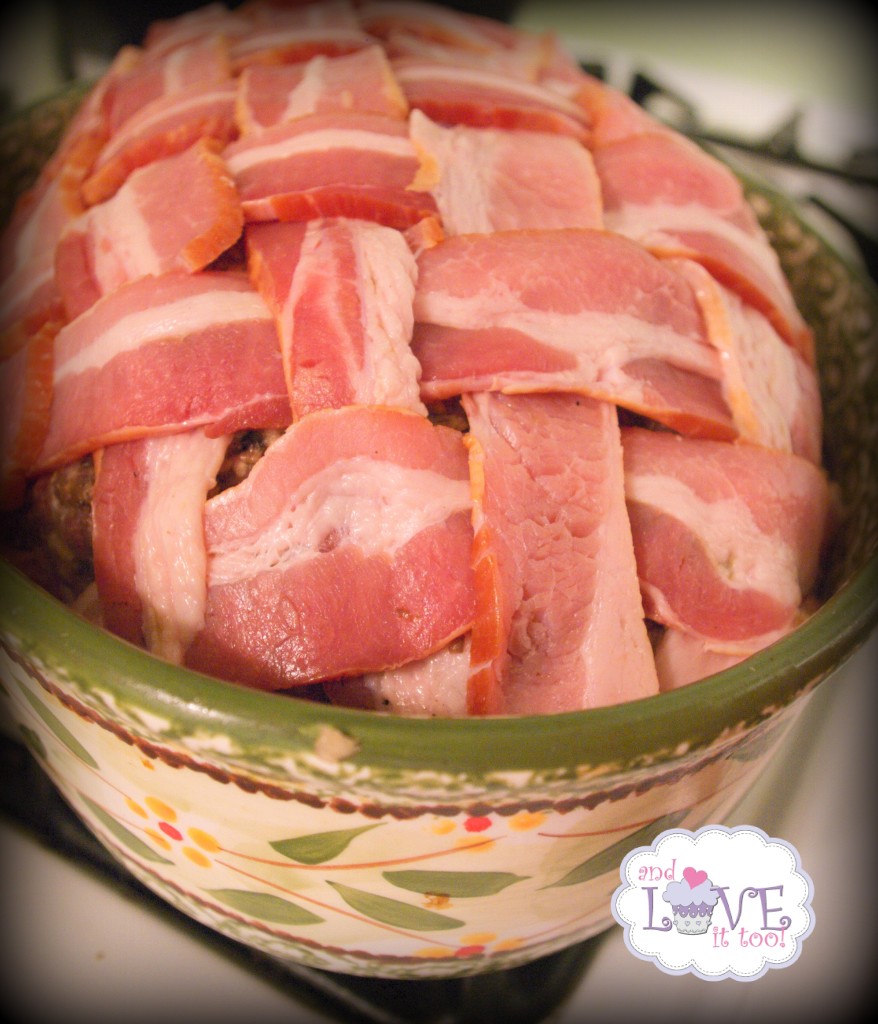
Meatloaf. Love it or leave it, undoubtedly your mom had some version of meatloaf that would occasionally grace your table growing up. I’ve had many guests through the years raise an eyebrow when I offer them a dinner of this traditionally dry, often unpleasing hunk of meat…these same guests seem surprisingly pleased when they take […]
Zuppa Toscana (Dairy-Free, Gluten-Free)
January 28, 2013 By 8 Comments
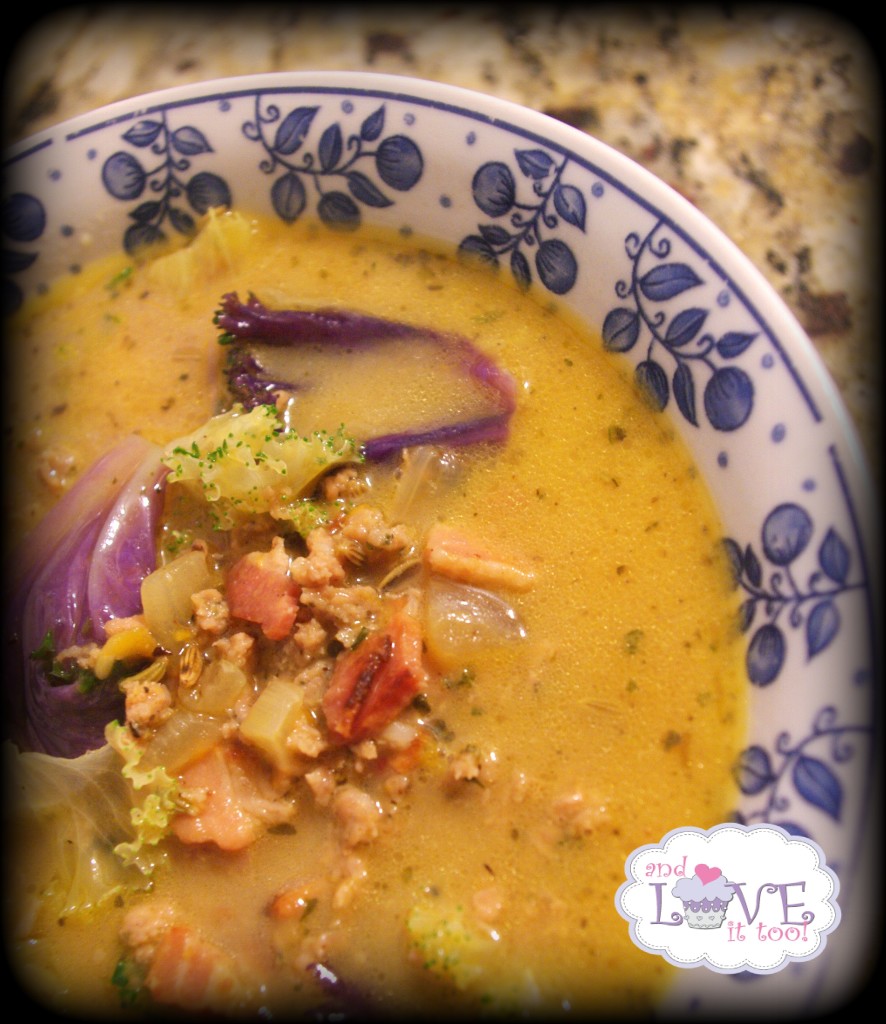
I’ve mentioned a number of times how much I love Bountiful Baskets; not only have they reduced our produce costs by hundreds of dollars, every month…I have also been introduced to a number of fruits and vegetables previously unknown to me! Most recently, we received several heads of something called Salad Savoy. Having no clue […]
Autoimmune-Friendly Paleo Apple Sausage
January 12, 2013 By 9 Comments
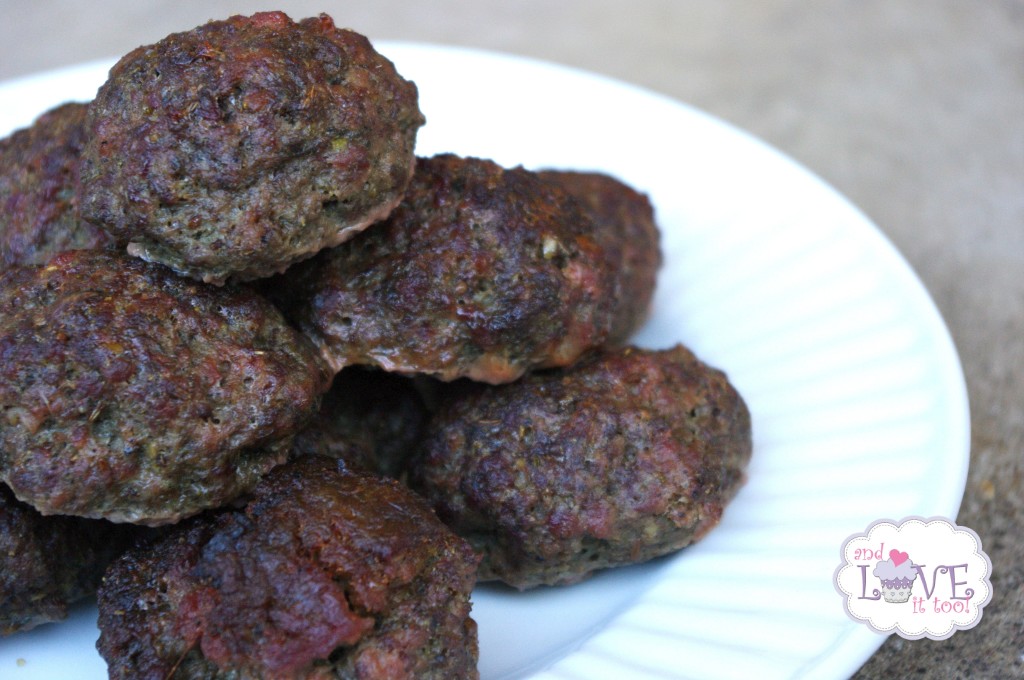
To my readers on Facebook who were expecting this recipe earlier today, my apologies. An impromptu date with my husband took priority, although I am excited to be able to get this recipe to you tonight. I first created this sausage back when I did my first Whole30 and needed something that was quick yet […]


