There truly is no place like home for the holidays. Whether yours is as high-tech as the one featured above, or as simple and solemn as my humble abode, I have no doubt that this simple little phrase “Home for the Holidays,” conjures images and memories like none other. Shirley Braden of Gluten-Free Easily was […]
Home for the Holidays, Gluten-Free Style: Chocolate Pecan “Toll House” Pie (Gluten-Free, Dairy-Free, Grain-Free)
December 2, 2011 By 227 Comments
Raw, Vegan, Sugar-Free Red Velvet Fudge
November 30, 2011 By 8 Comments
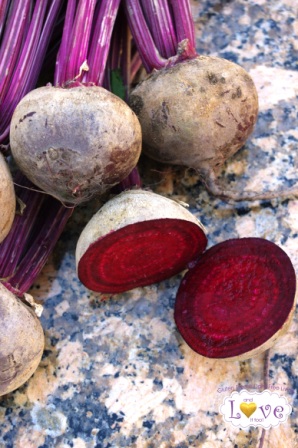
When Food Network first offered up their Fall Fest calendar, there were a number of ingredients that I was excited to work with…then there were a few that made me think: “What on earth am I going to do with those?” This is one of those weeks. You see, I don’t normally work with beets. […]
Easy as Pie (Crust) v2
November 24, 2011 By 7 Comments
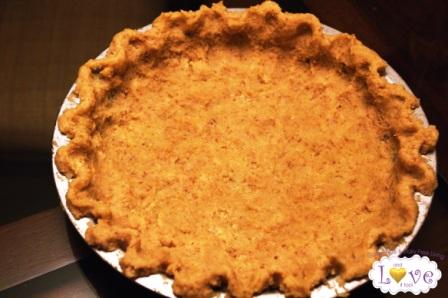
I have a confession to make… My Easy as Pie (Crust), no matter how great, is not my favorite recipe. The flavor is spot-on. And for tarts or other pre-cooked pie crust needs, it really is a fantastic choice… But when it comes to bake-in-the-shell recipes, I often struggle to keep this crust from burning. […]
Vegan Cheese Ball (Gluten-Free, Dairy-Free, Grain-Free and Soy-Free, too!) & Thanksgiving Round-up
November 23, 2011 By 7 Comments
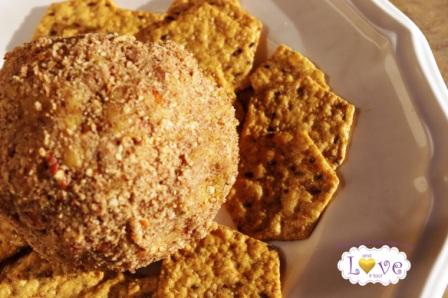
I don’t know about you, but up until a few years ago, cheese balls were a staple at our holiday gatherings. Then, my daughter was diagnosed with a milk allergy. Things like cheese balls, cranberry relish covered cream cheese and cheese fondue quickly fell by the wayside. Over the last year though, I have taken […]
Pumpkin Custard (Gluten-Free, Dairy-Free, Refined Sugar-Free)
November 16, 2011 By 23 Comments

You may have not yet noticed…but I am a lover of all things pumpkin. Pumpkin dip, pumpkin with caramel, pumpkin pie….give me some pumpkin candles, pumpkin cookies and pumpkin muffins (gluten-free, dairy-free of course), and I’m a happy girl. With so many holiday events going on, I knew it was high time for me to […]
Creamy Pumpkin Fruit Dip
October 26, 2011 By 20 Comments

With less than a week before All Hallows’ Eve, stores are brimming with orange globes waiting to be carved into some magical piece of artistry. When it comes to pumpkins though, why limit yourself to the simple orange, jack-o-lantern variety? Beautiful yellows, greens and white await. And not only are these lovely additions perfect for […]
Guest Post for Dixie Chik Cooks…Sugar-Free Raw Vegan Pumpkin Pie in a Jar
October 23, 2011 By 4 Comments

When my friend Shea asked if I would be interested in doing a guest-post on her site, I was extremely honored and a bit intimidated. Anyone who followed our Ingredient Challenge Monday posts knows that, because of medical reasons, I live a gluten-free and dairy-free lifestyle, and Shea does not. So how am I to […]
Twice Baked, Vegan Garlic Mashed Paleo ‘Potatoes’ (Mashed Cauliflower)
October 19, 2011 By 17 Comments
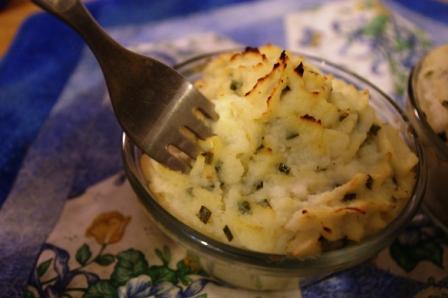
This week’s Food Network Fall Fest brought an interesting challenge to my table. You see, I recently made the decision to transition into a more Paleo lifestyle. As you know, I have been gluten-free and dairy-free for a while. If you follow my baking posts, you know that grain-free flours are my preference; and I […]
Fried Apples (Gluten-Free, Dairy-Free, Soy-Free, Vegan)
October 5, 2011 By 12 Comments
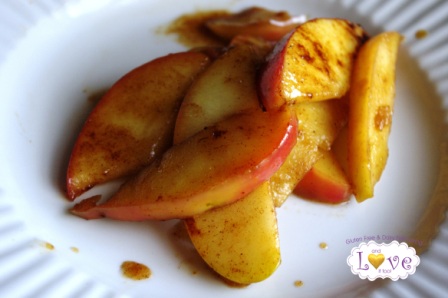
It has been three weeks since my last post. In that time, I have changed servers (which put my site down for 10 days), gotten neck deep into my new position at school and have flat-out been exhausted. Even so, I don’t like being away for so long. Thank you for being patient and sticking with […]
Vegan Avocado Pistachio Pudding, Ingredient-Challenge Monday Recipe
August 8, 2011 By 6 Comments
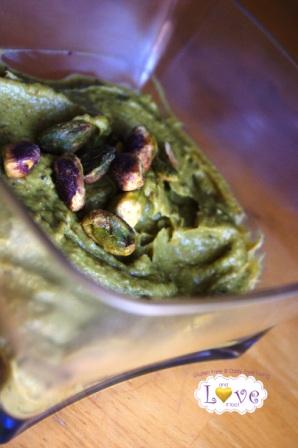
I spent this past week several hours away from home in work related training; away from my children, husband, phone and computer. On Wednesday, in a panic, I realized we were approaching a challenge week and hadn’t even picked an ingredient! Thankfully, I was able to reach my Ingredient-Challenge Monday partner, Shea who had something […]


