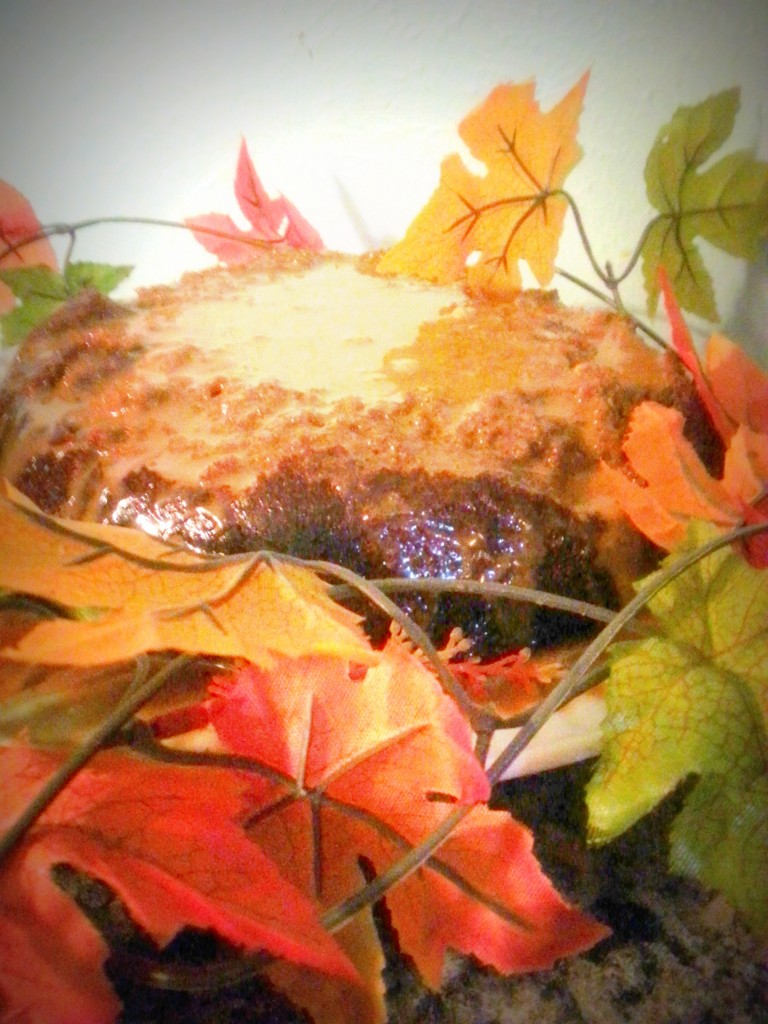
This is not my prettiest cake by any means, and I thought about remaking it in a number of different pans, but my daughter was so thrilled when she saw the final product that I decided if it was good enough for her, then it was good enough for me. So many of my projects […]
Vanilla Pumpkin Swirl Cake with Vanilla Palm Sugar Glaze (Grain-Free, Dairy-Free, Refined Sugar-Free, Paleo)
October 24, 2012 By 9 Comments
ICM July Winning Recipe: Berry Almond Crunch by Heather, the Gluten-Free Cat and Challenge-Ingredient Announcement!
October 7, 2012 By 4 Comments
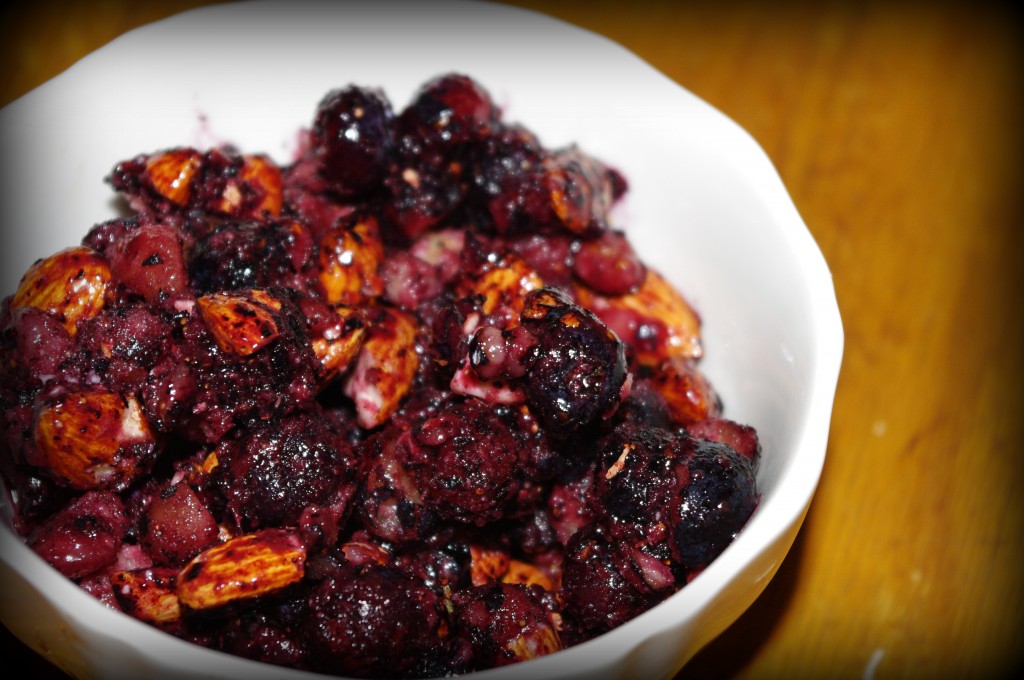
I can’t believe we haven’t had an Ingredient Challenge Monday since July, but with the Healthy Lunchbox Series overlapping the 2nd Monday in both August and September, missing those months just couldn’t be helped! That being said, with Bountiful Baskets offering blueberries in bulk this summer, I enjoyed the extra time to review and re-review […]
Coconut Flour Apple Crumble (nut-free)
October 2, 2012 By 13 Comments
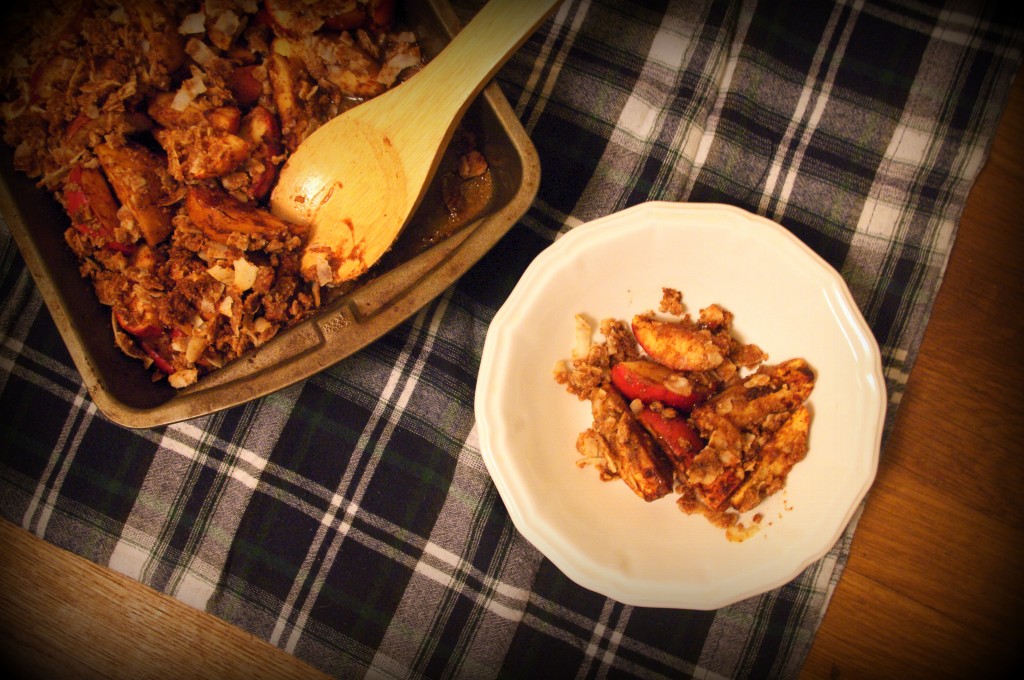
When Phoebe invited me to her Virtual Viewing Party and All-American Potluck, the first thing that popped into my mind was apple pie. I mean, besides hot dogs, what is more American than apple pie? Only, I am not a huge fan of apple pie. Don’t ask me why, I am not 100% certain; I […]
September 13, Blogiversary and Upside Down Pineapple Cake (grain-free, dairy-free, refined sugar-free, paleo)
September 13, 2012 By 18 Comments
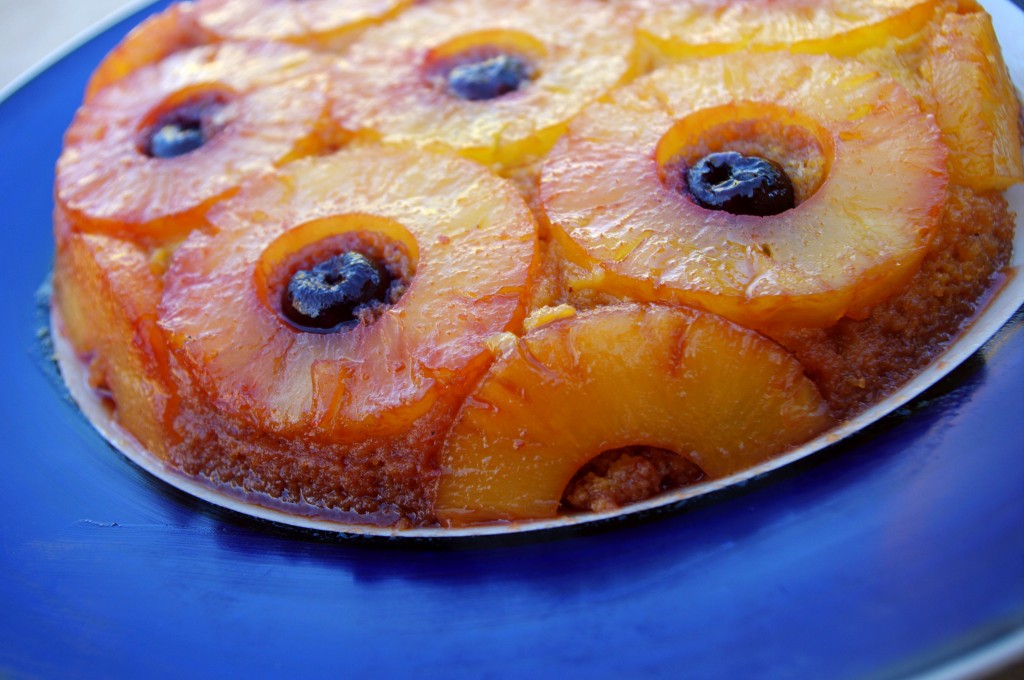
September 13th may not mean a lot to most, but to the many who have been diagnosed with celiac disease, September 13th is a day just as important as most any other holiday. You see, September 13th has been designated as National Celiac Awareness Day by the United States Senate, and “whereas the majority of […]
Healthy Lunchbox 2012: Gluten-Free Gigi
August 20, 2012 By 7 Comments
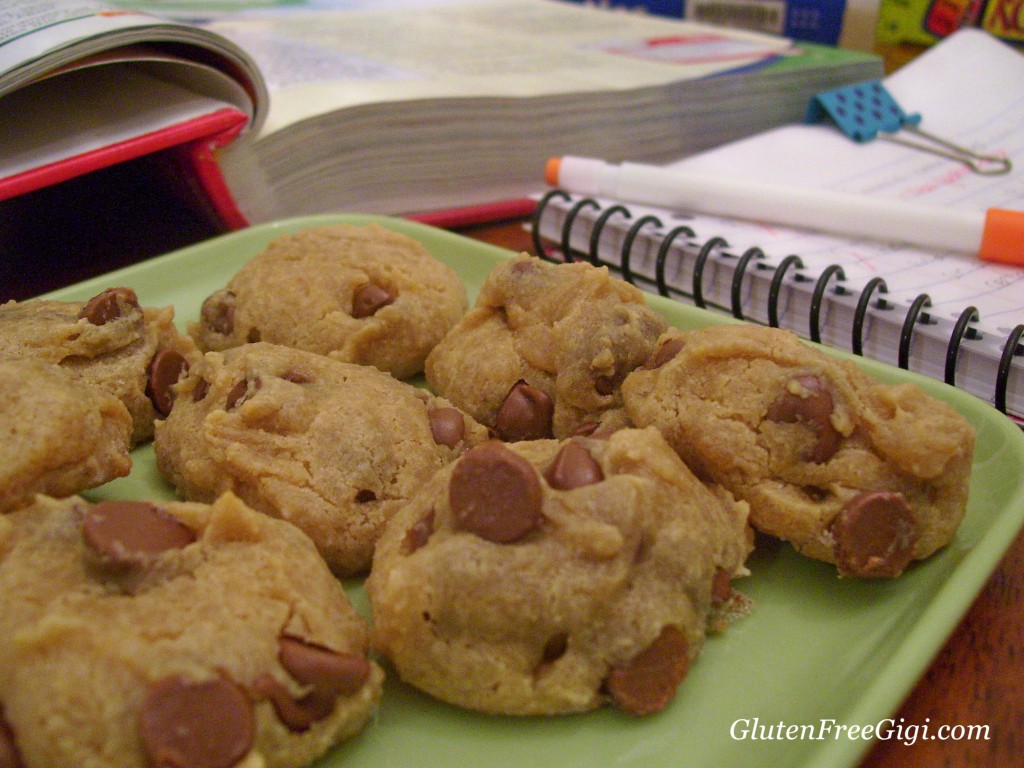
Have you met my friend, Gluten-Free Gigi? Gigi is a scientist turned health specialist and I simply adore and always learn so much from her “A Side of Science” series. Gigi was one of the guest-bloggers for last year’s Healthy Lunchbox series where she shared a delicious chocolate chip mini-muffin recipe. This year she made me […]
Healthy Lunchbox 2012: Peachy Coconut Streusel Muffins
August 15, 2012 By 14 Comments
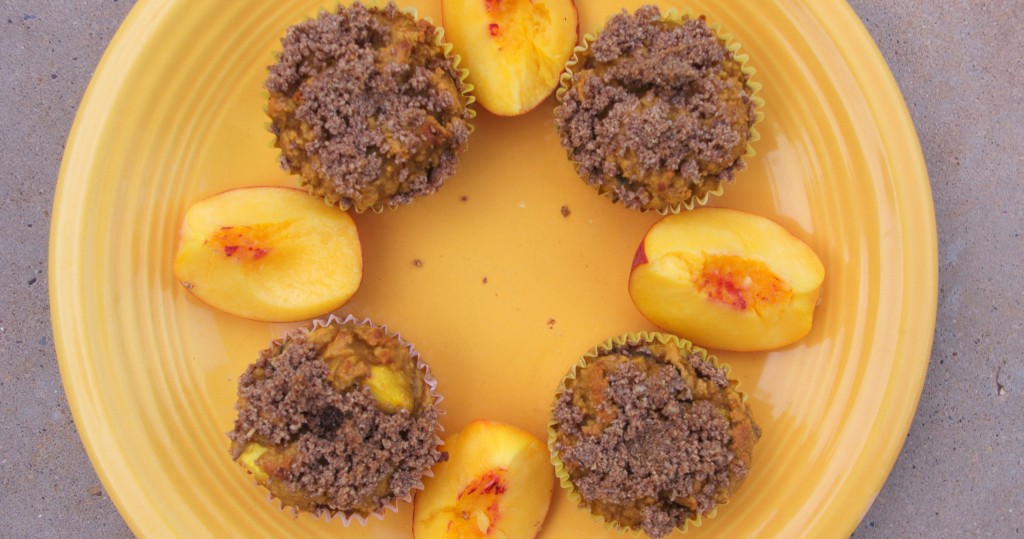
When most people think of muffins, they think high-carb, grain-filled, low-nutritional value item. The last thing I want to feed my children is anything that meets that type of description. The great thing about grain-free cooking is that a majority of flours (nut, seed and coconut) are naturally high in fabulous fiber, protein and nutrients. […]
Ingredient-Challenge Monday: Very Berry Fruit Bowl with Spiced Whipped Coconut Cream
July 9, 2012 By 19 Comments
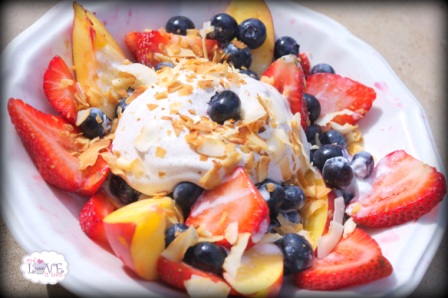
Happy Ingredient-Challenge Monday, everyone! I hope you are brimming with excitement…if the recent entries are any indication; I cannot wait to see what you have for us this month. I don’t know about you, but I have had a great day! Yes, I know it’s Monday, but this really was a great day. Why you […]
Ingredient-Challenge Monday: Strawberry Mojito Sorbet (Fruit-Juice Sweetened, Vegan, Raw, Paleo)
June 11, 2012 By 20 Comments
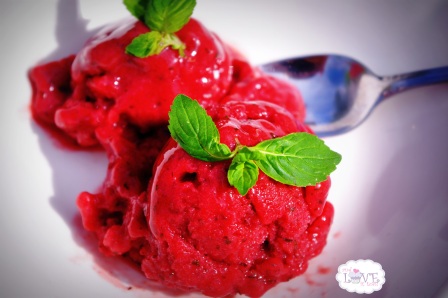
Welcome to Ingredient Challenge Monday!! As announced yesterday, this month I am challenging you to bring your best strawberry recipe to the table. Some things you should know…I.love.strawberries. I do! In fact, now that they are in season, I have purchased more than 20 pounds of strawberries in the last month alone (no joke!). Some […]
May ICM Winner: Coconut Secret Bars from Tessa the Domestic Diva and June’s Challenge-Ingredient Announcement!
June 10, 2012 By 7 Comments
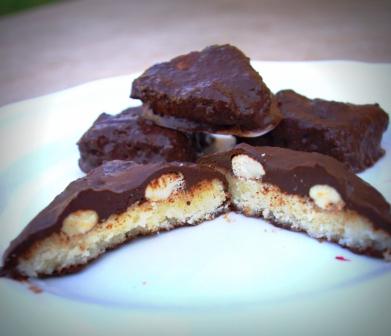
First, I want to congratulate everyone who participated in last month’s Ingredient-Challenge Monday, your coconut recipes were simply amazing! If you haven’t been by to see everything shared, please do…in addition to the several that were linked in, there were two- late arrivals, one from Kate at Eat Recycle Repeat that is vegan, sugar-free, and […]
Fruit-Sweetened Grain-Free Vegan Cobbler
April 24, 2012 By 3 Comments
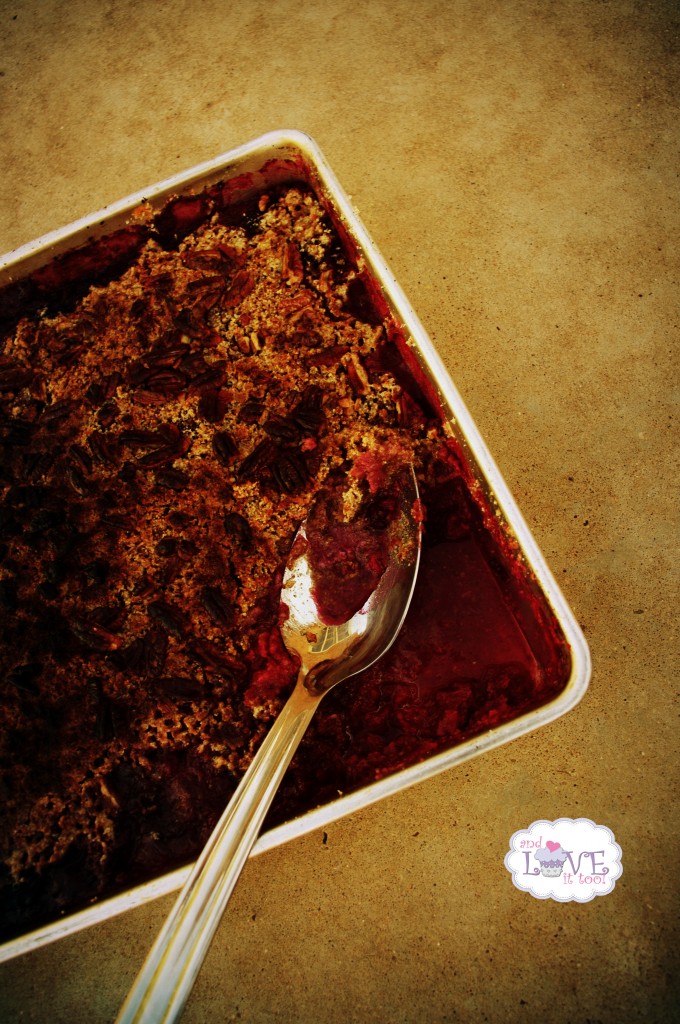
“How do you make cobbler without flour?” (With a smile on my face) “I have my ways.” Thus began the workroom discussion of how someone like me can still enjoy foods like the rest of you. Okay maybe not the rest of you, because there is a strong chance that if you are viewing this […]


